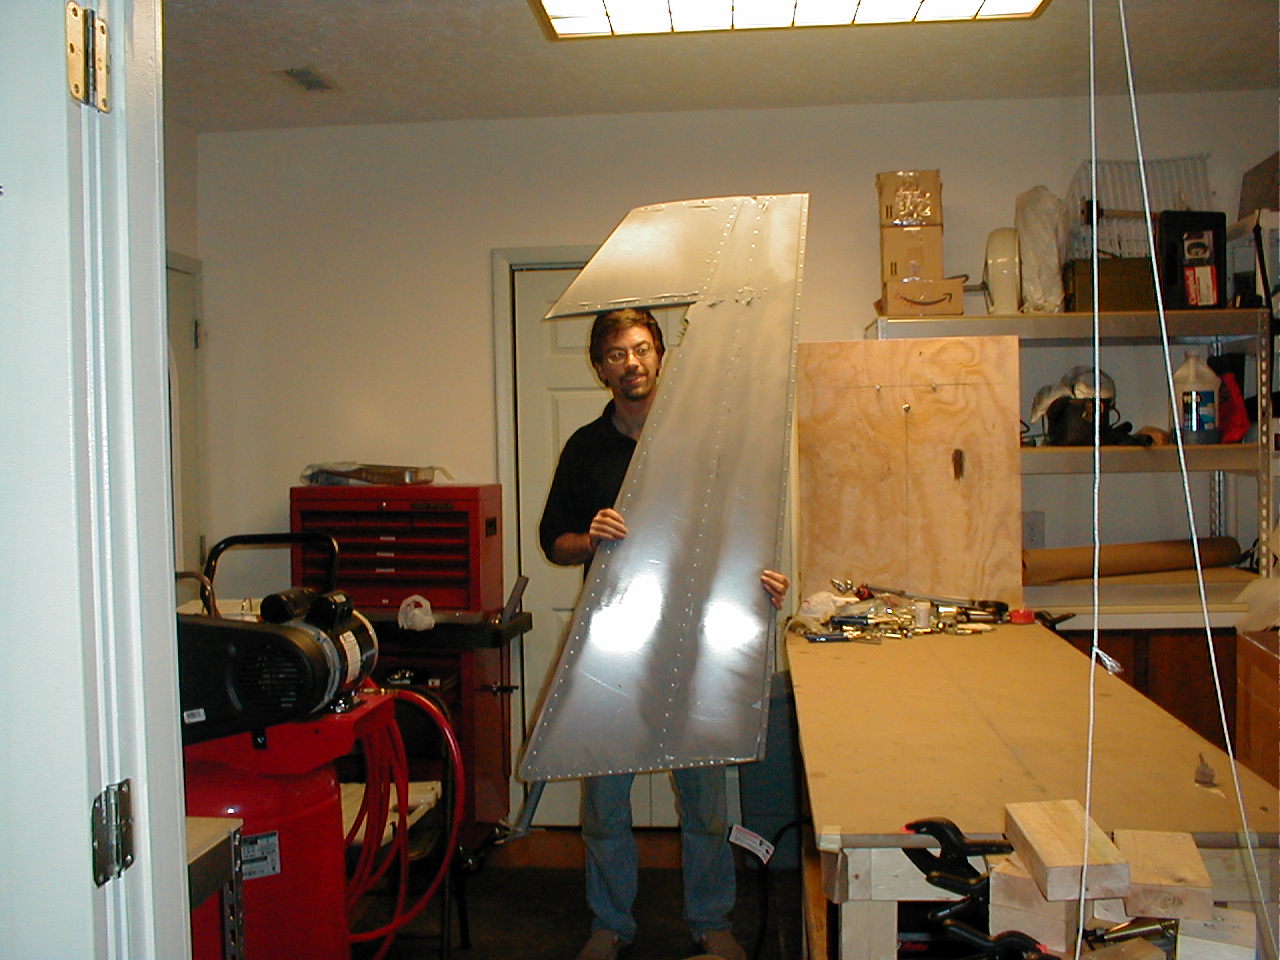
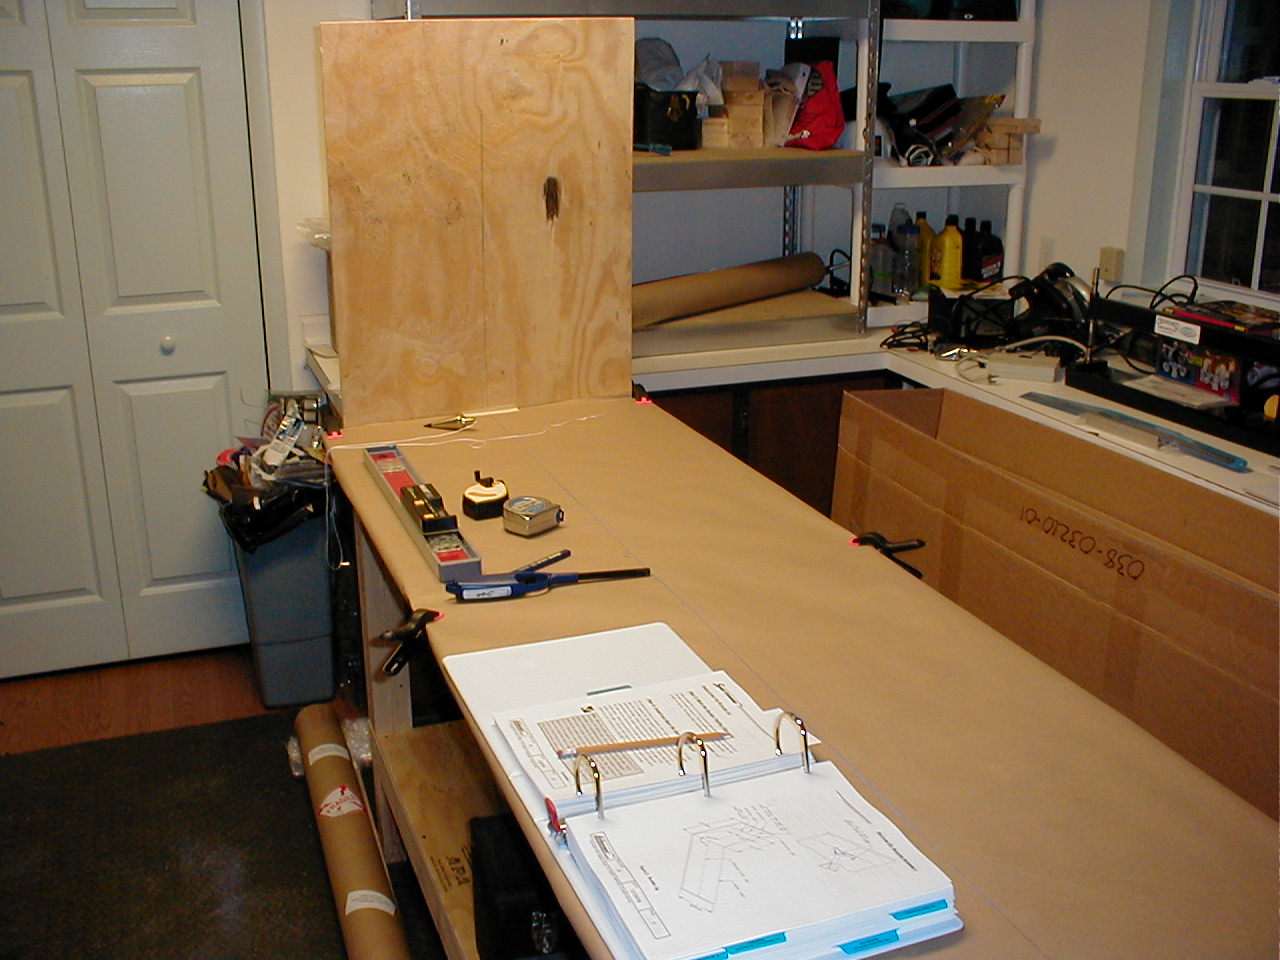
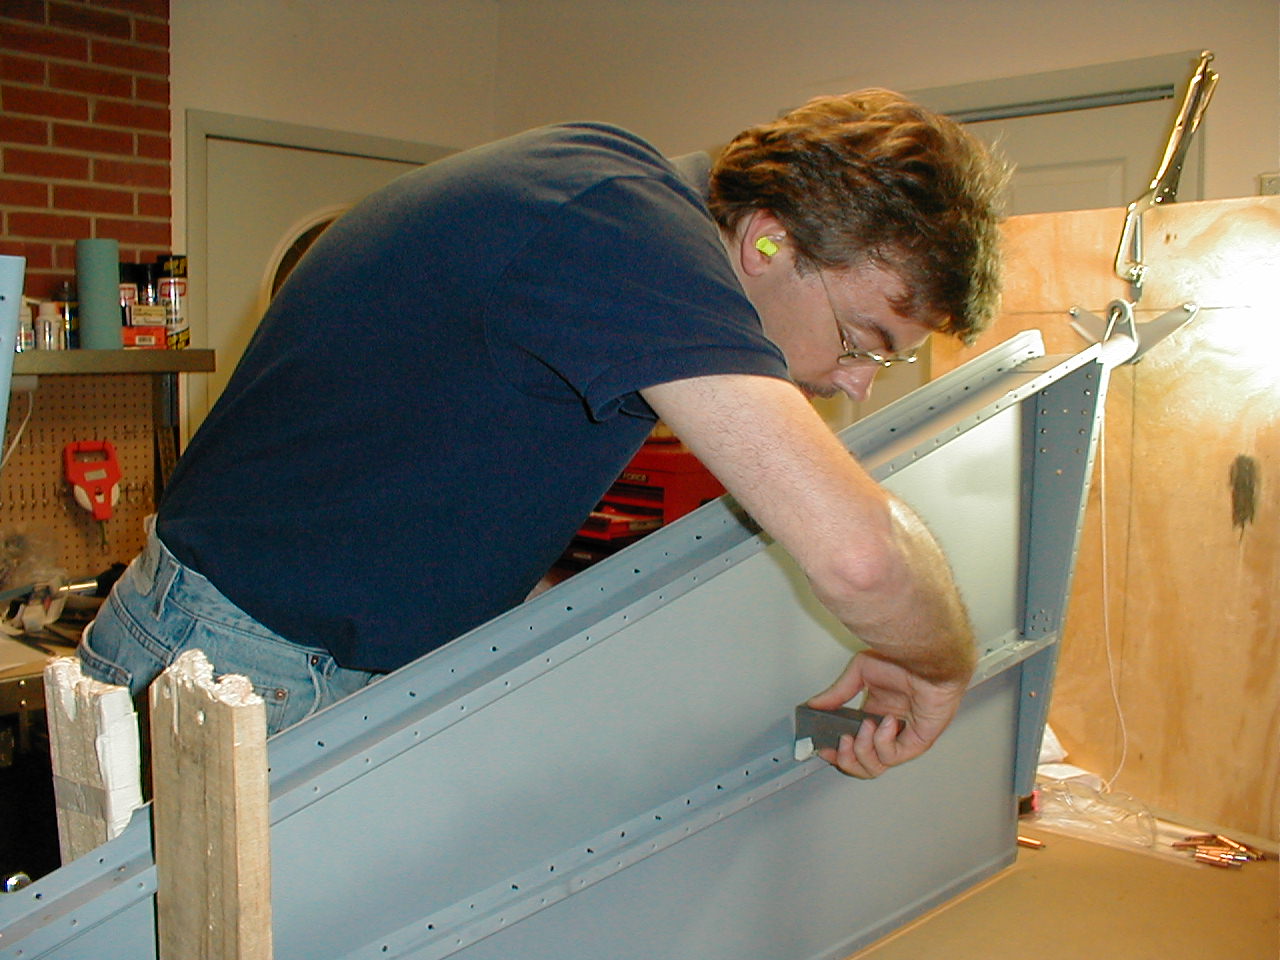
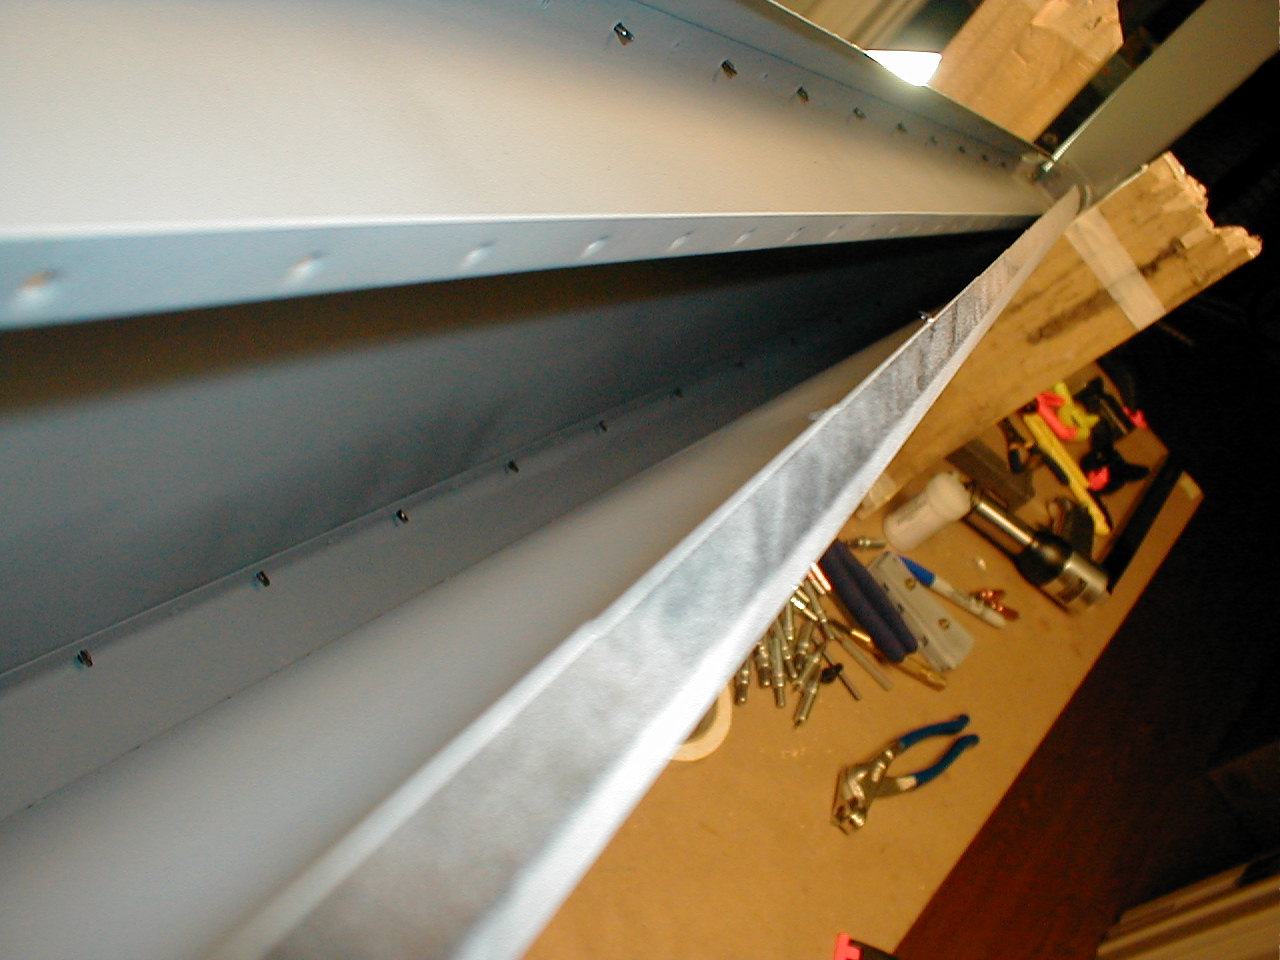
Step 1!
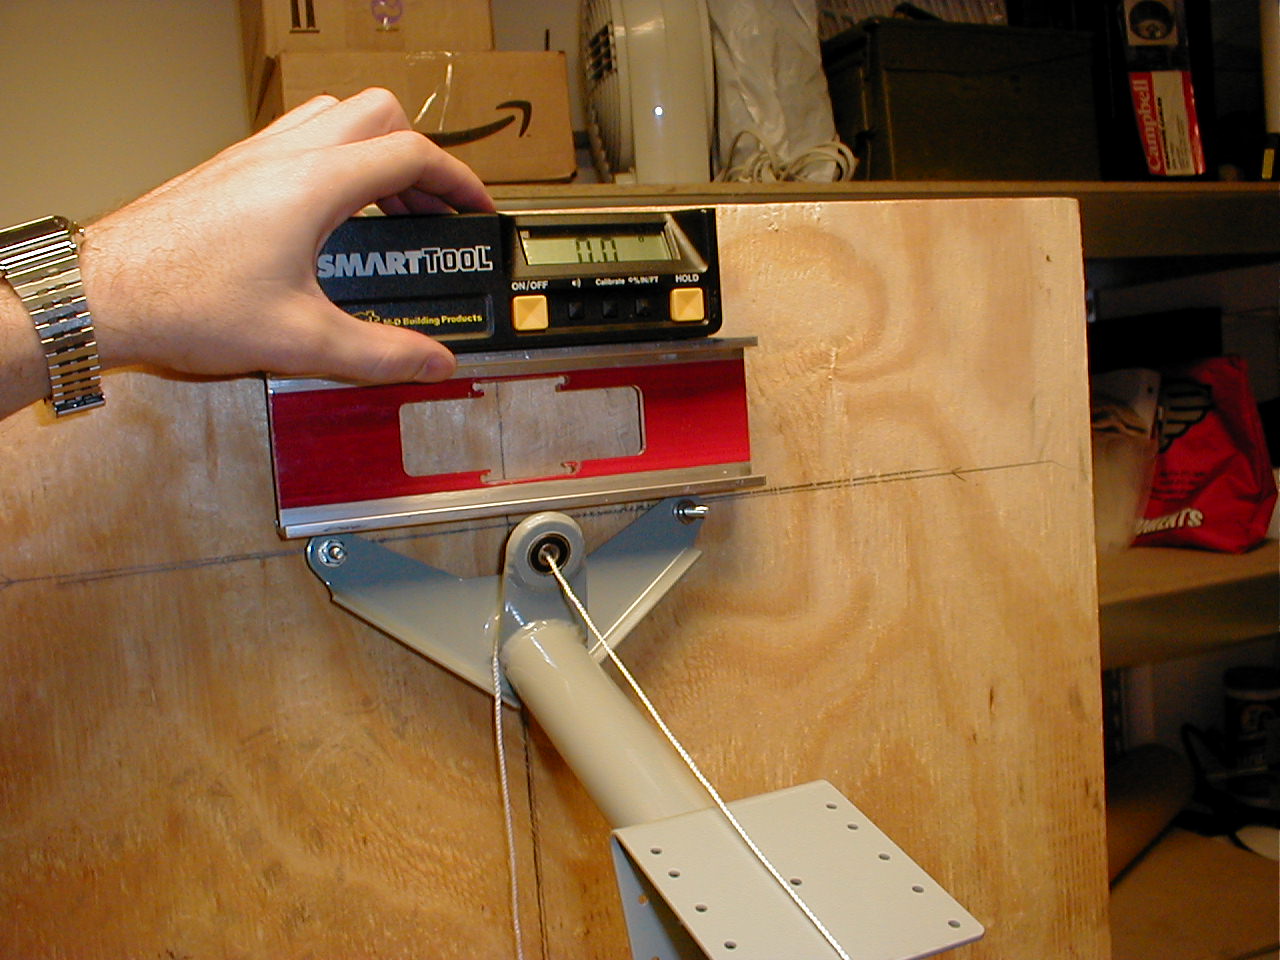
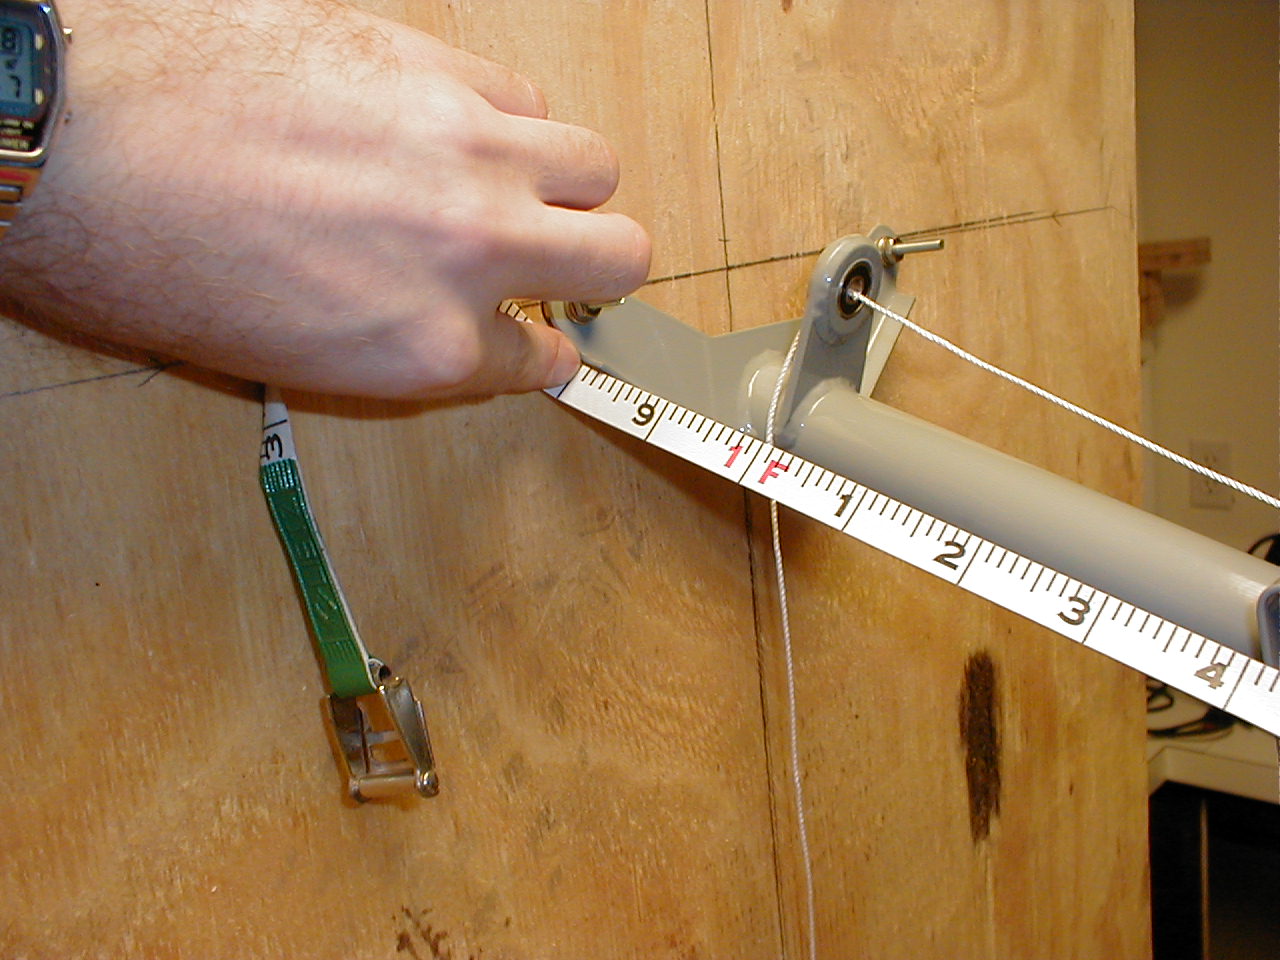
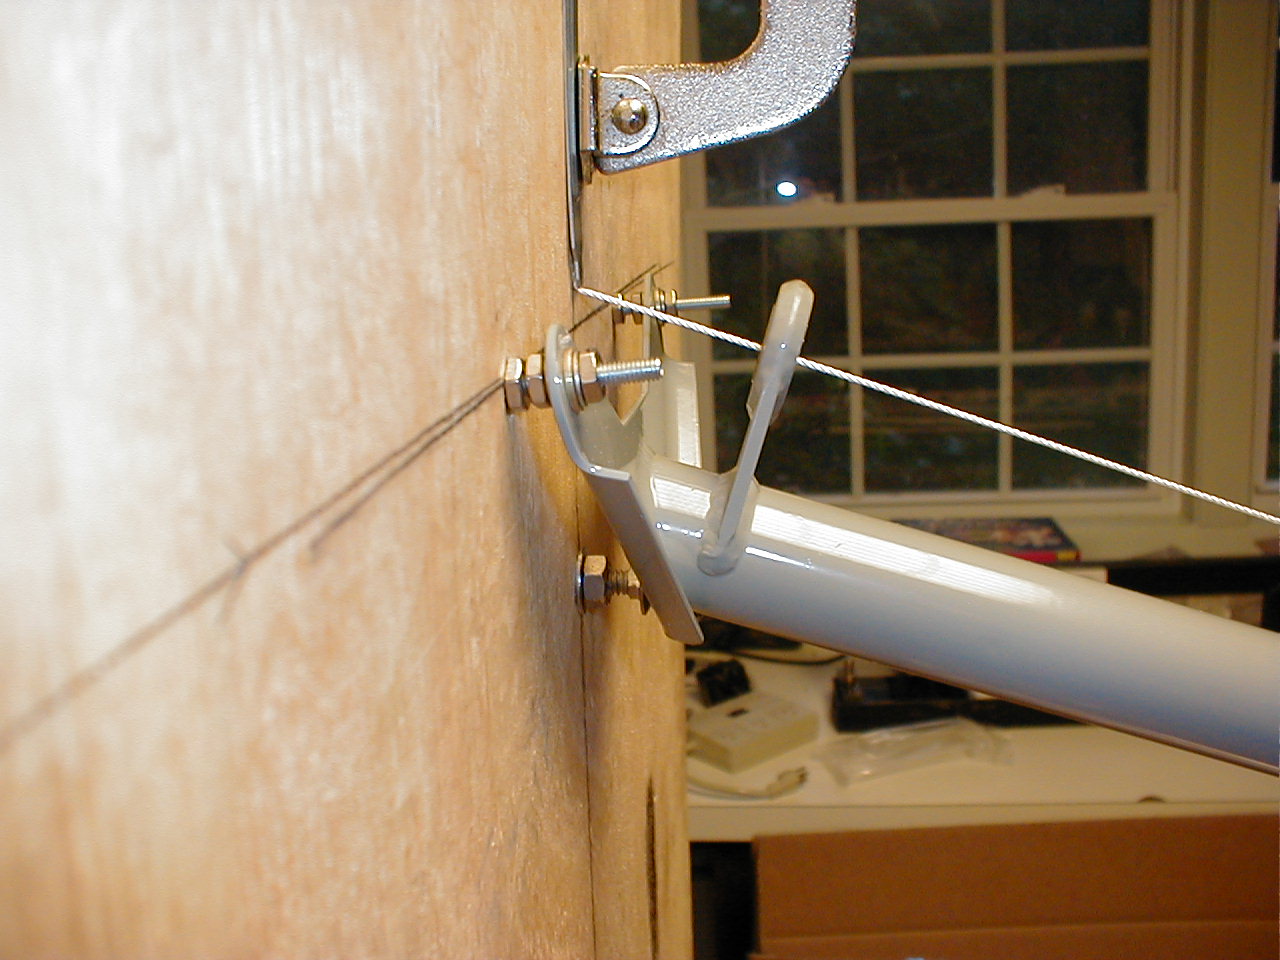
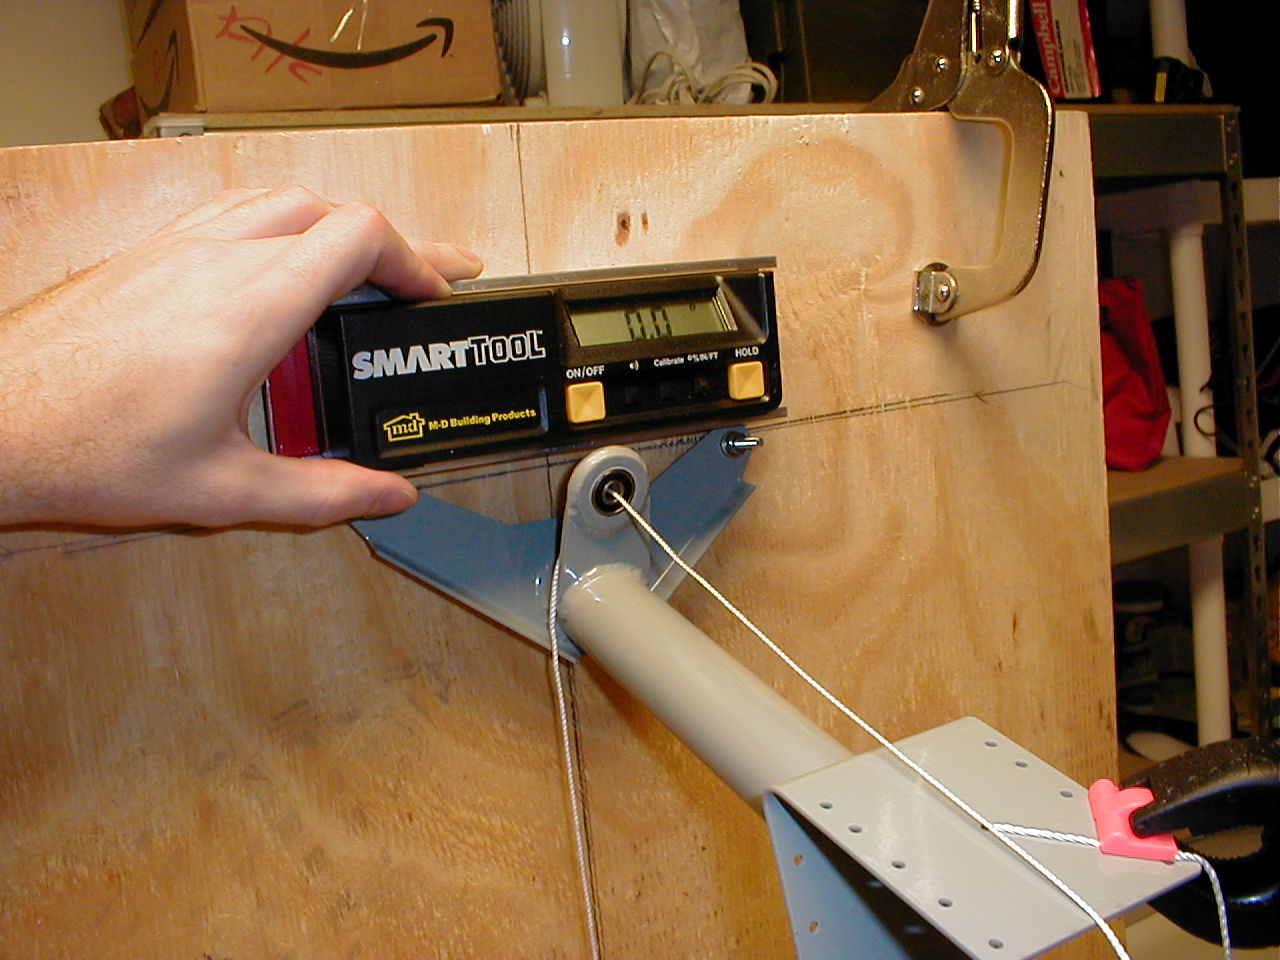
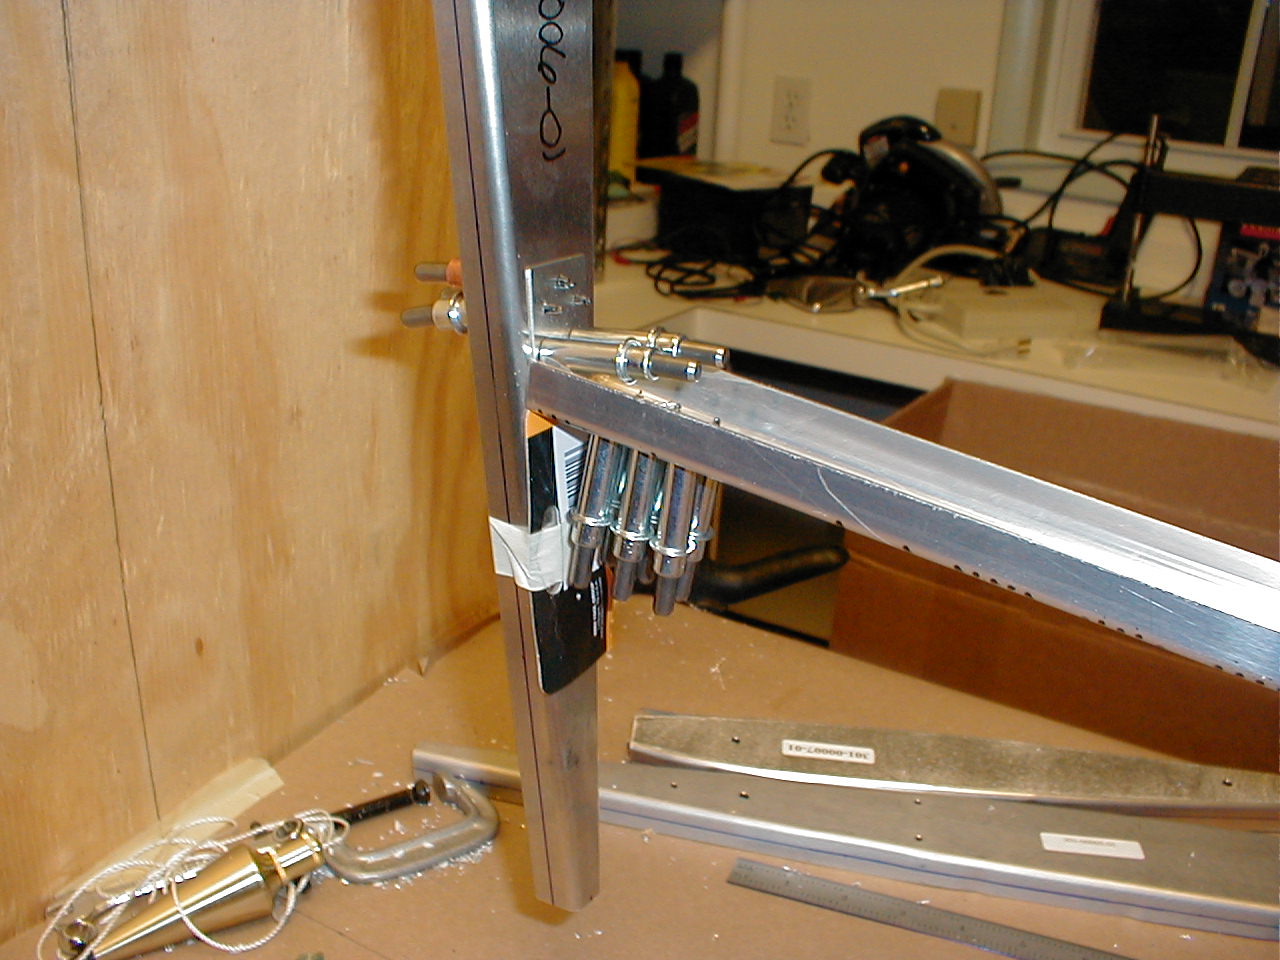
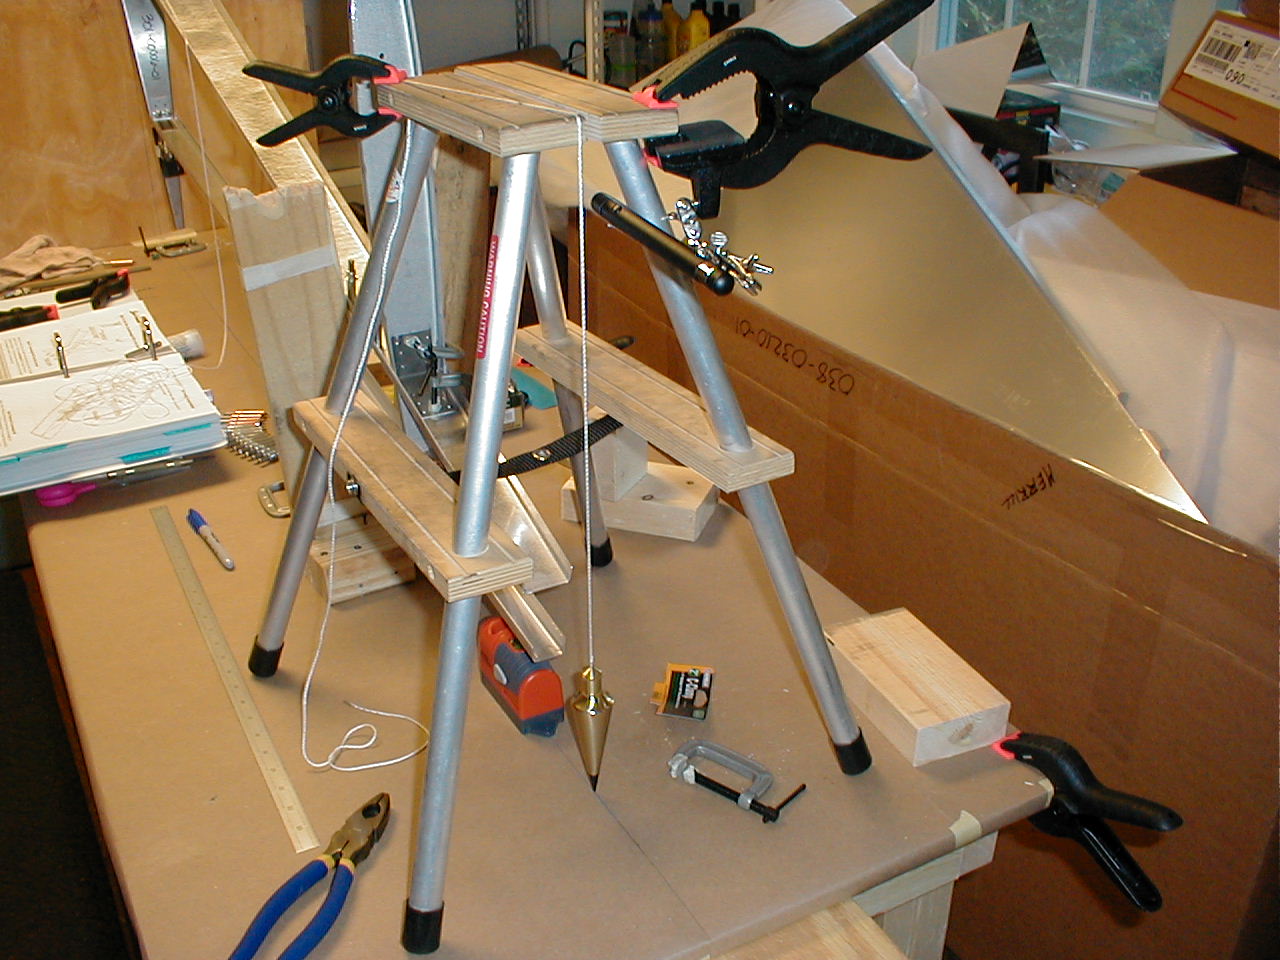
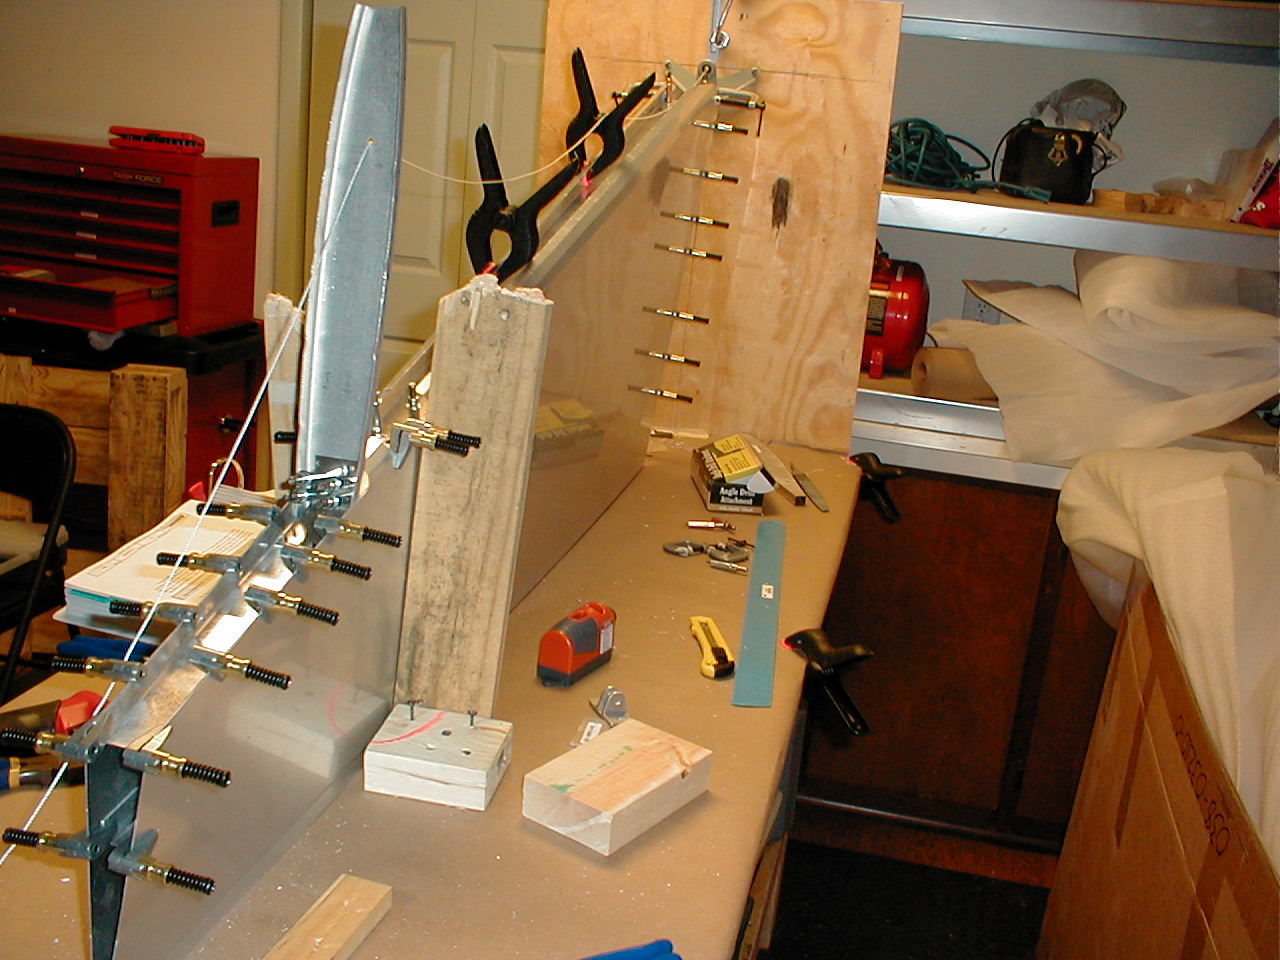
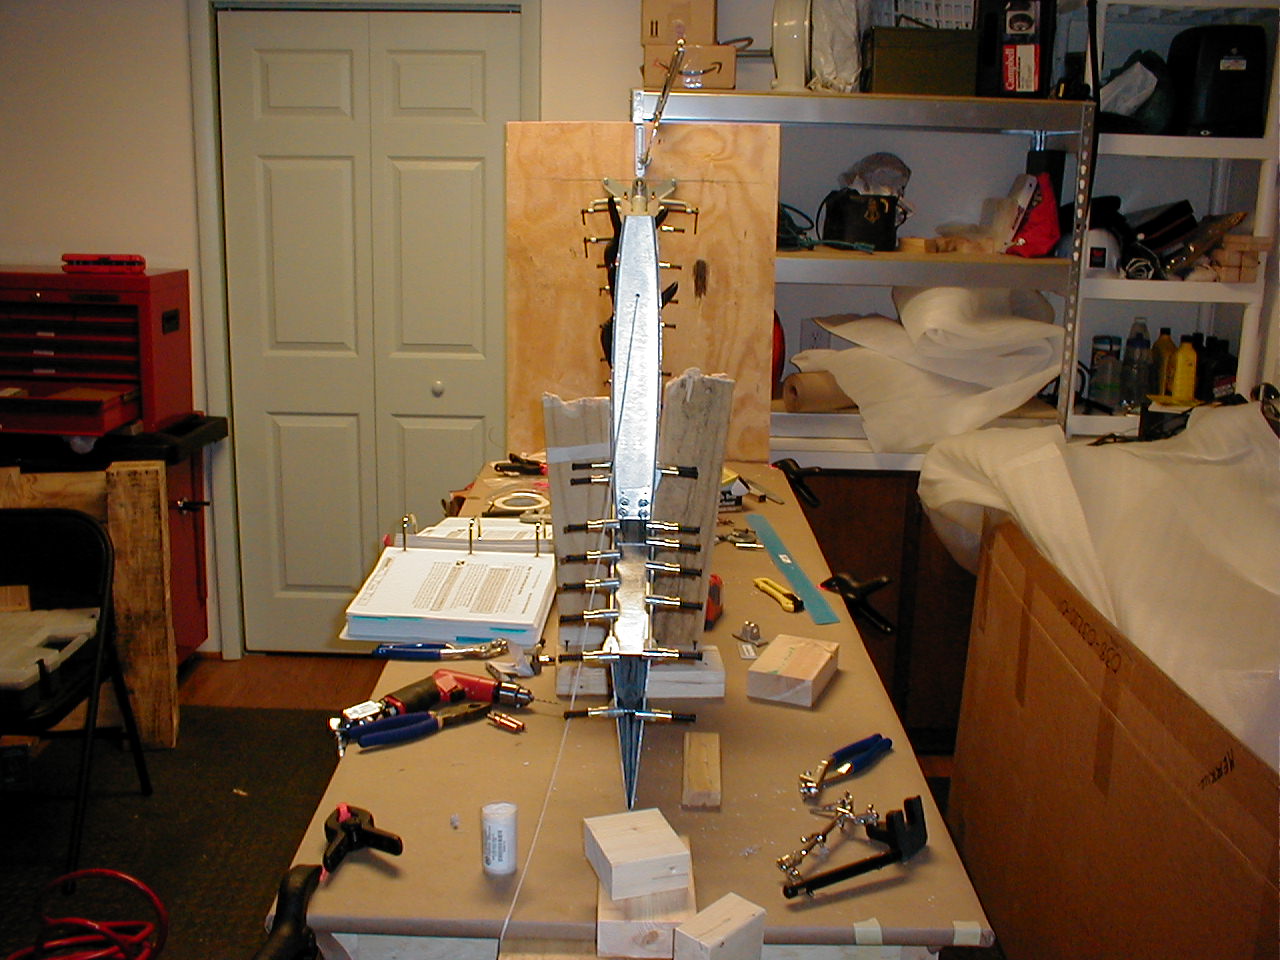
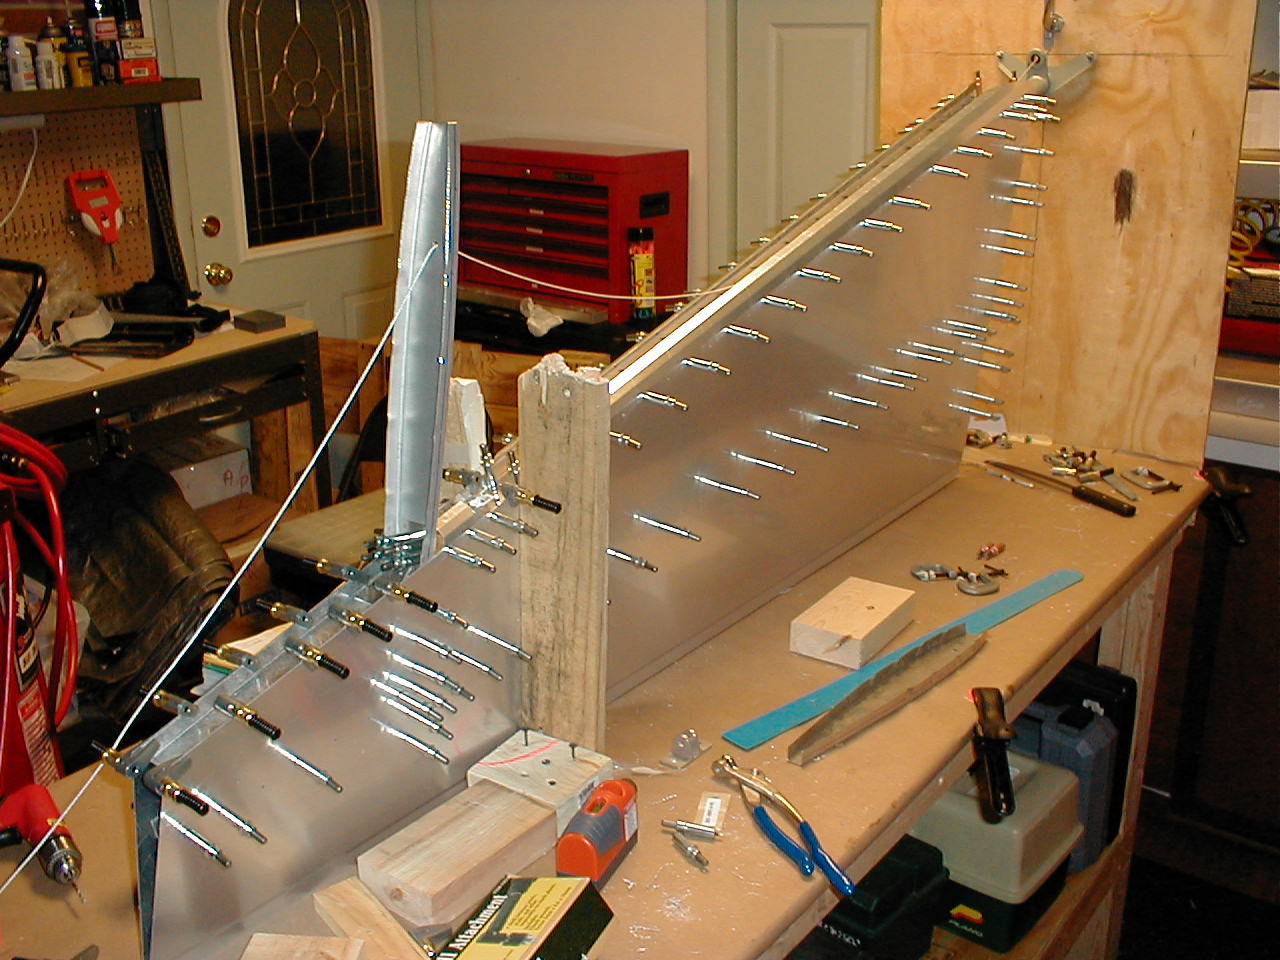
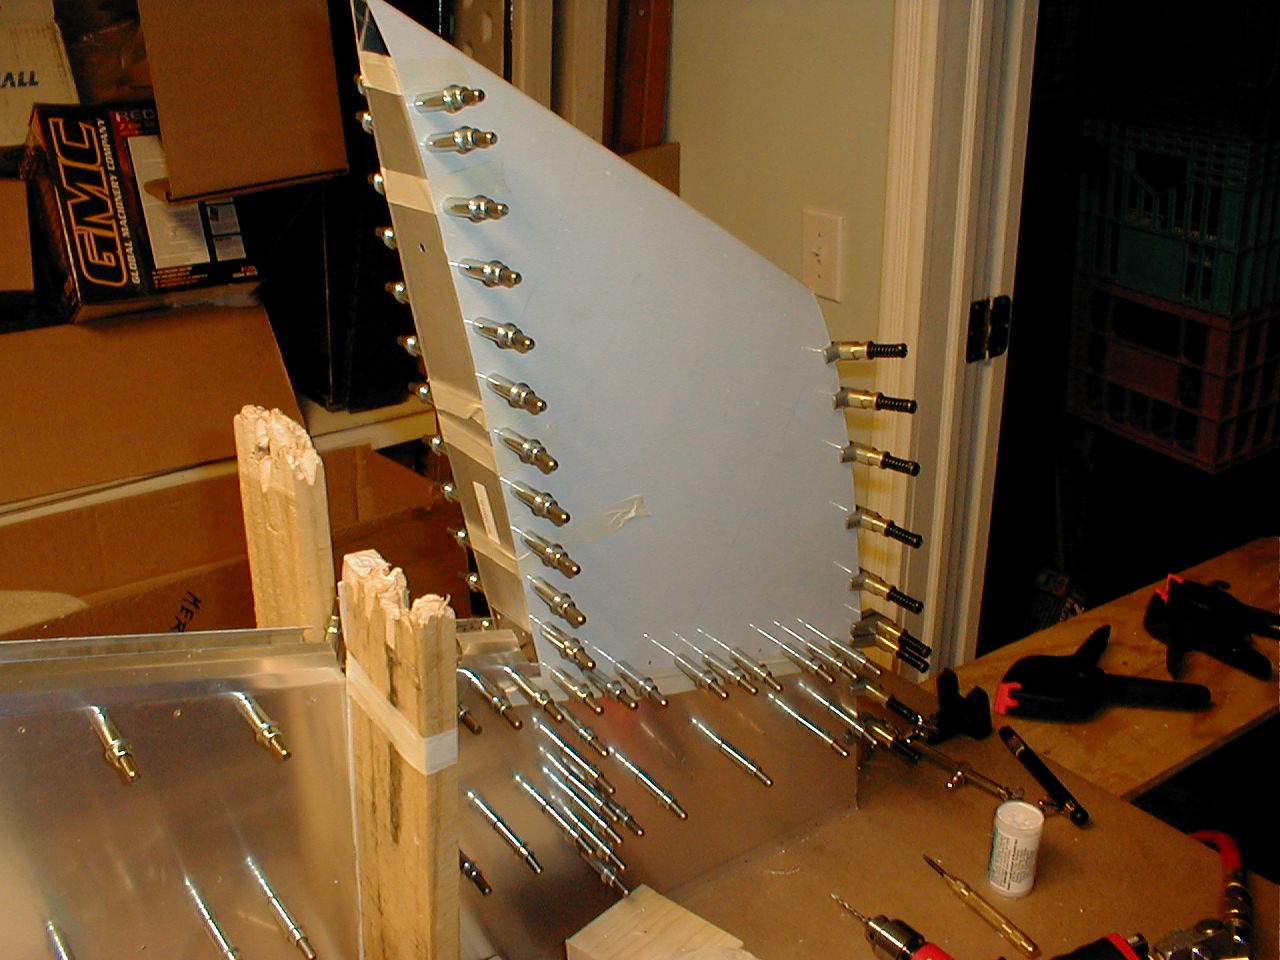
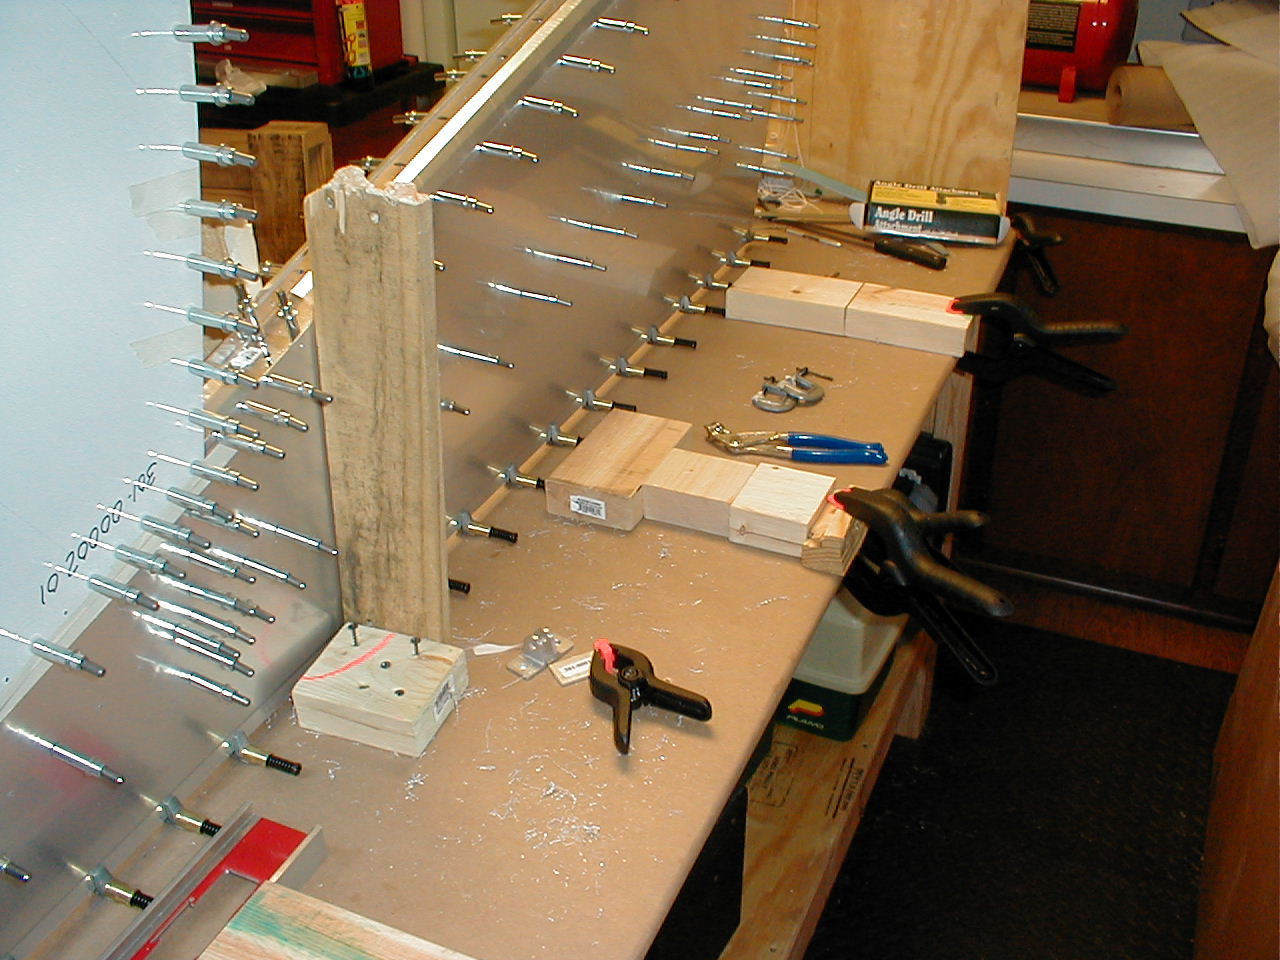
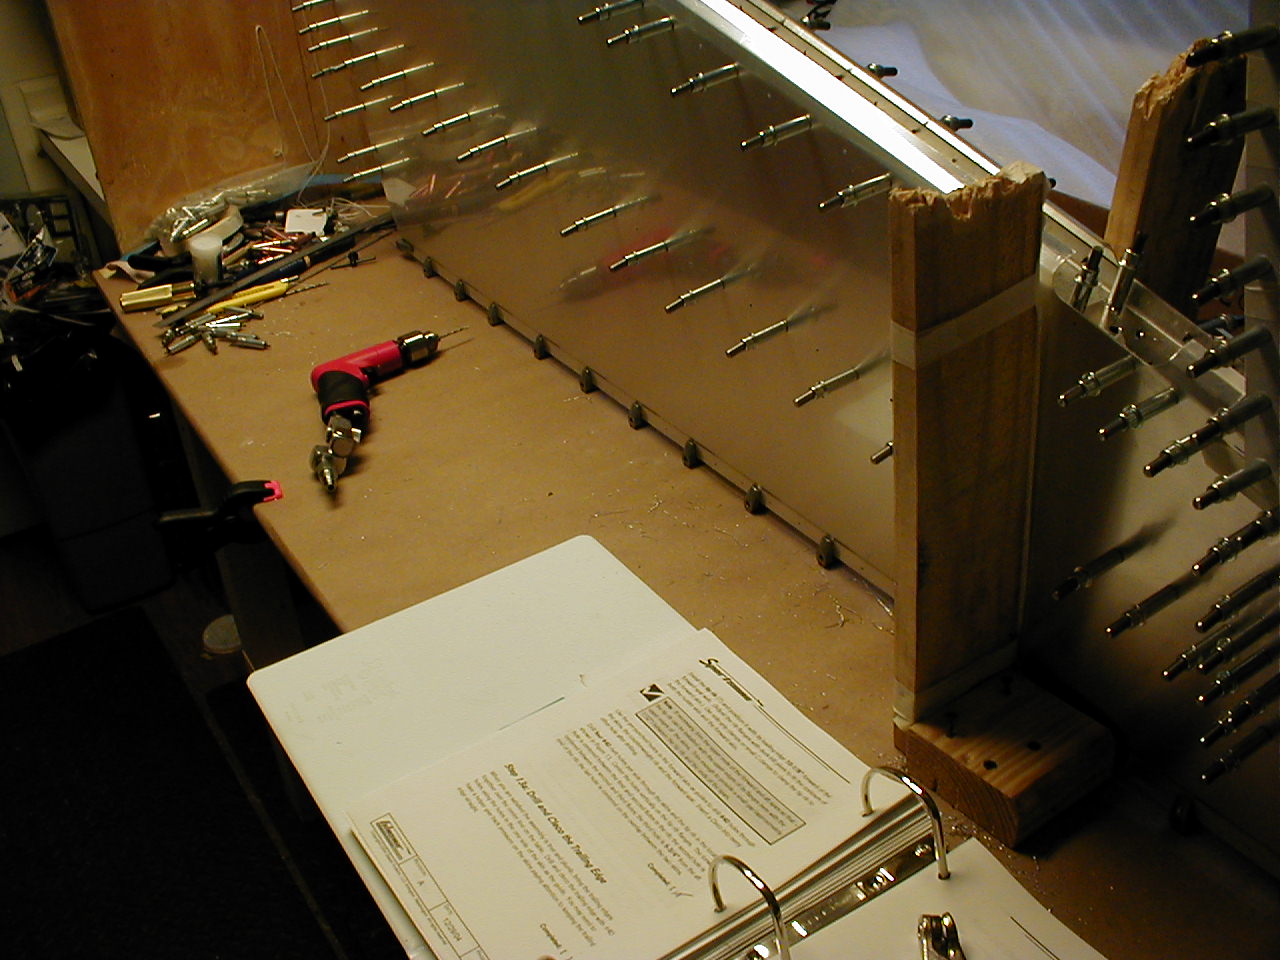
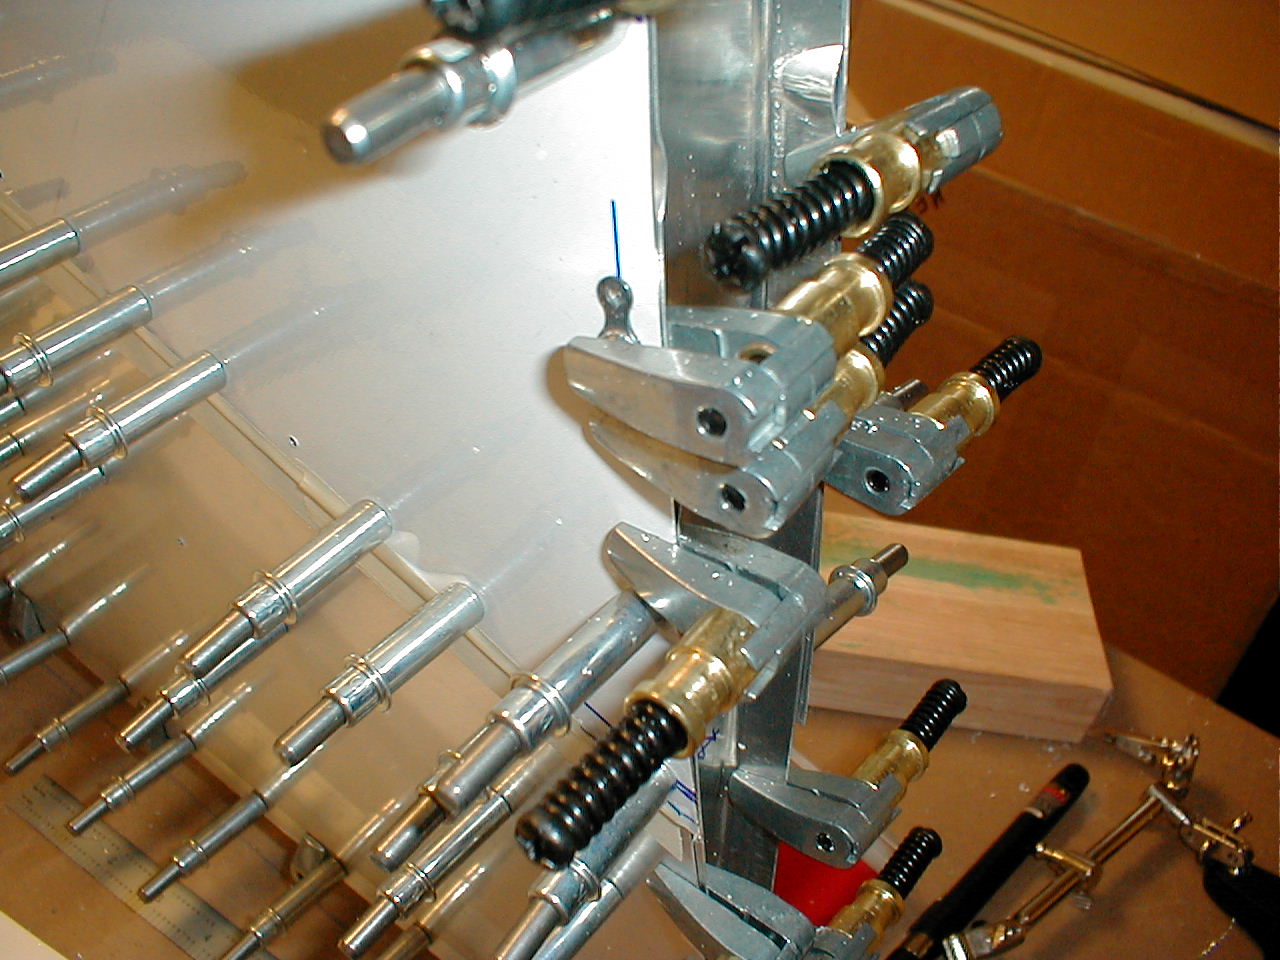
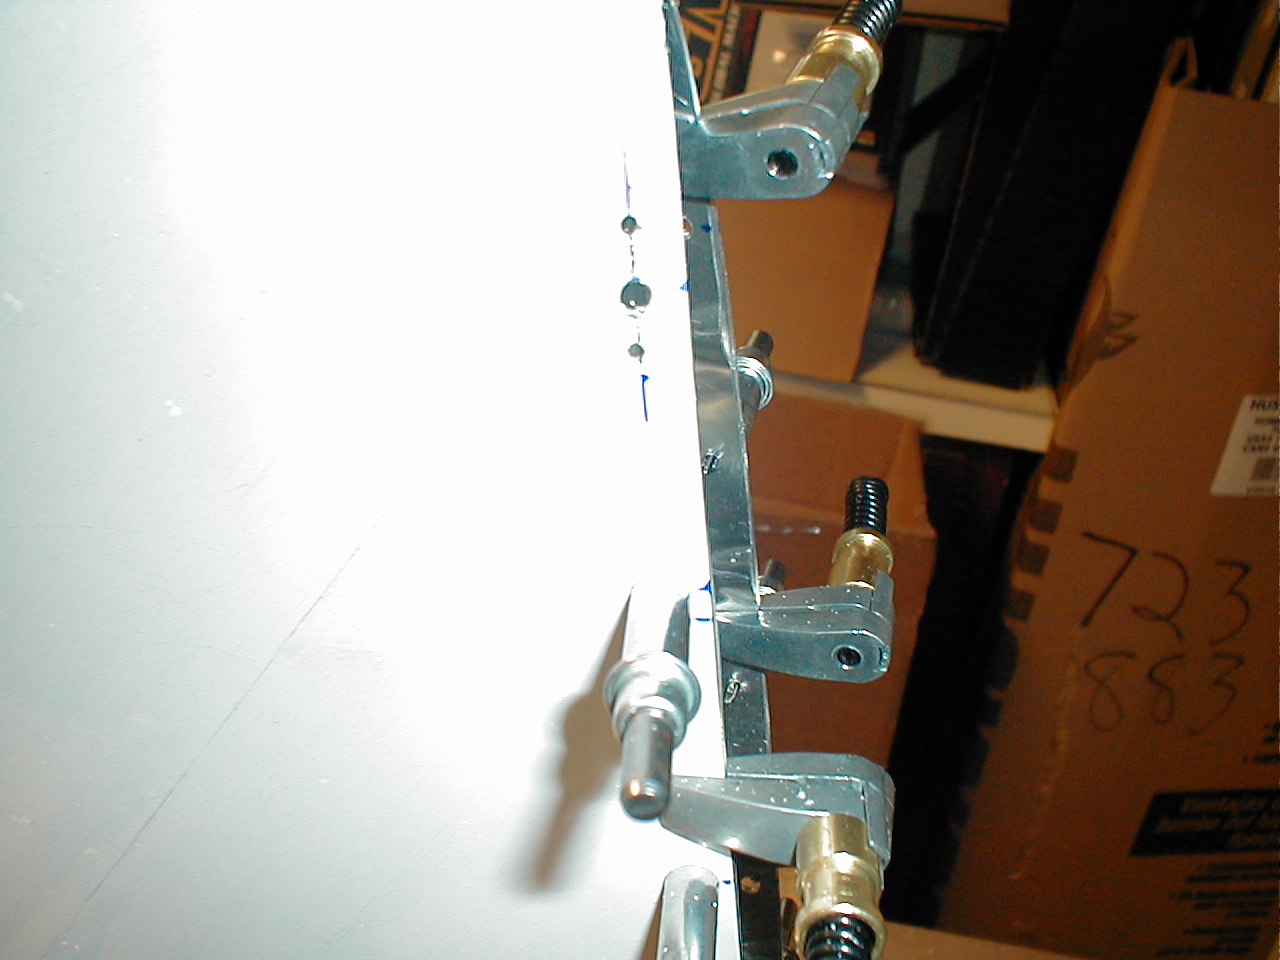
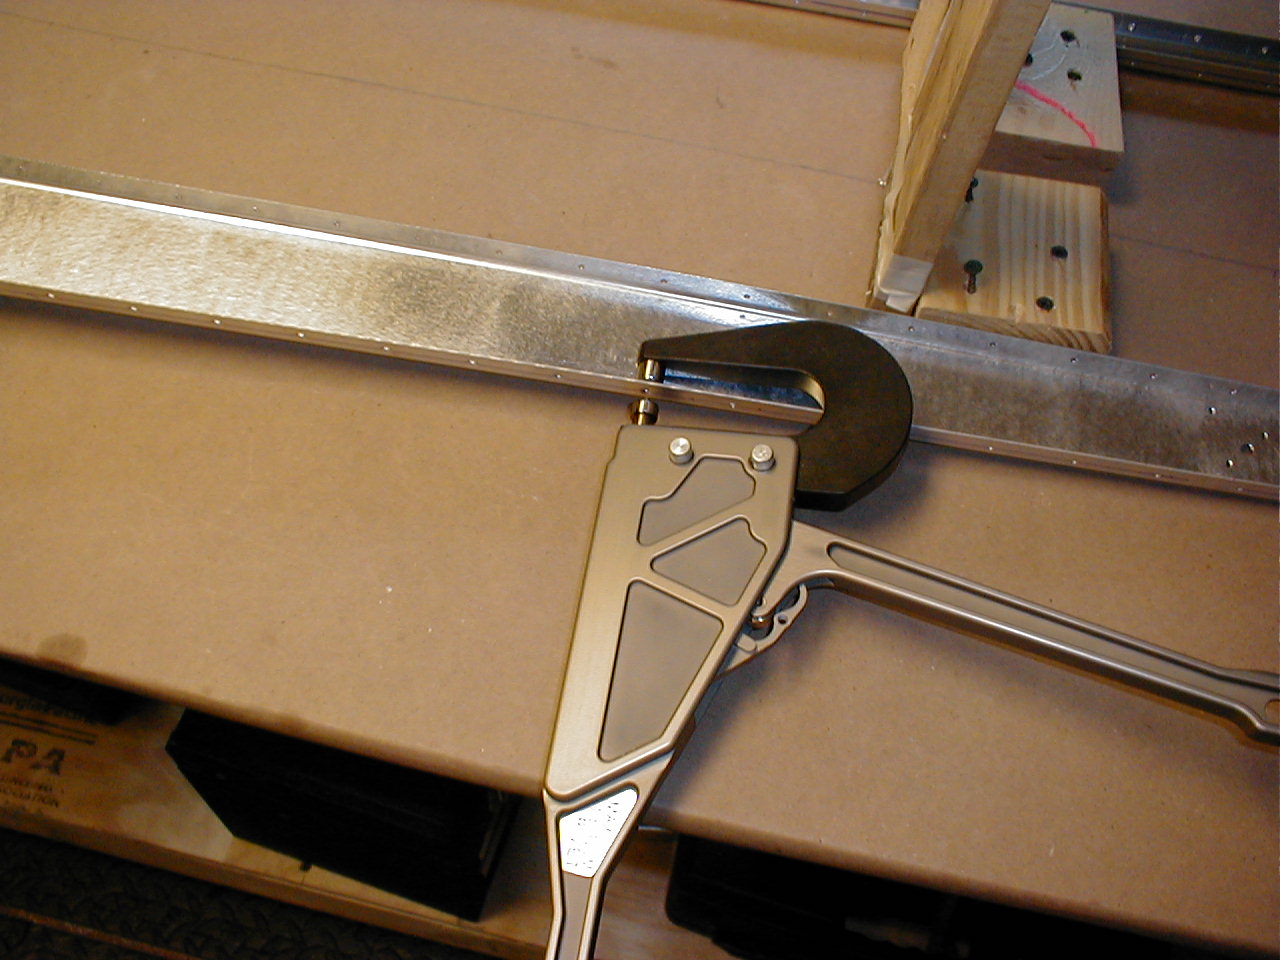
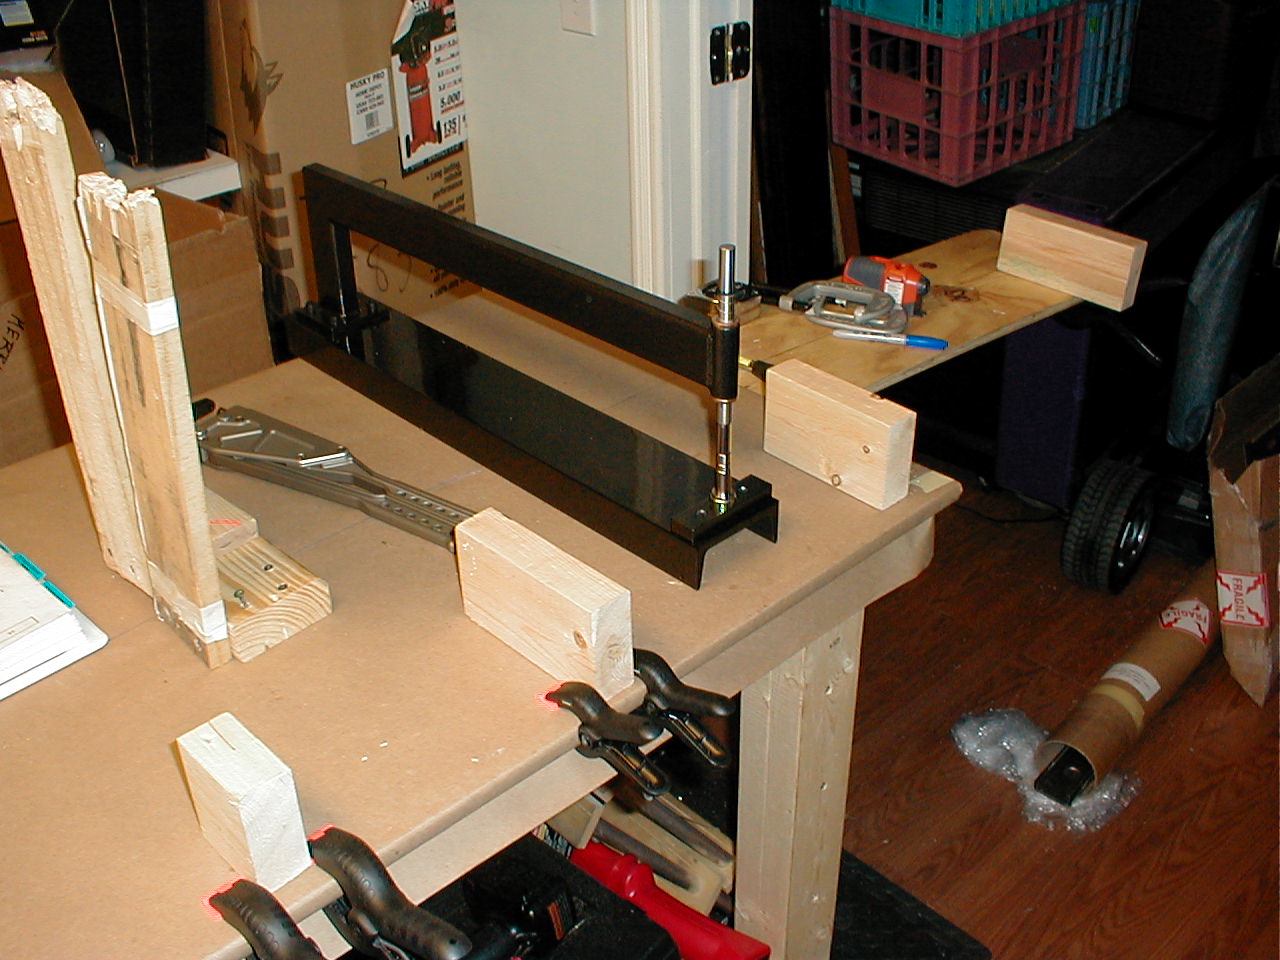
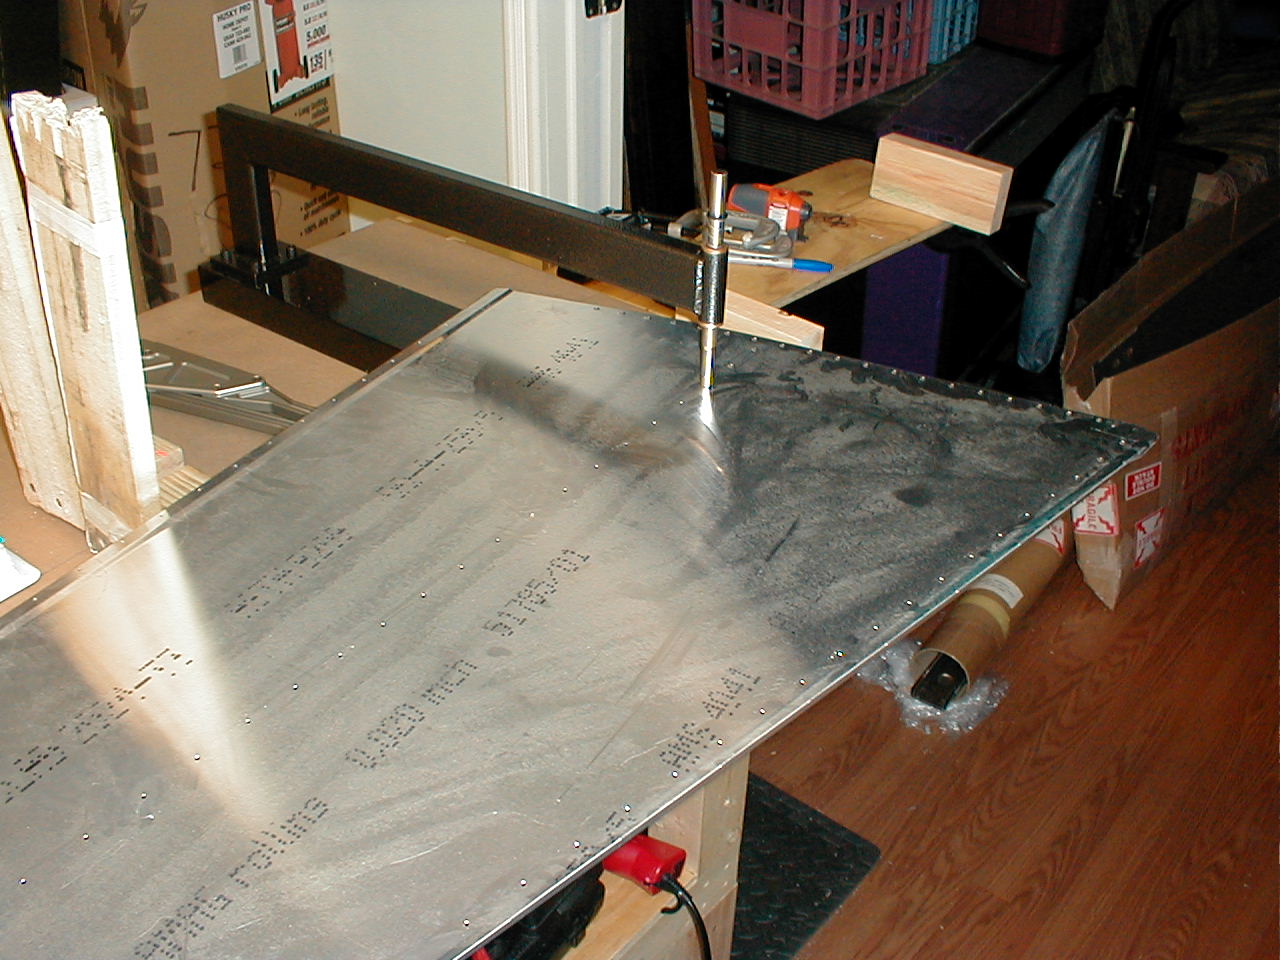
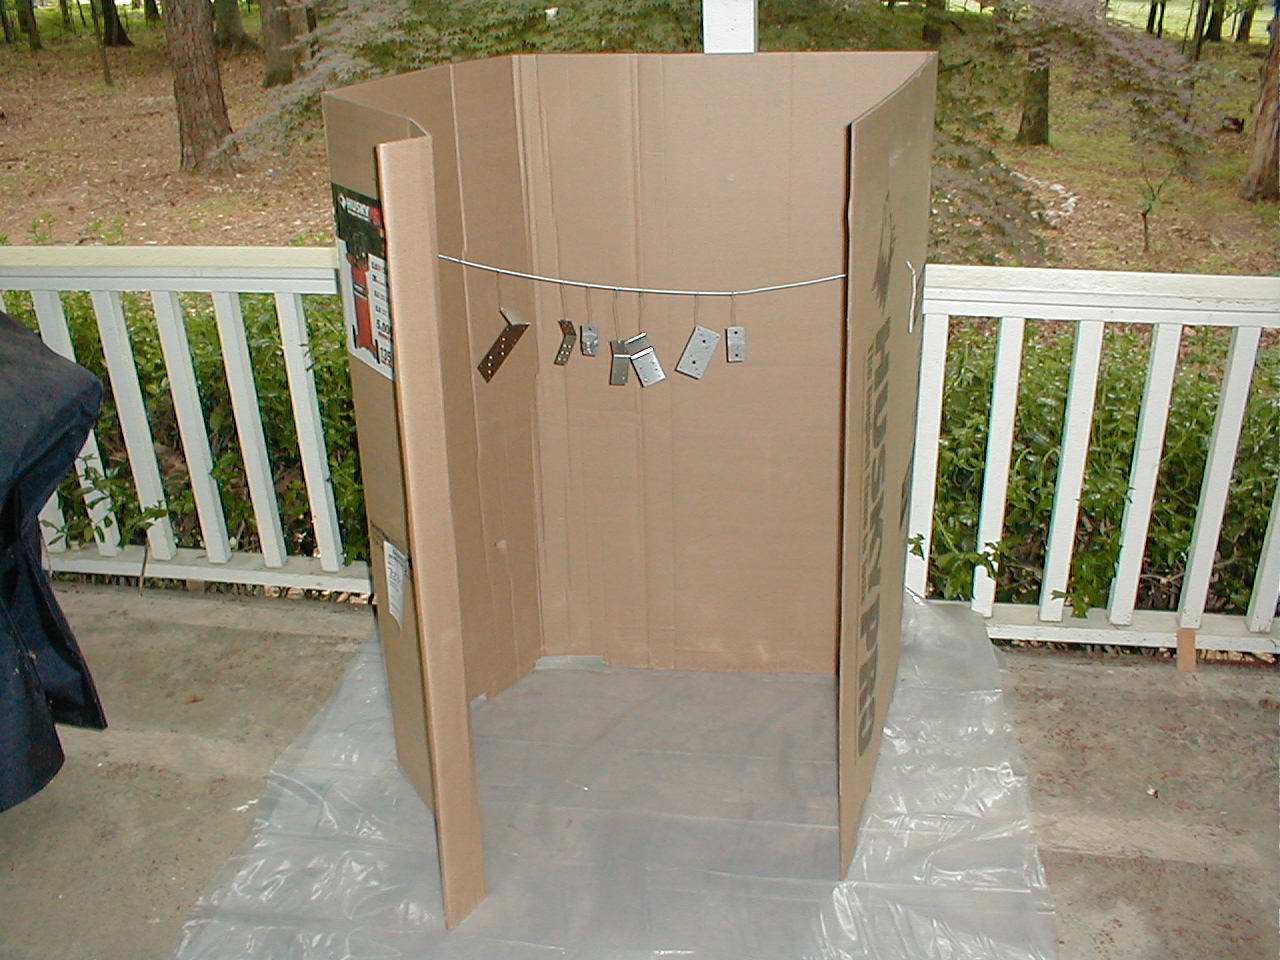
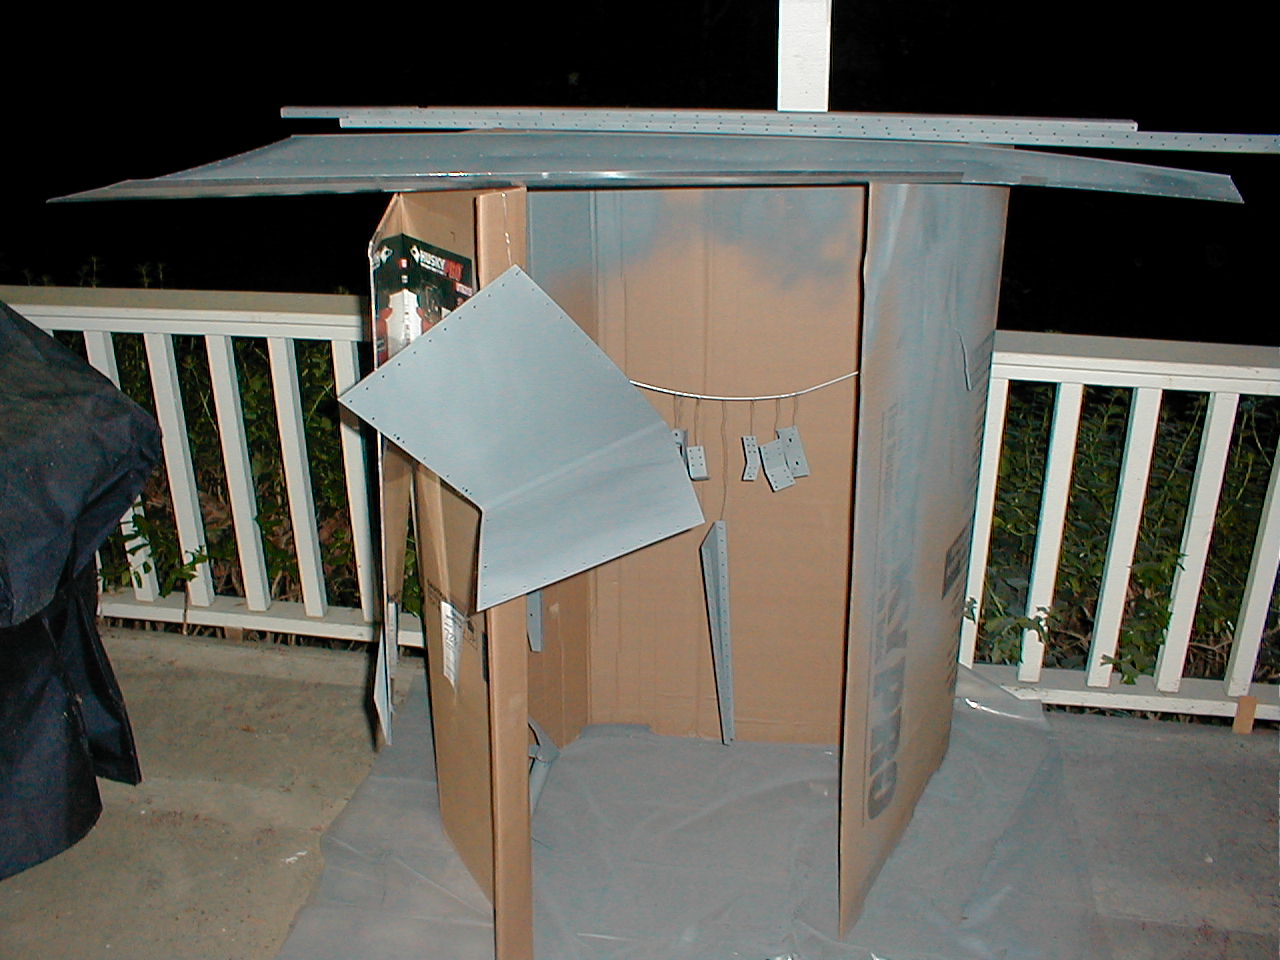
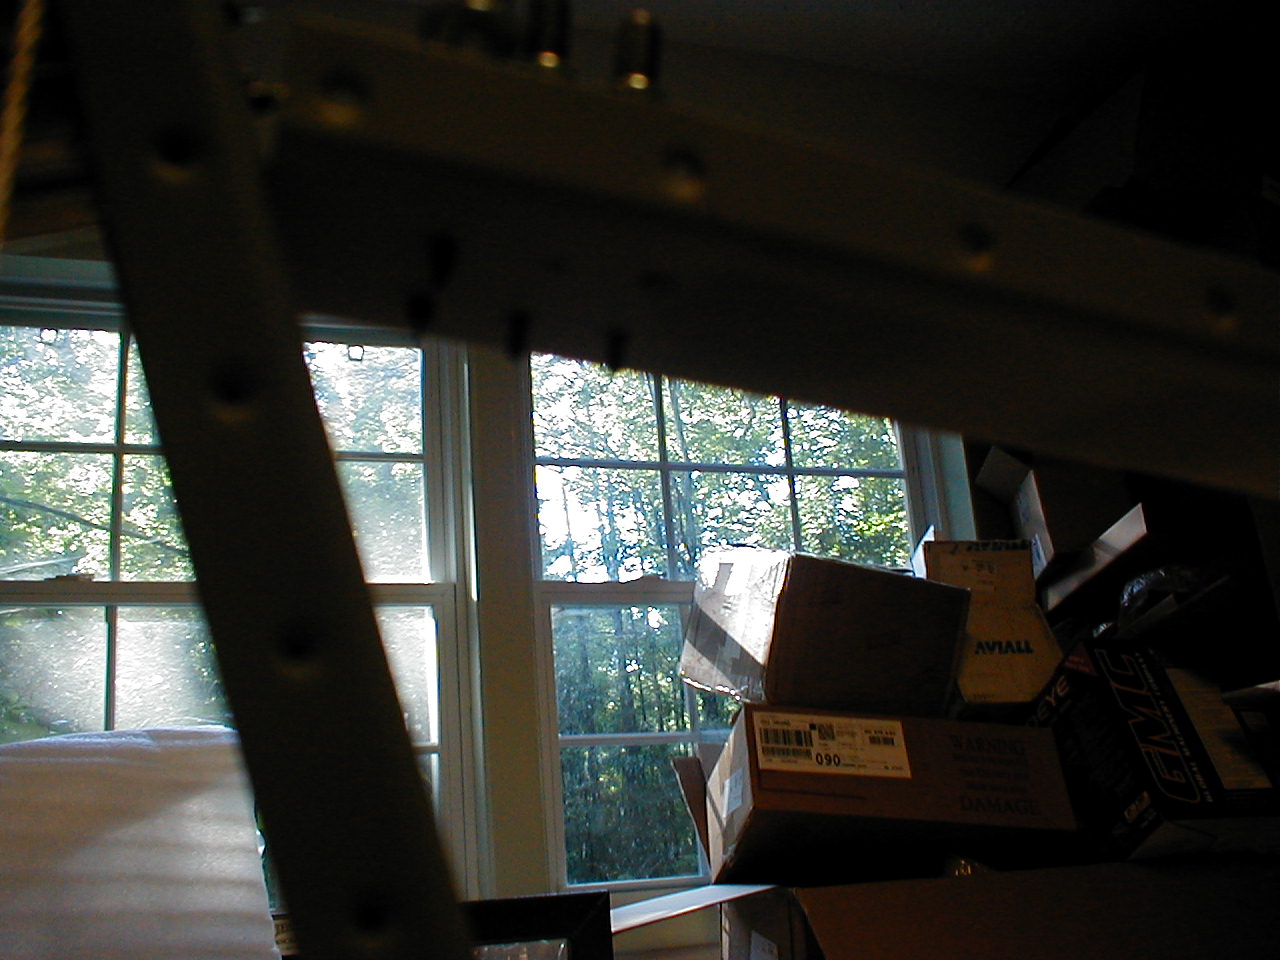
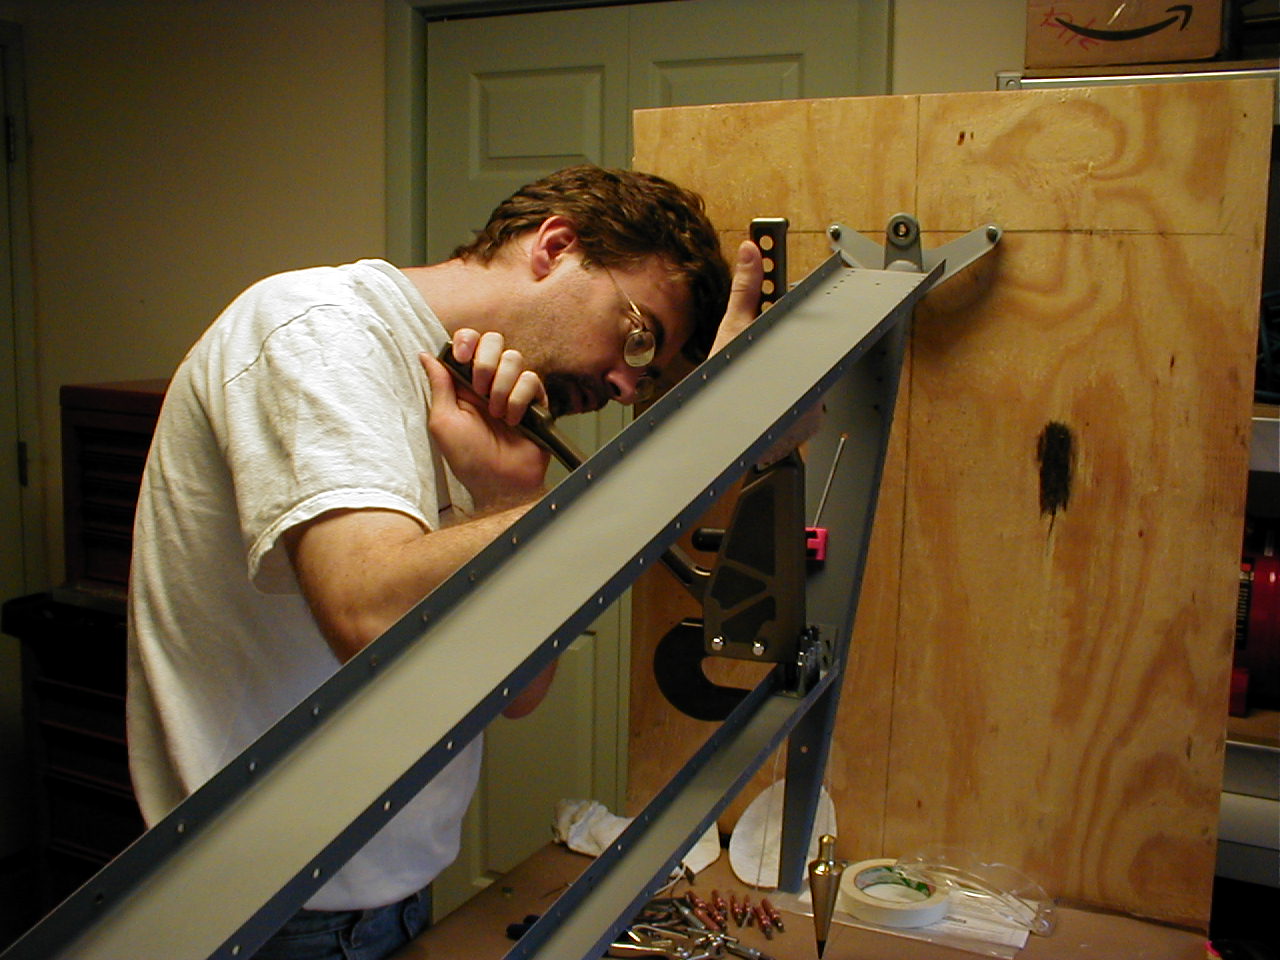
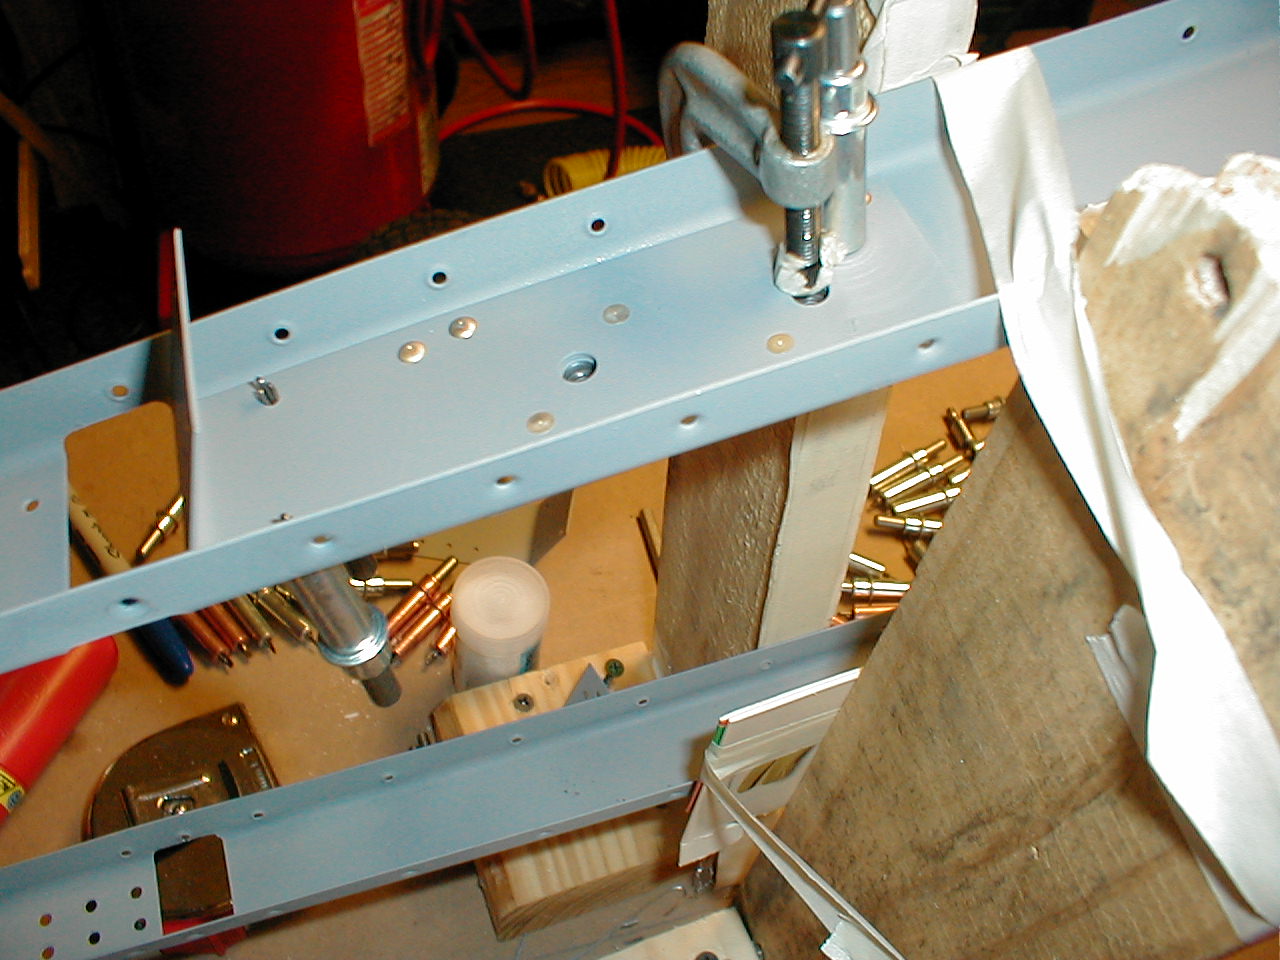
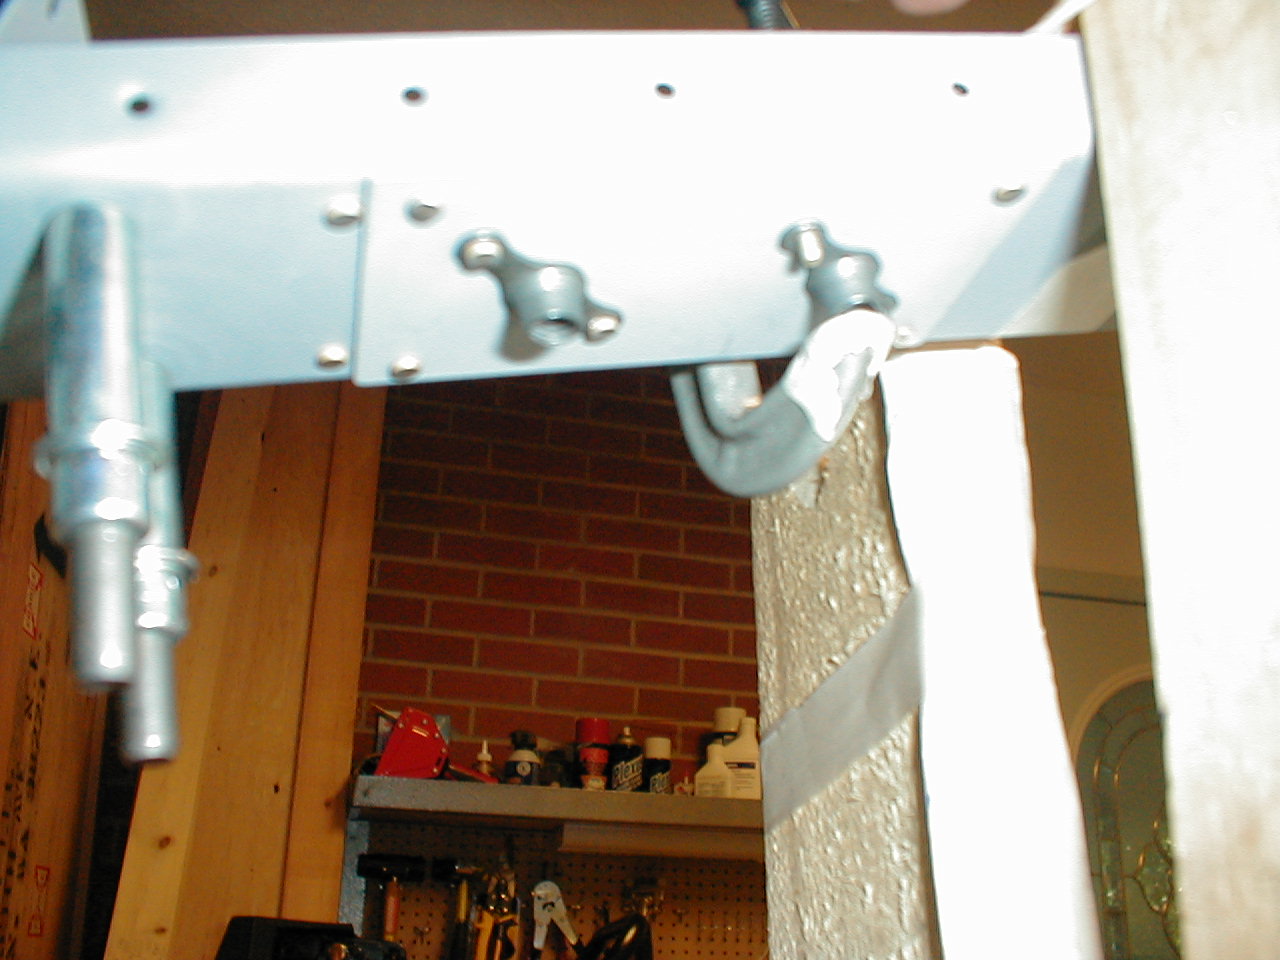
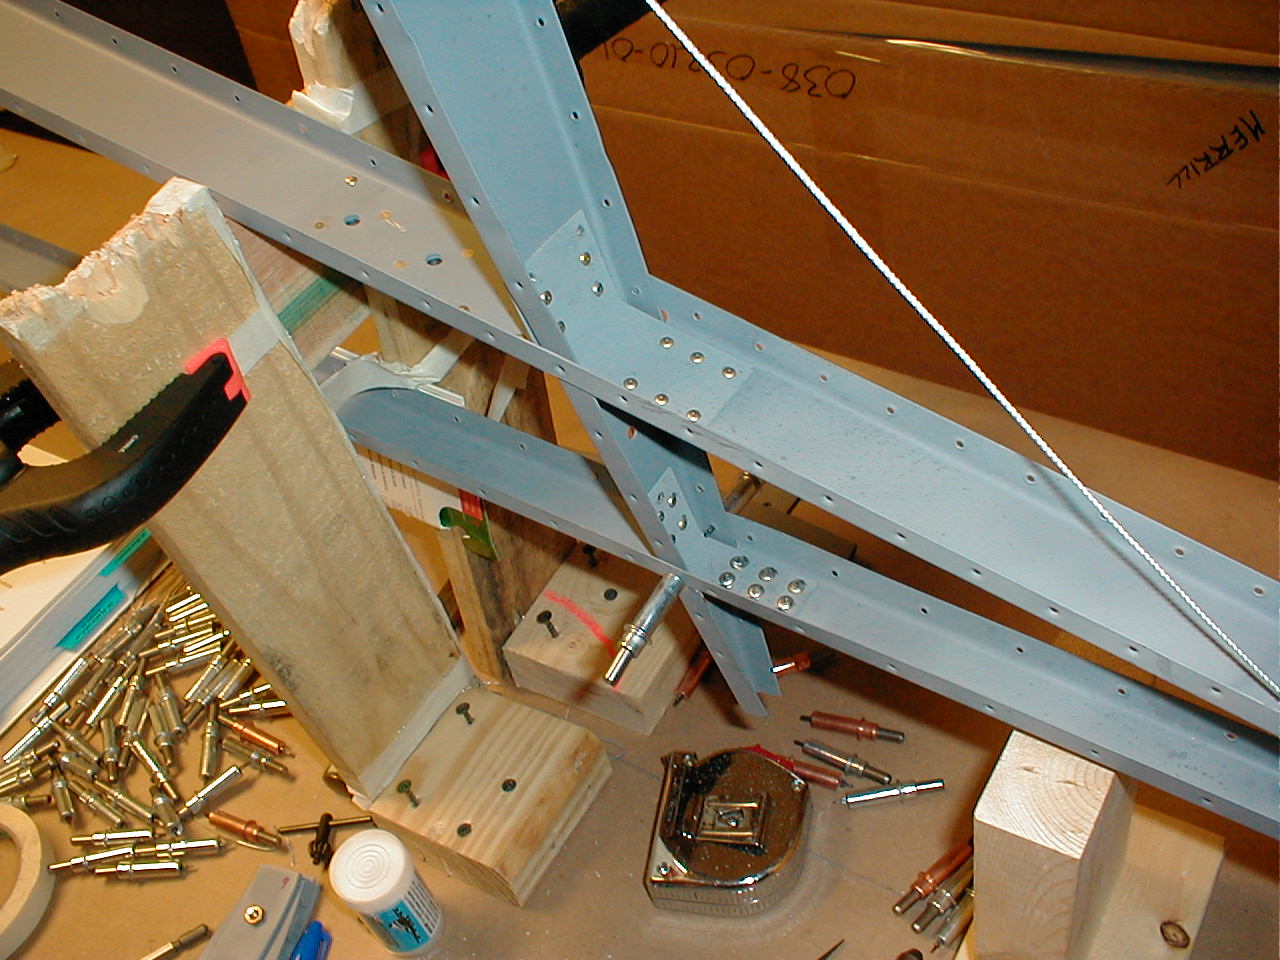
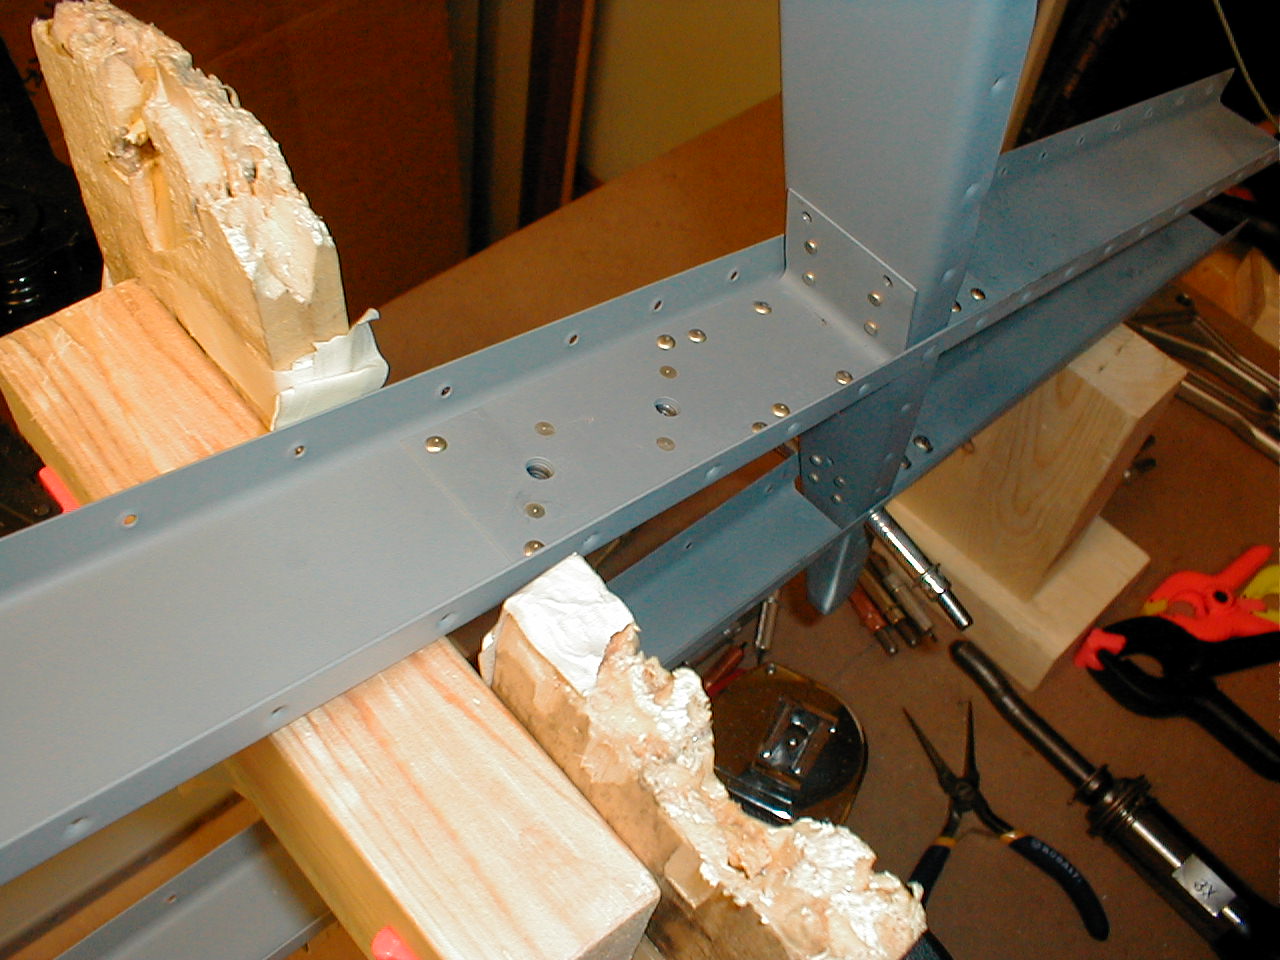
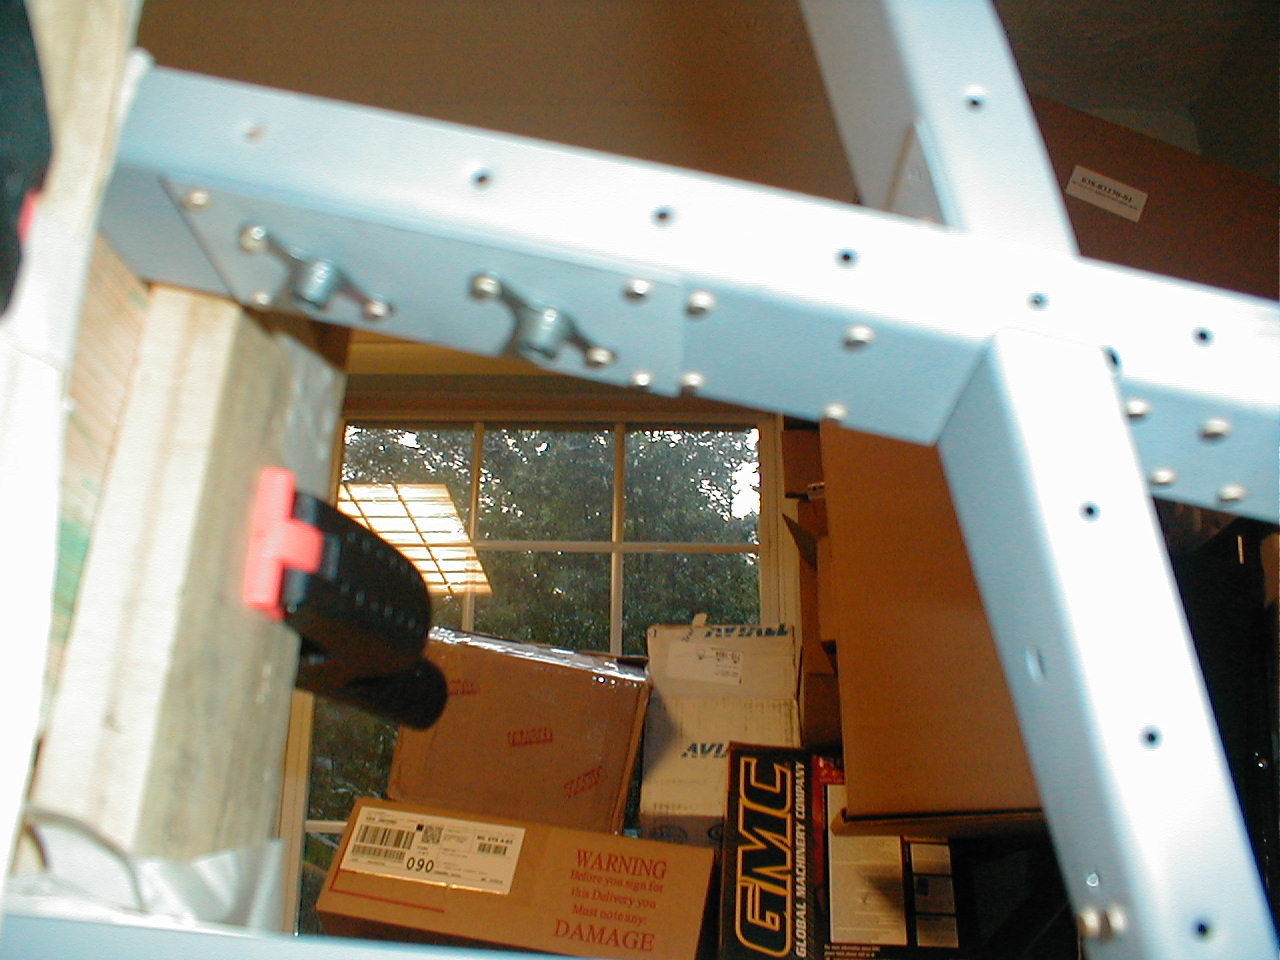
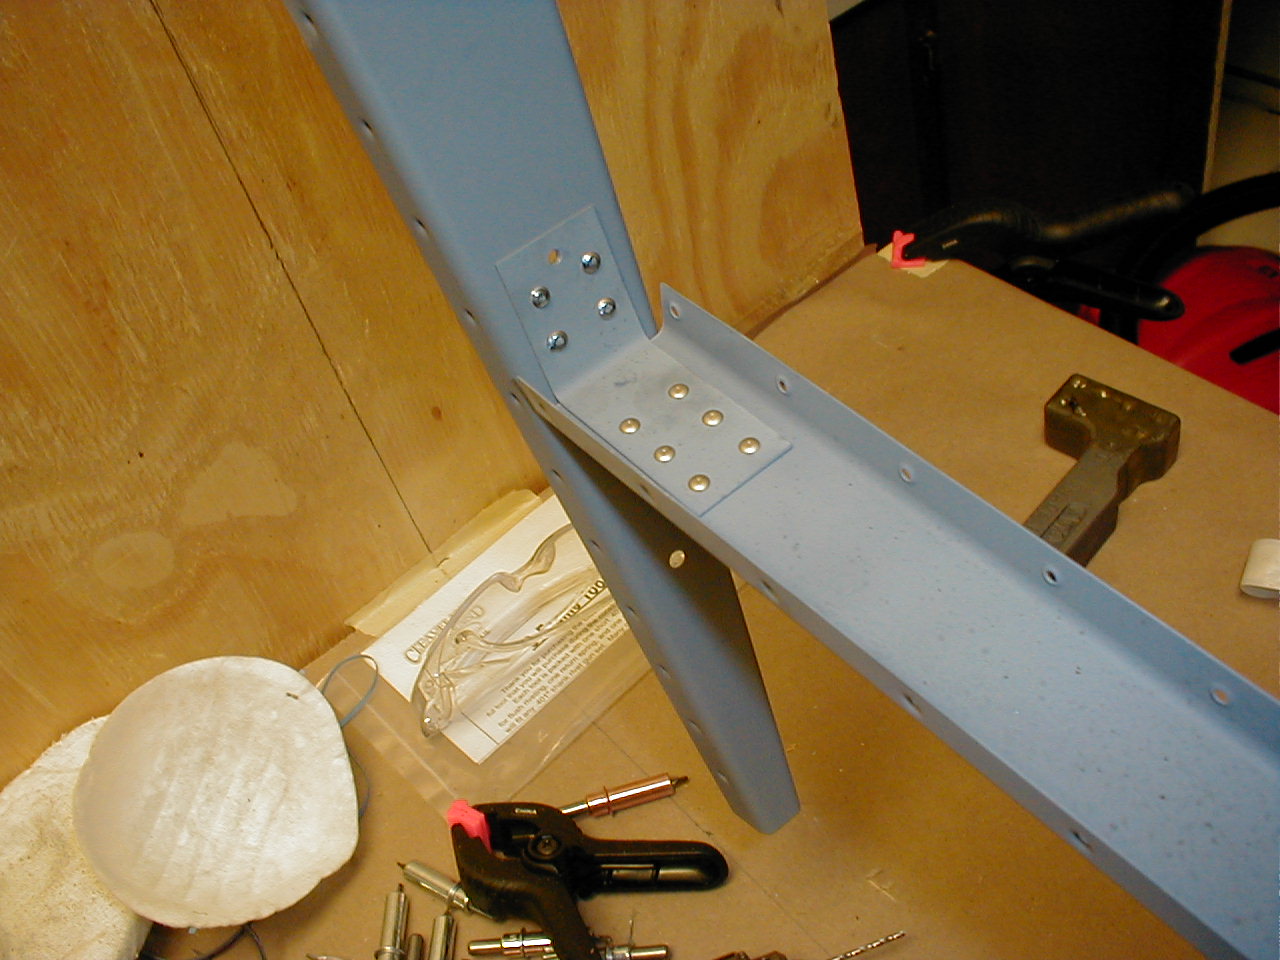
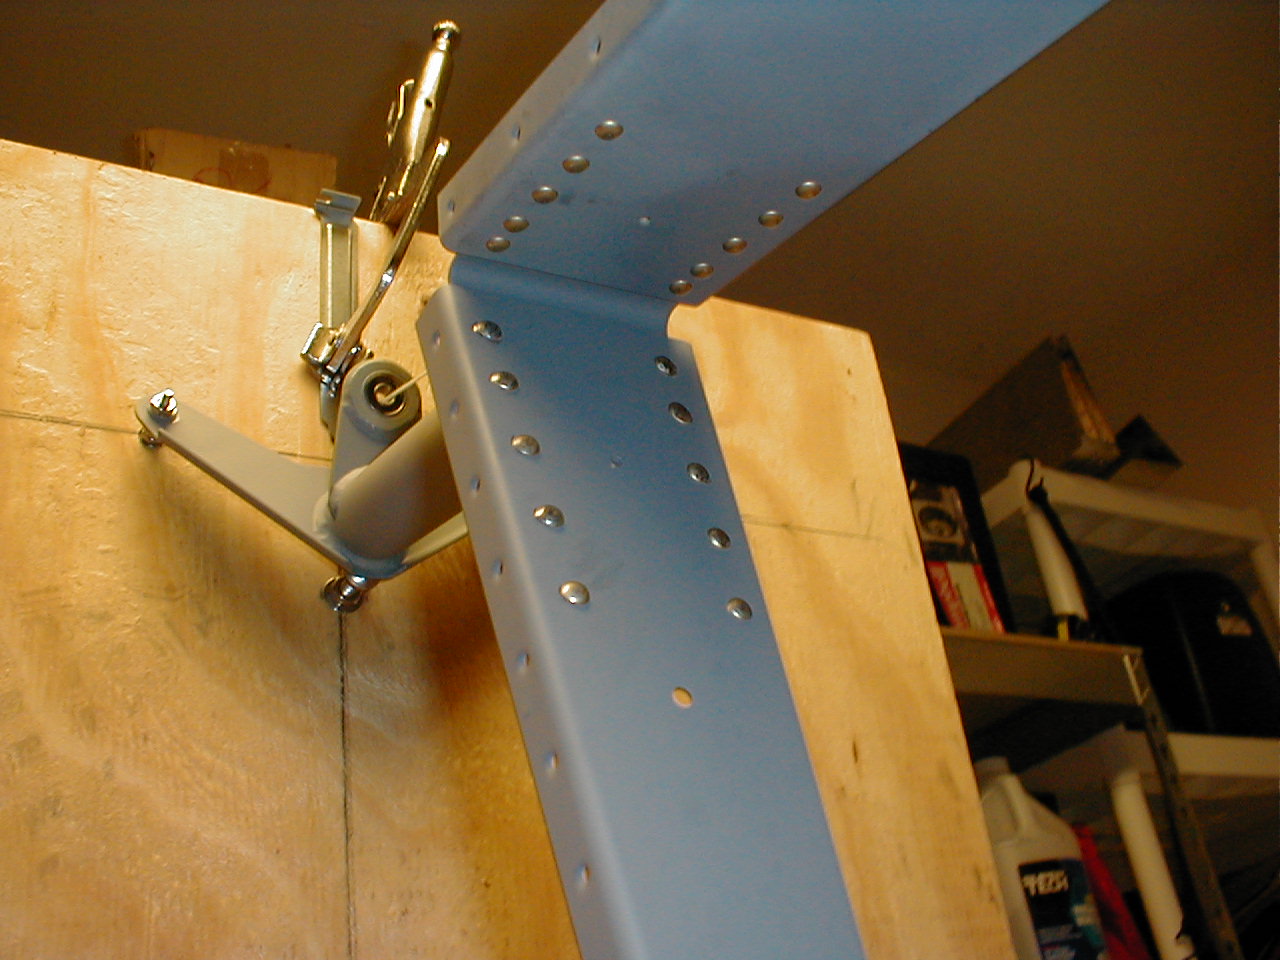
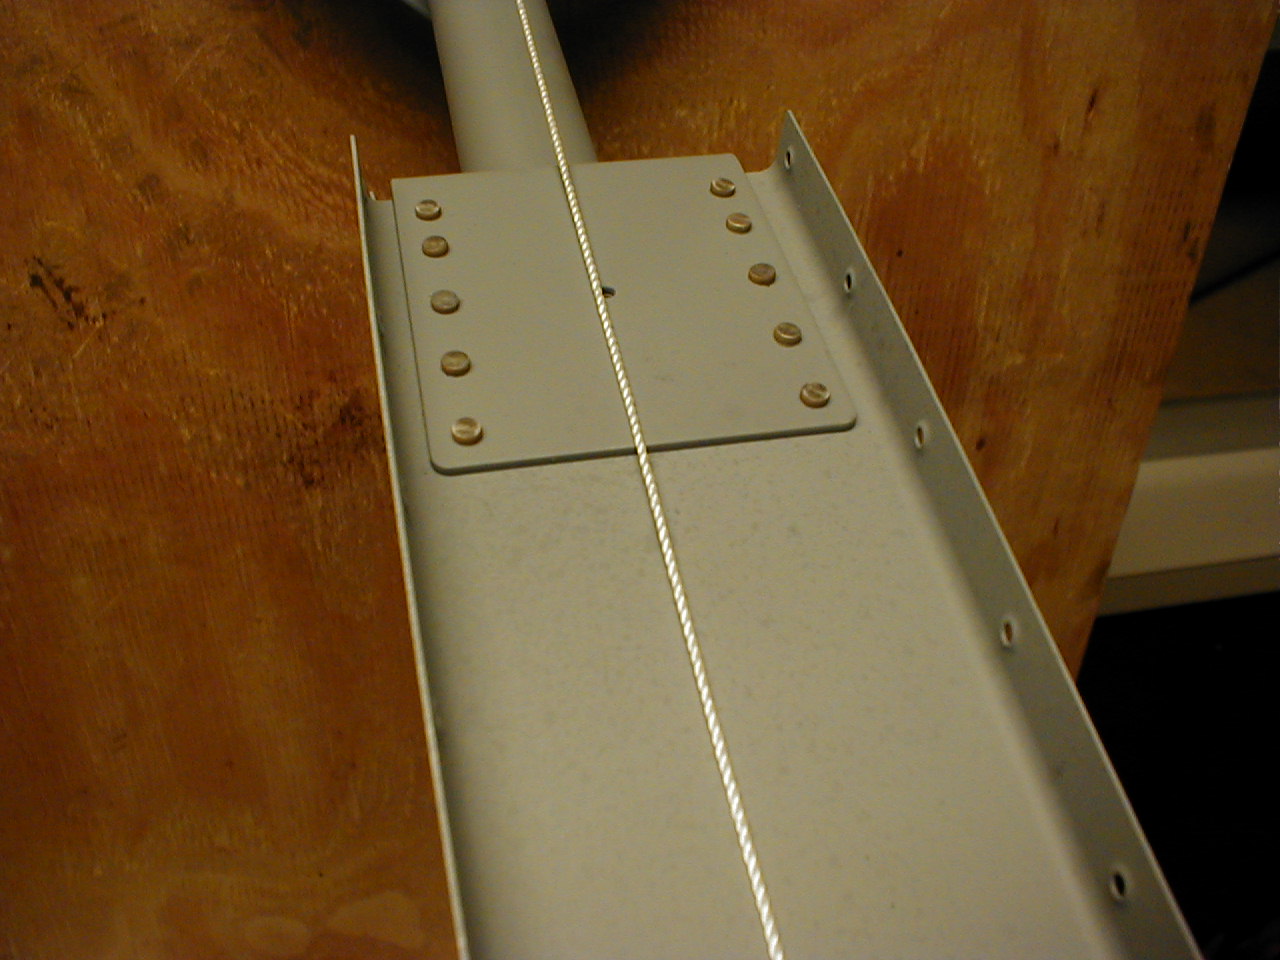
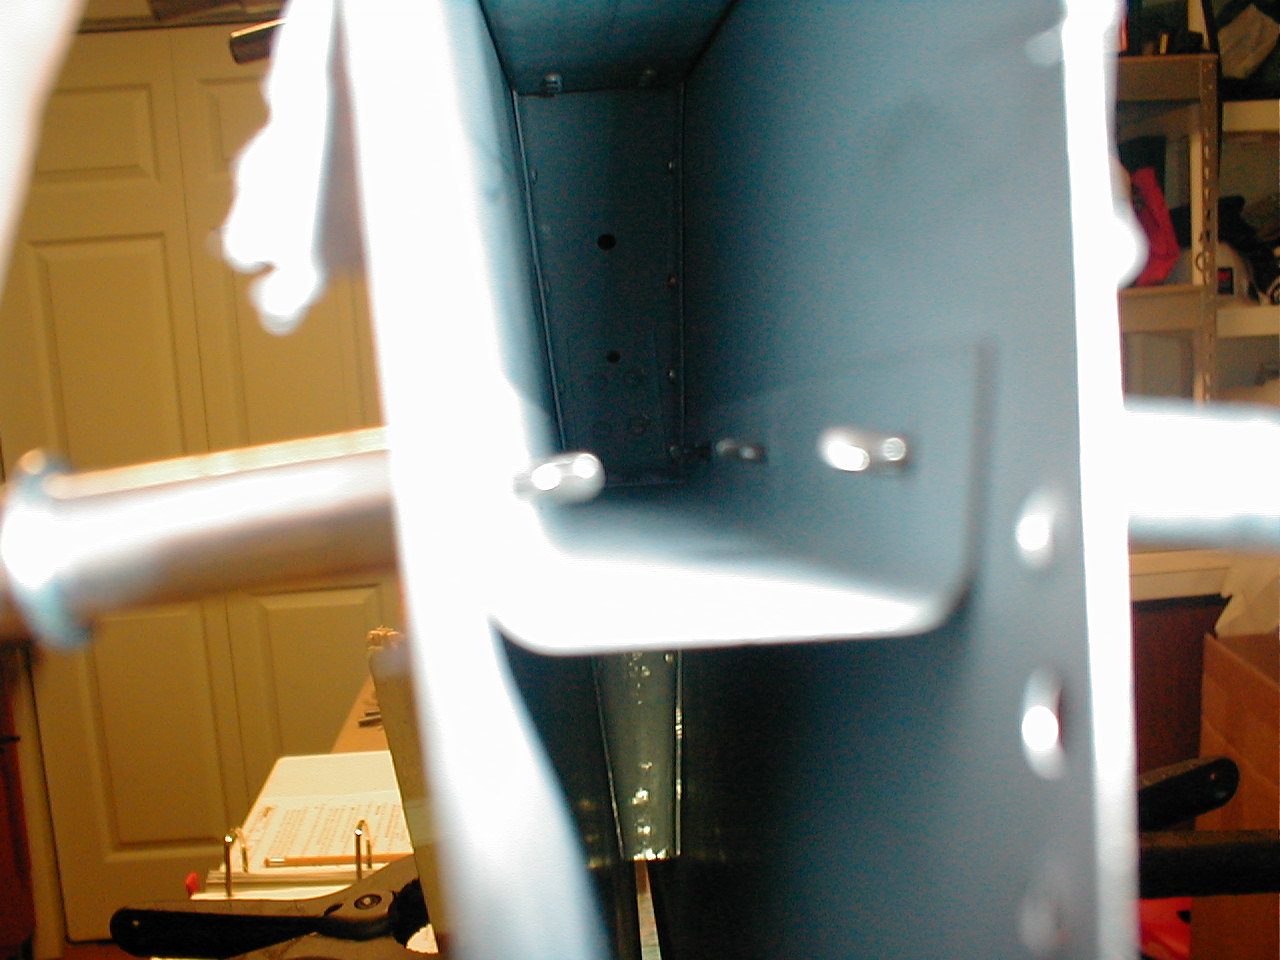
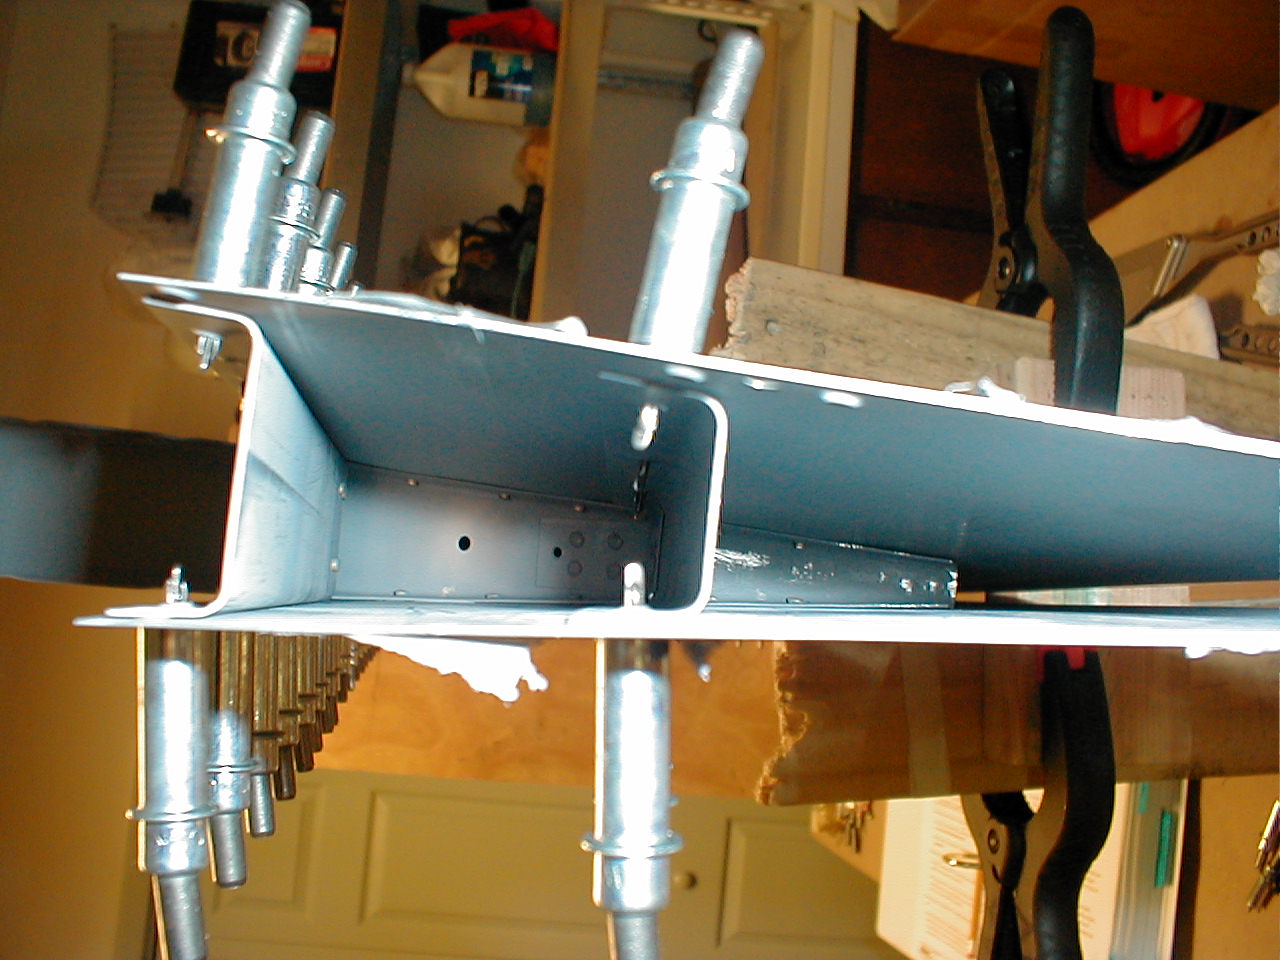
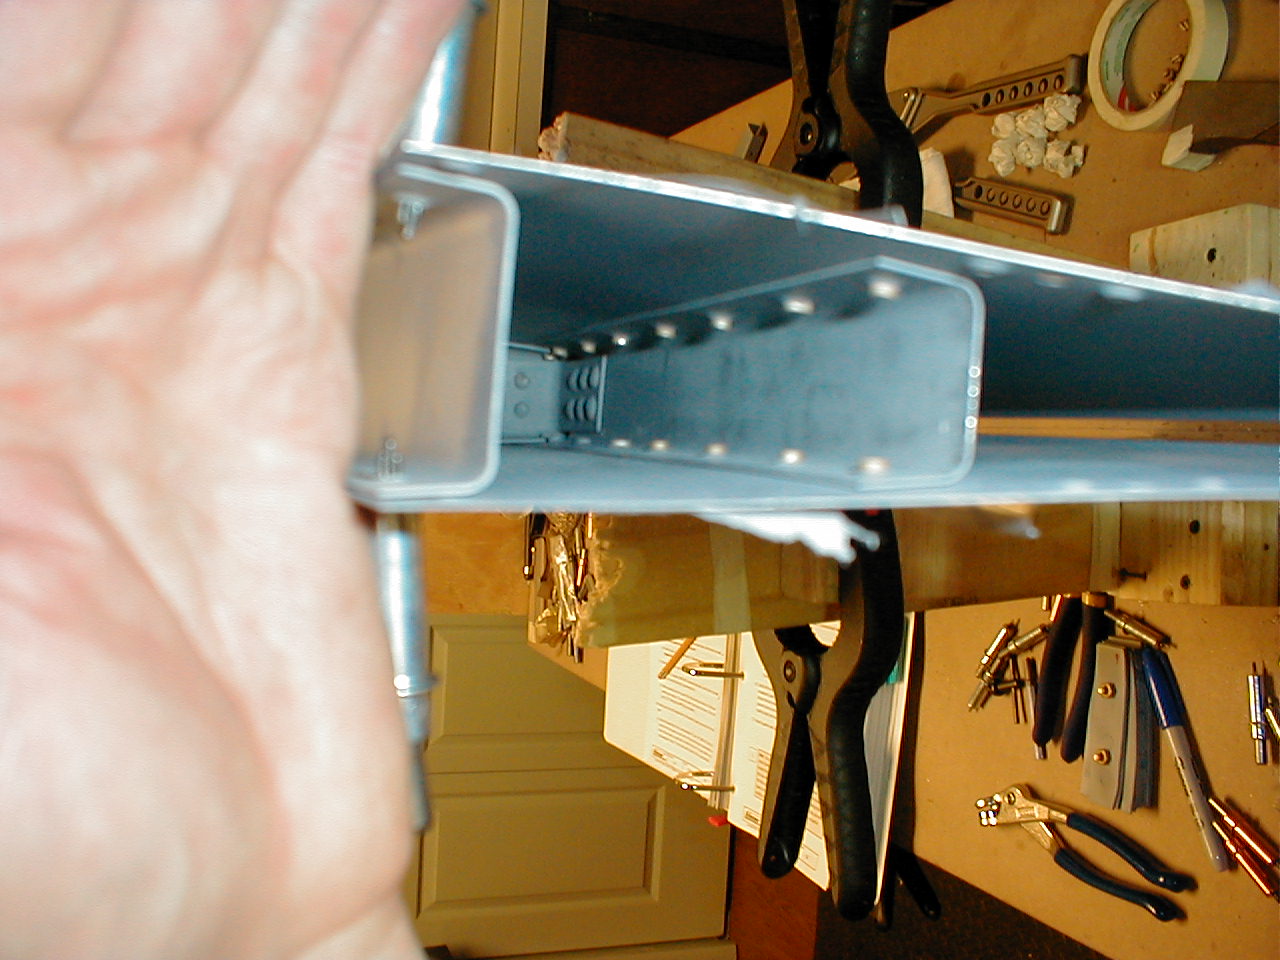
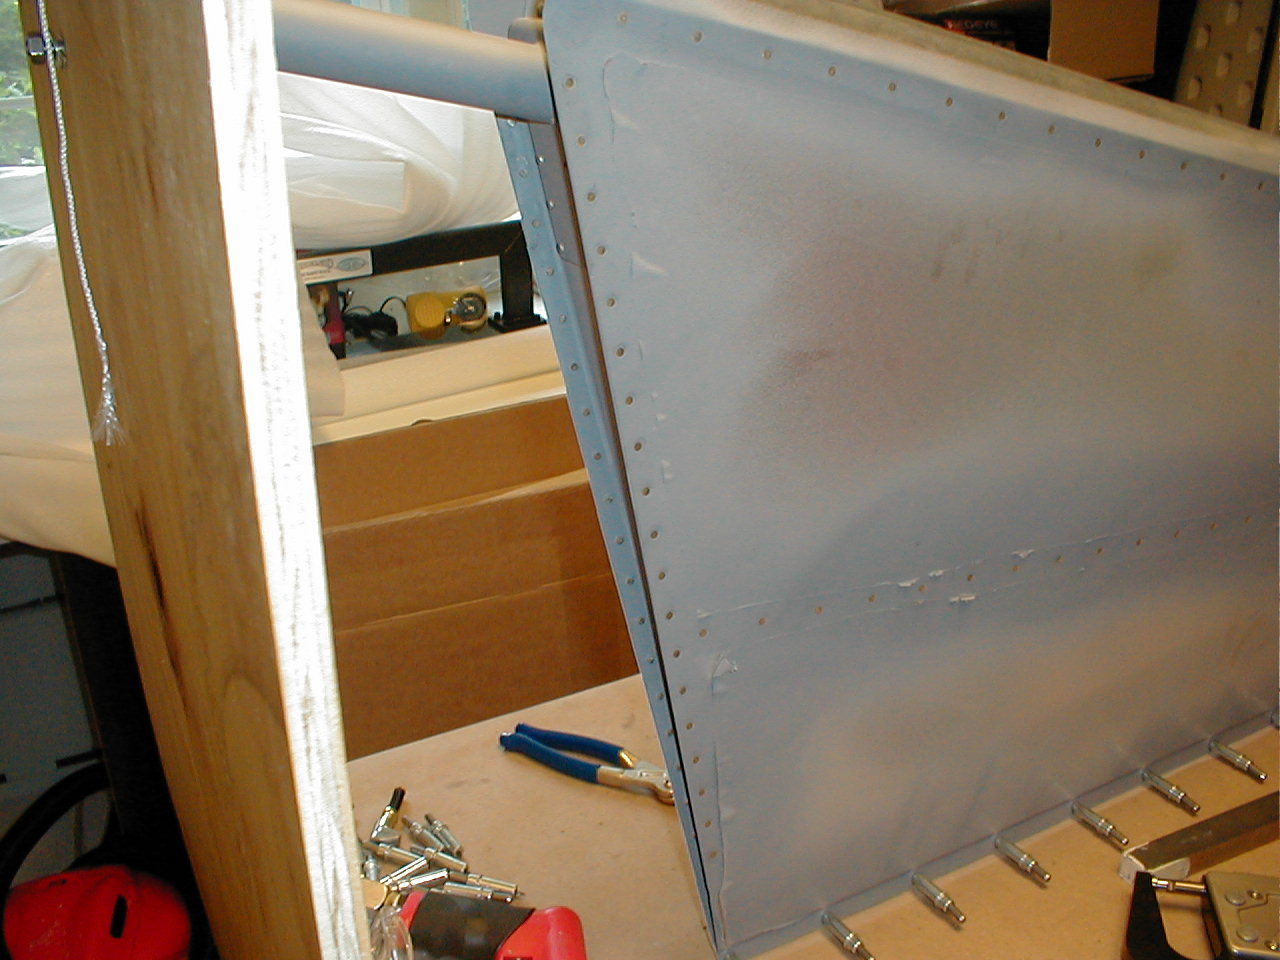
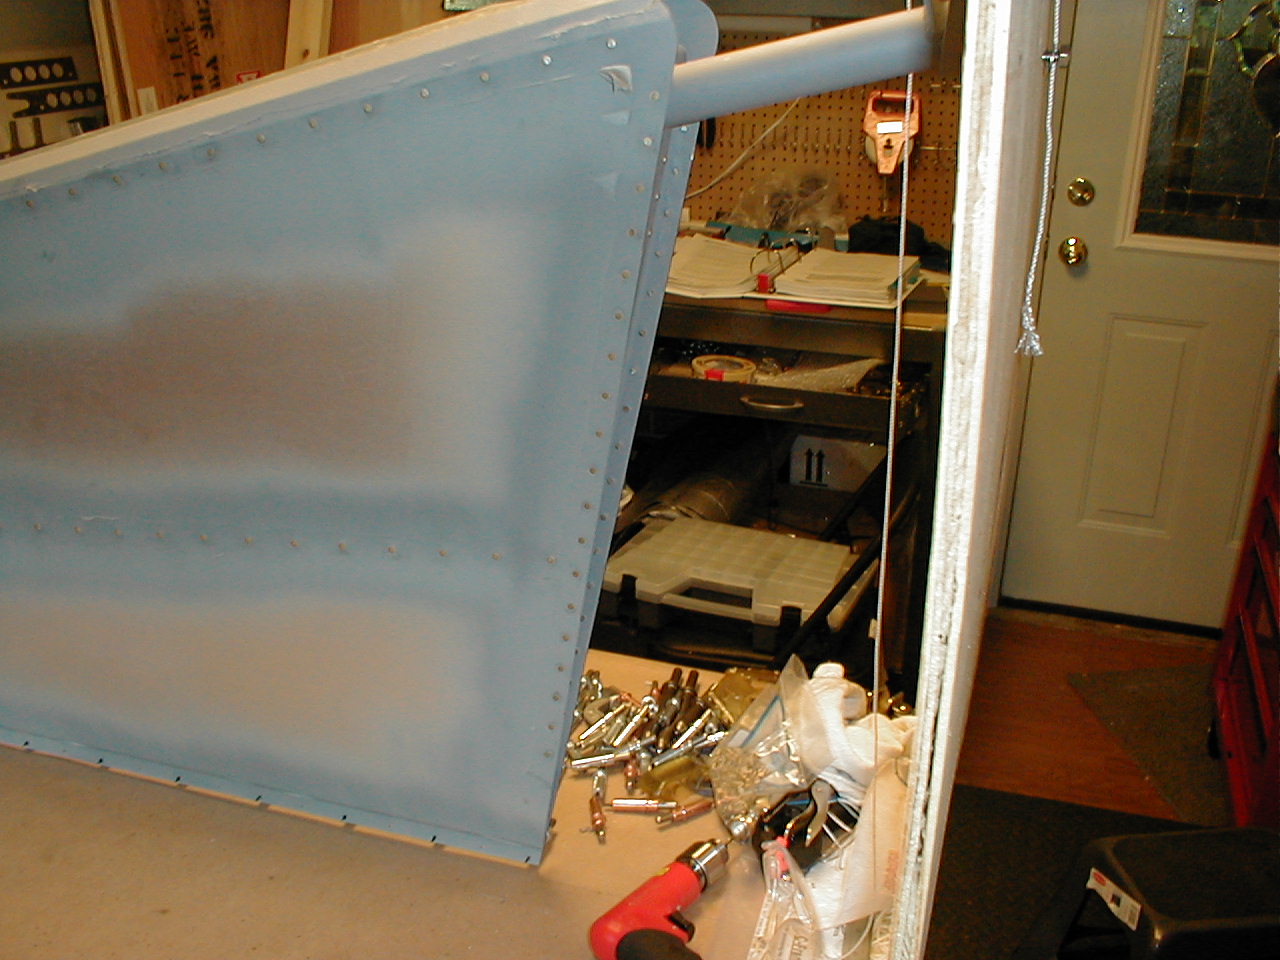
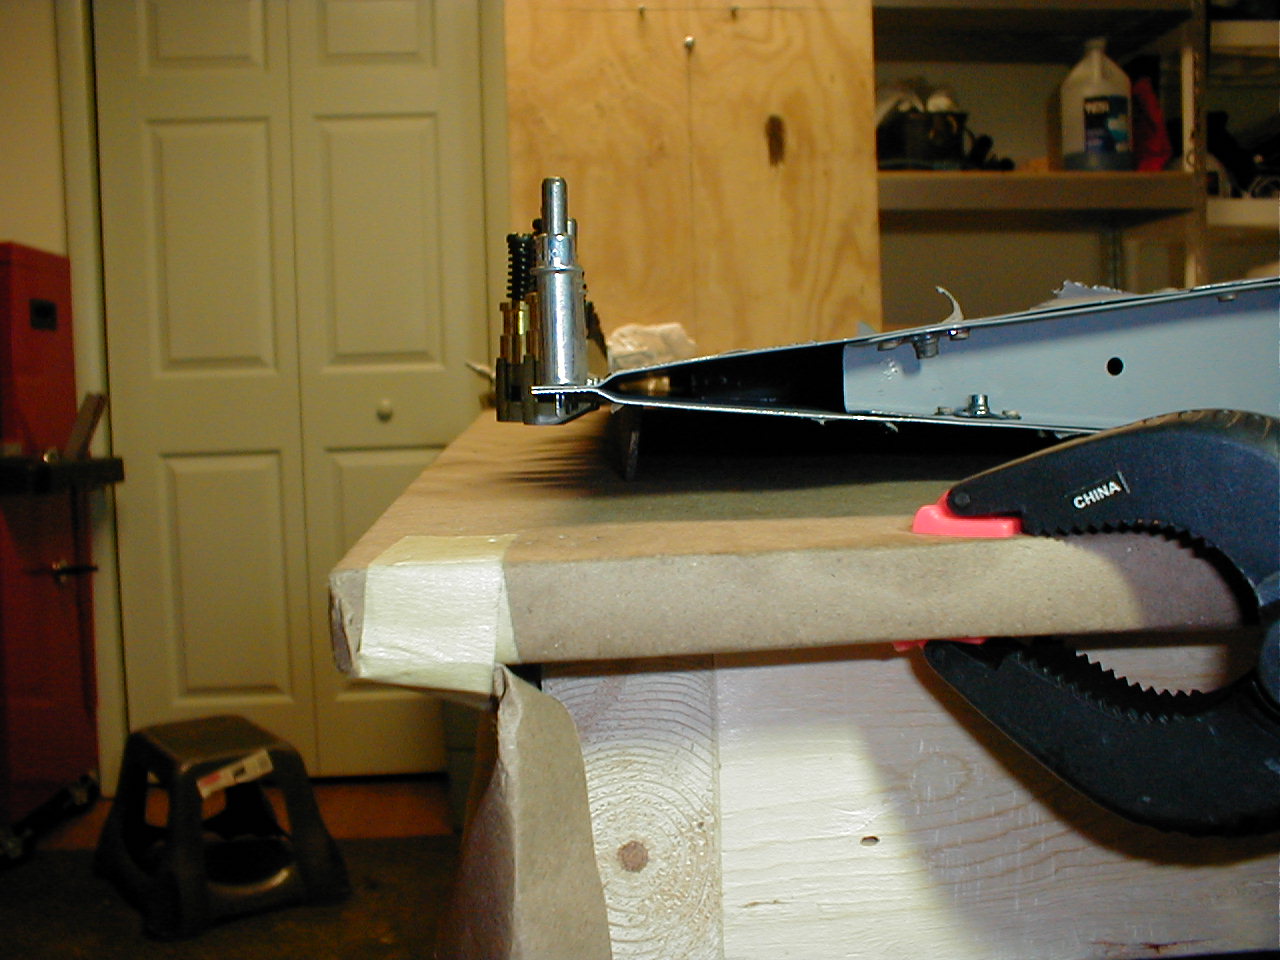
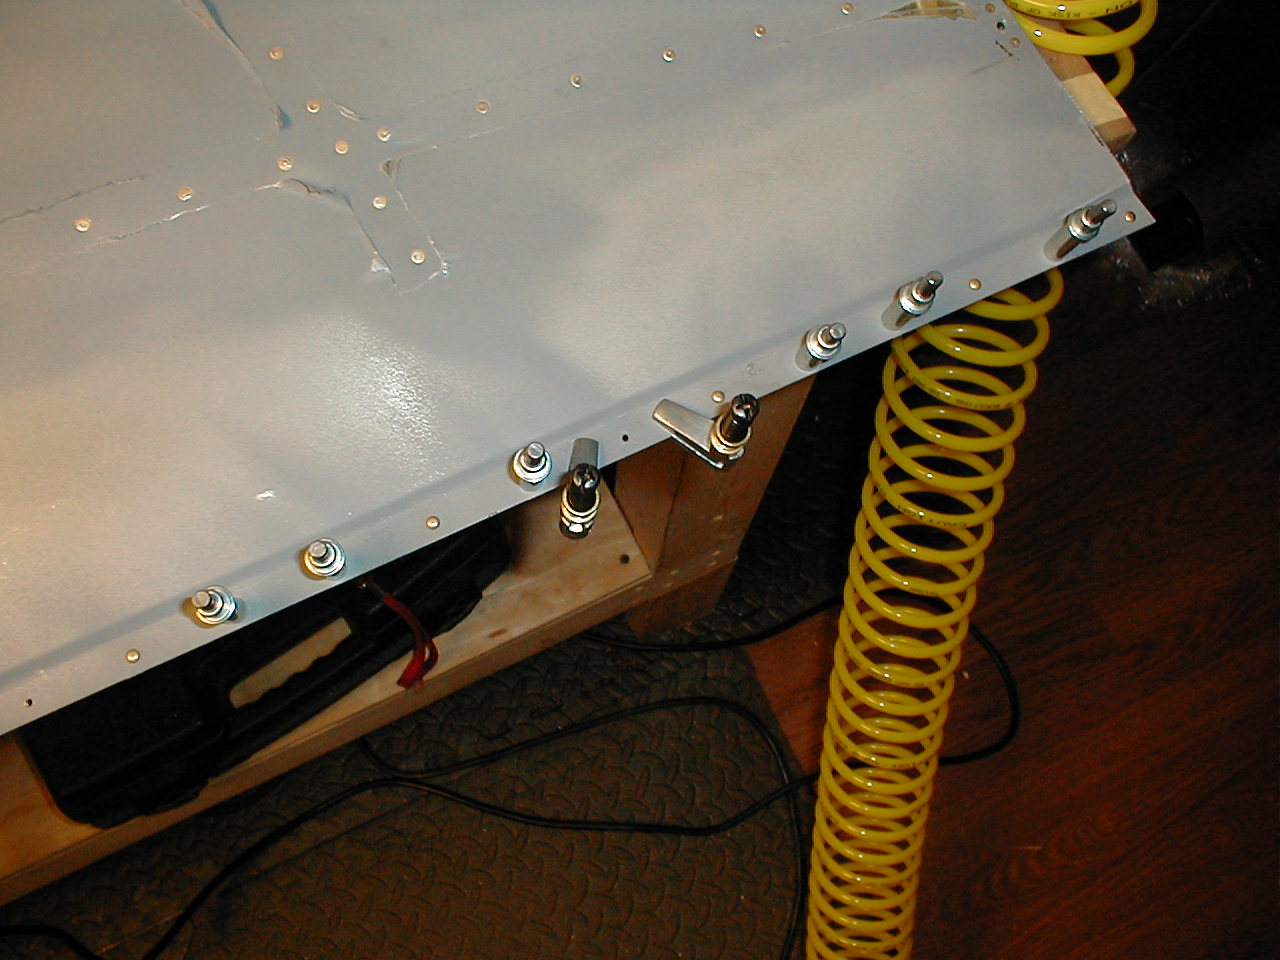
Create the rudder jig. Okay, I obsessed over this... It has to be perfect, right? *grin* I think I overanalyzed it a bit, and eventually I just decided it was "good enough" and I started assembling and drilling things. One slight improvement that I believe made things easier for me was in the mounting of the rudder yoke to the vertical plywood. The plywood I has was warped, and no way would I assume that it was at a perfect 90 degrees to the line I drew on the table. The instructions say to use a couple of bolts from the kit and just loosely hang the yoke, and use washers or similar shims to raise the angle appropriately. I wanted something a little more precise than that, so instead of the two bolts, I used a threaded rod and a few extra bolts. This allowed me to make fine adustments to take into account the twist of the plywood, and any other potential causes of making the end (top) of the rudder yoke not in alignement with the magic line on the top of the worktable. I also inserted a threaded bolt under the base of the yoke instead of shims - this allowed me to make fine adjustments on the height of the assembly above the table (measured from the tip of the rudder forward spar to the tabletop). Hopefully these pictures illustrate the concept:


18 May 2005 - 2.5hrs
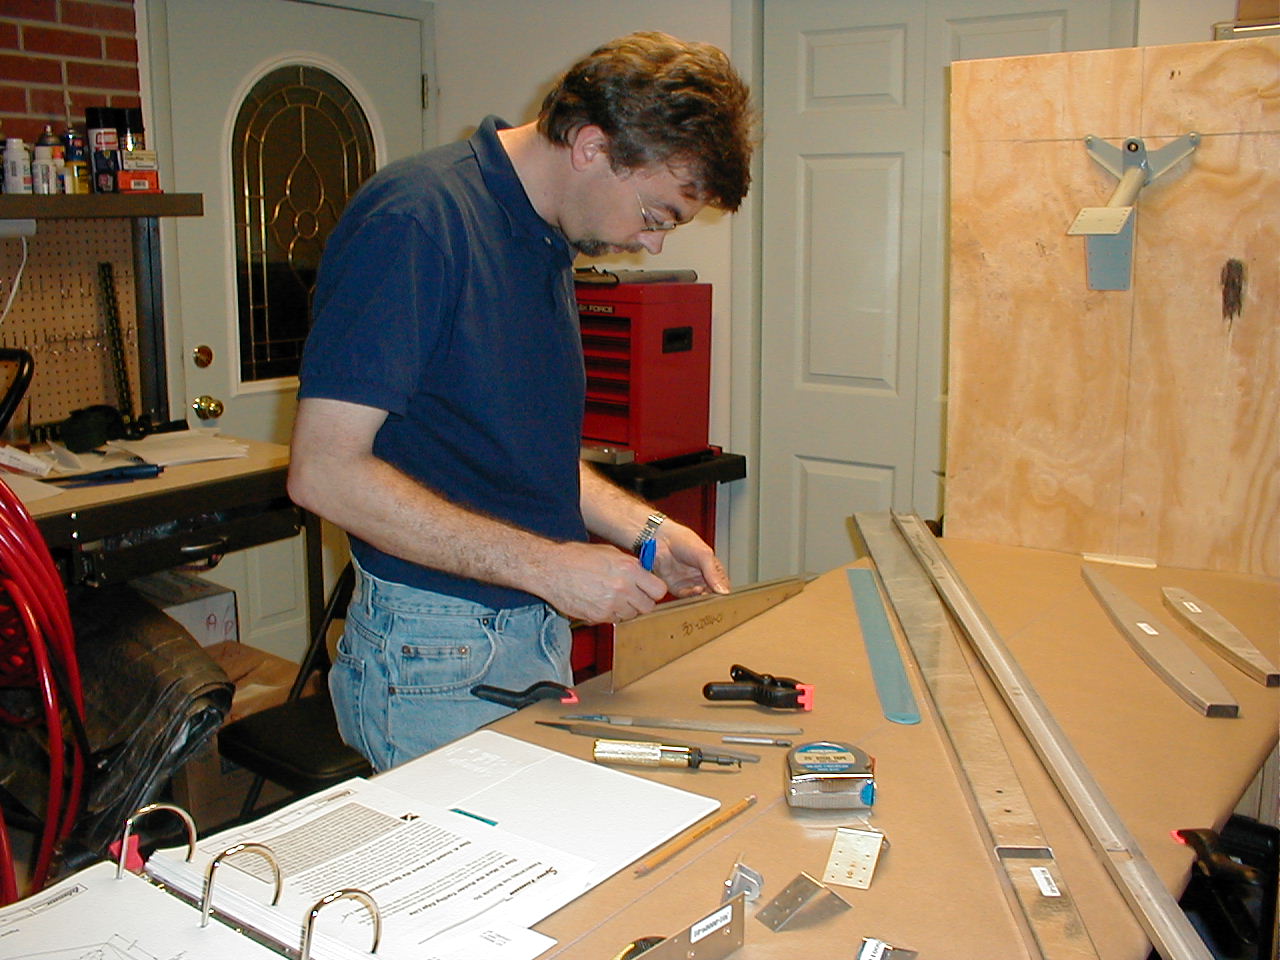
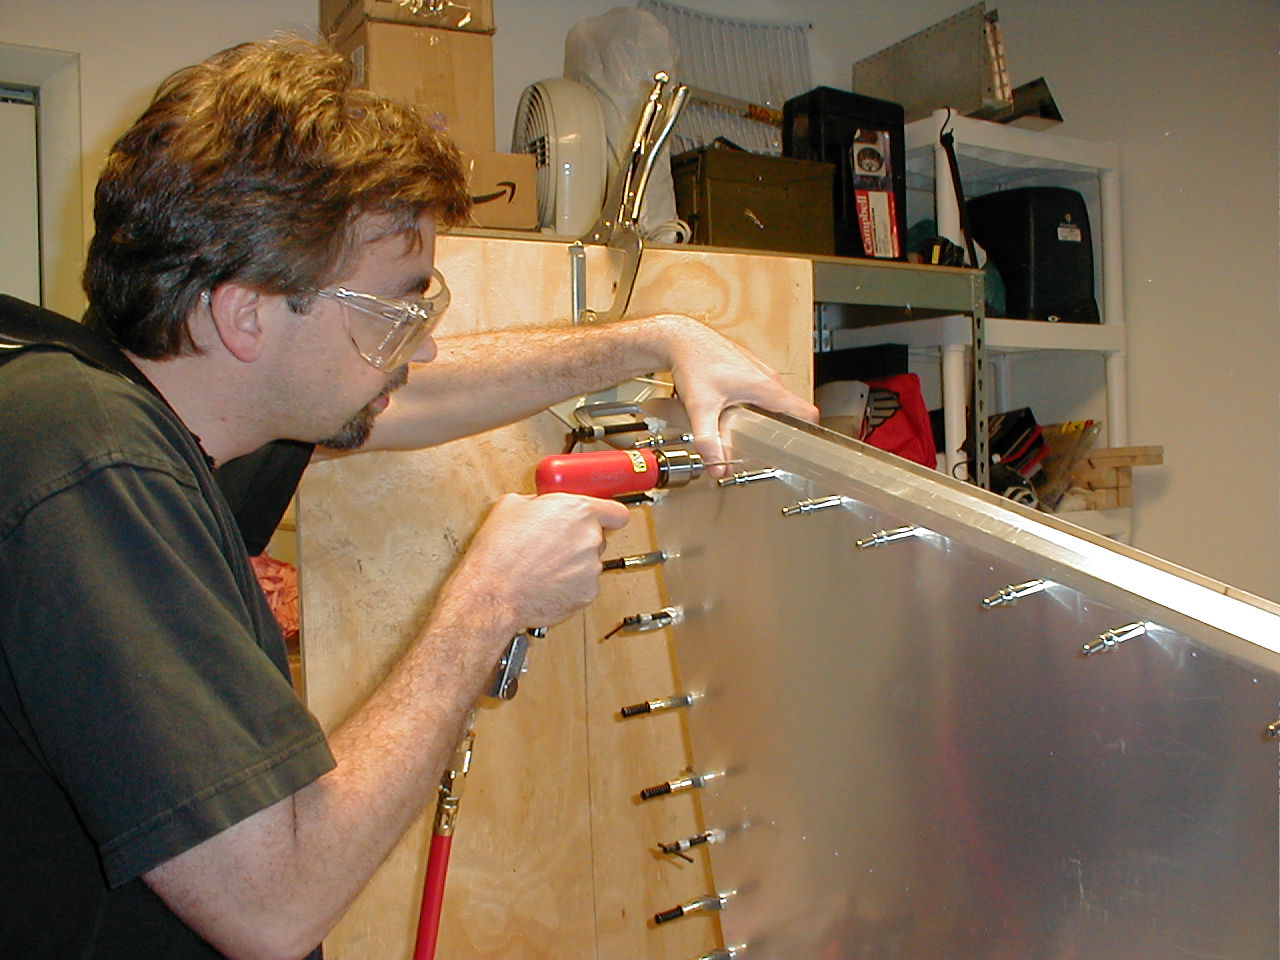
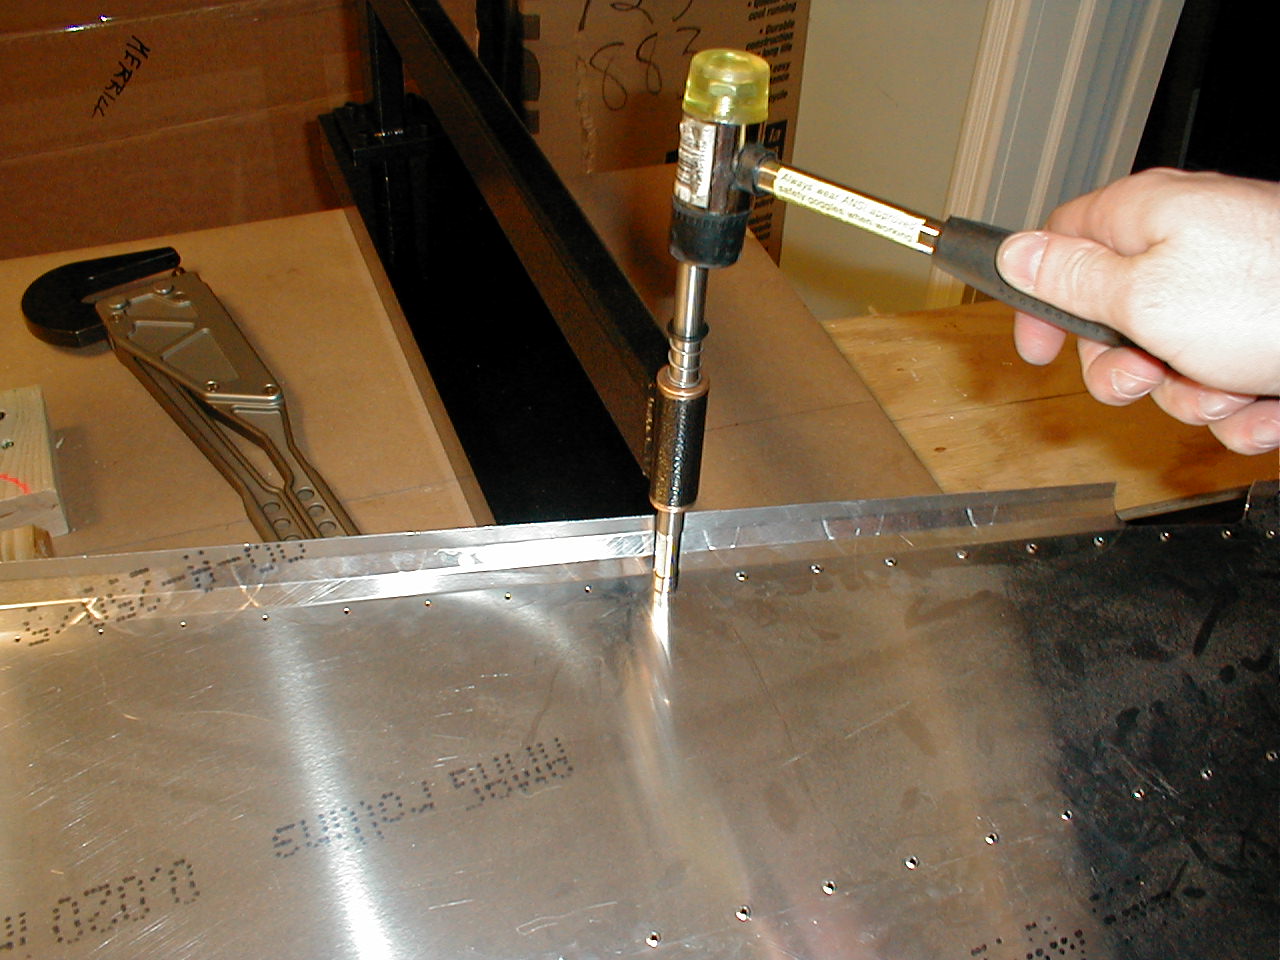
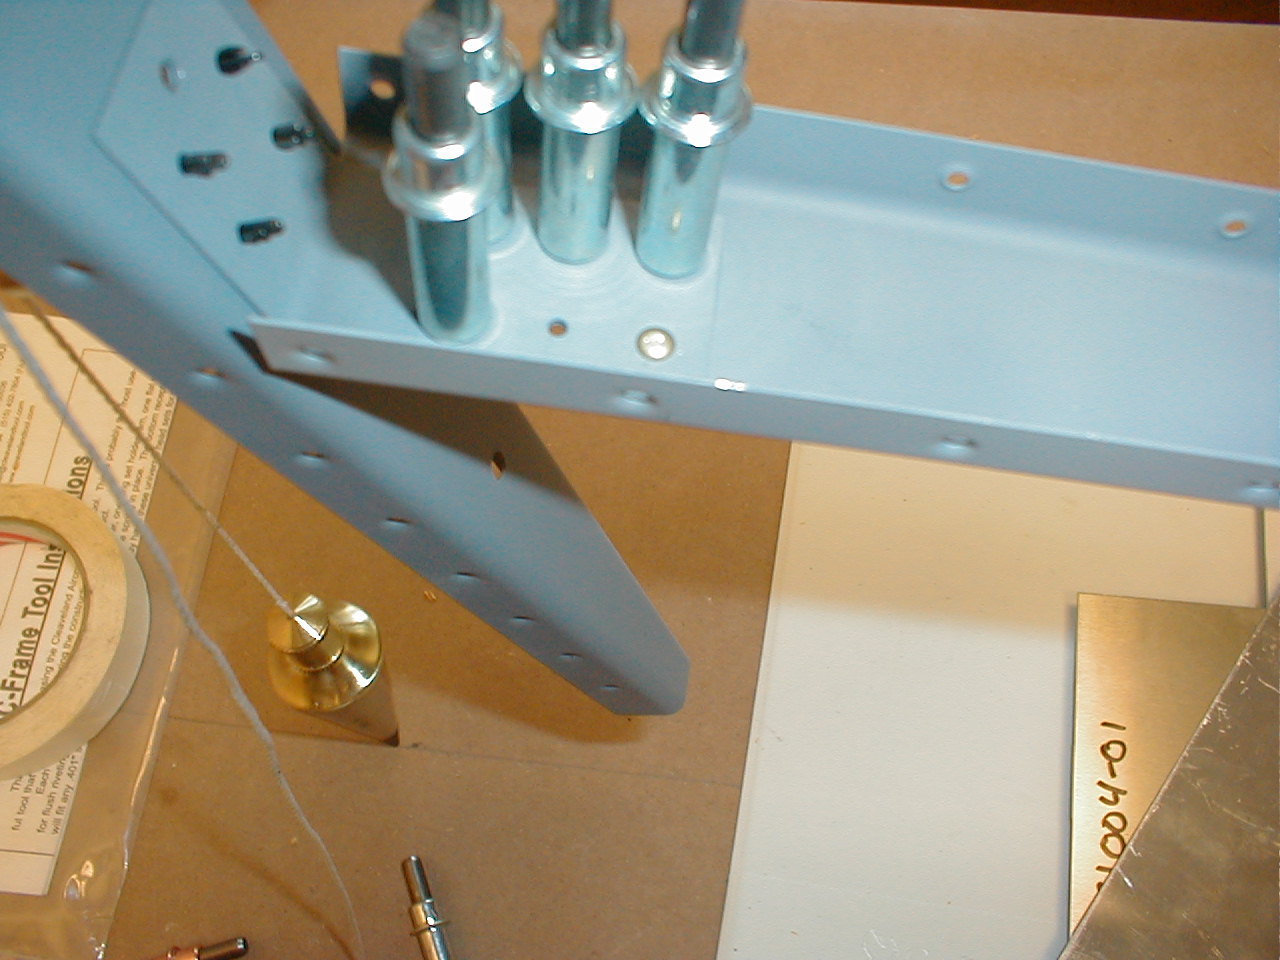
First drill and first countersink!!!
I was a bit nervous about this, and checked it at least 5-6 times before I decided to drill the first hole. And this was an easy one, just joining a bracket to the rudder forward spar... :-) When I mentioned this on the glastar.org forum, another builder laughed and said that he felt like he had checked it several dozen times, and had to get another builder to talk him into making the first hole! That made me feel a little better. *grin*
19 May 2005 - 3.75hrs
I'm moving along, made it through step 9 tonight.
21 May 2005 - 7.5hrs
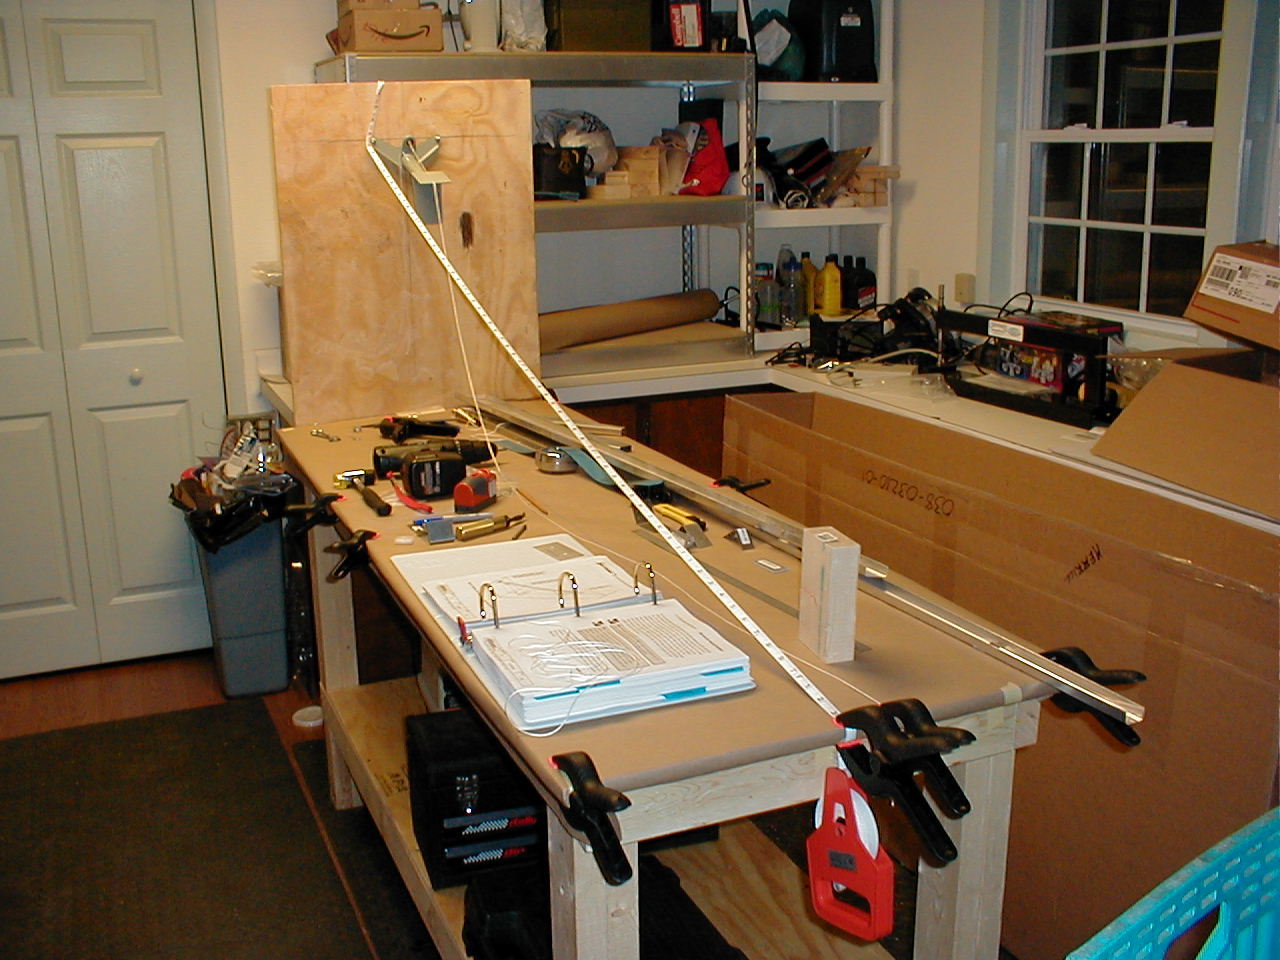
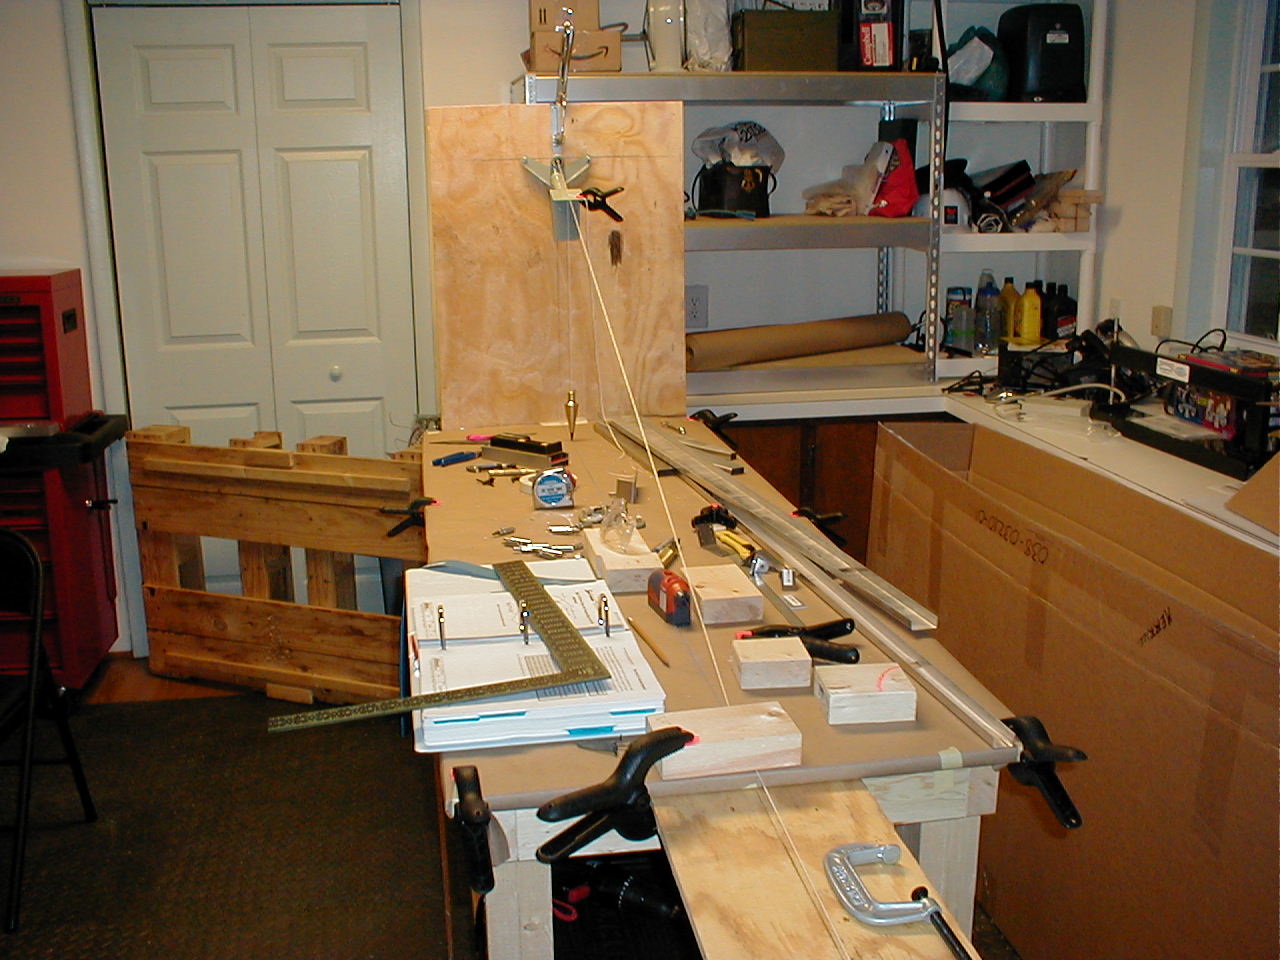
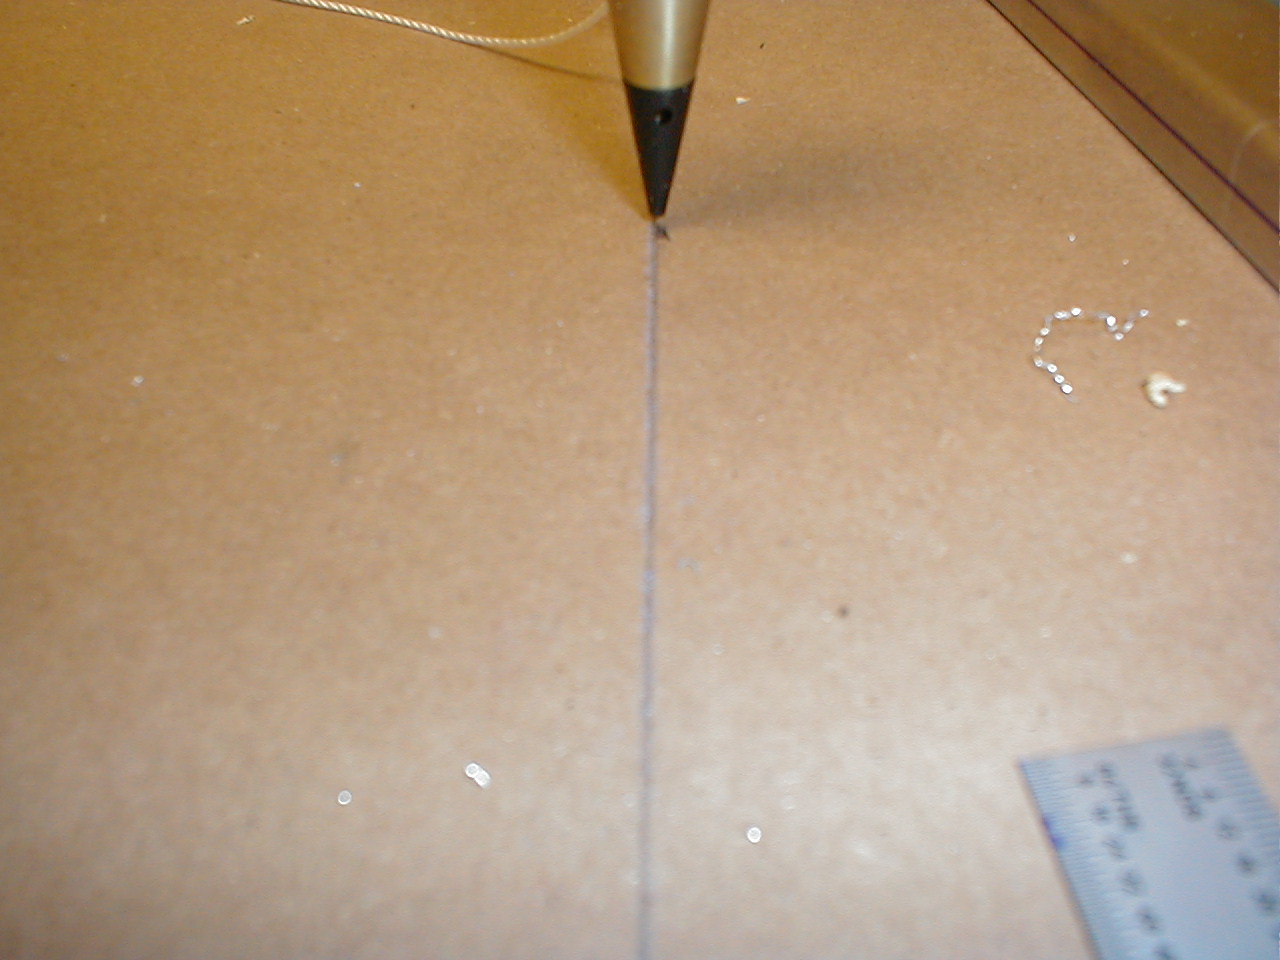
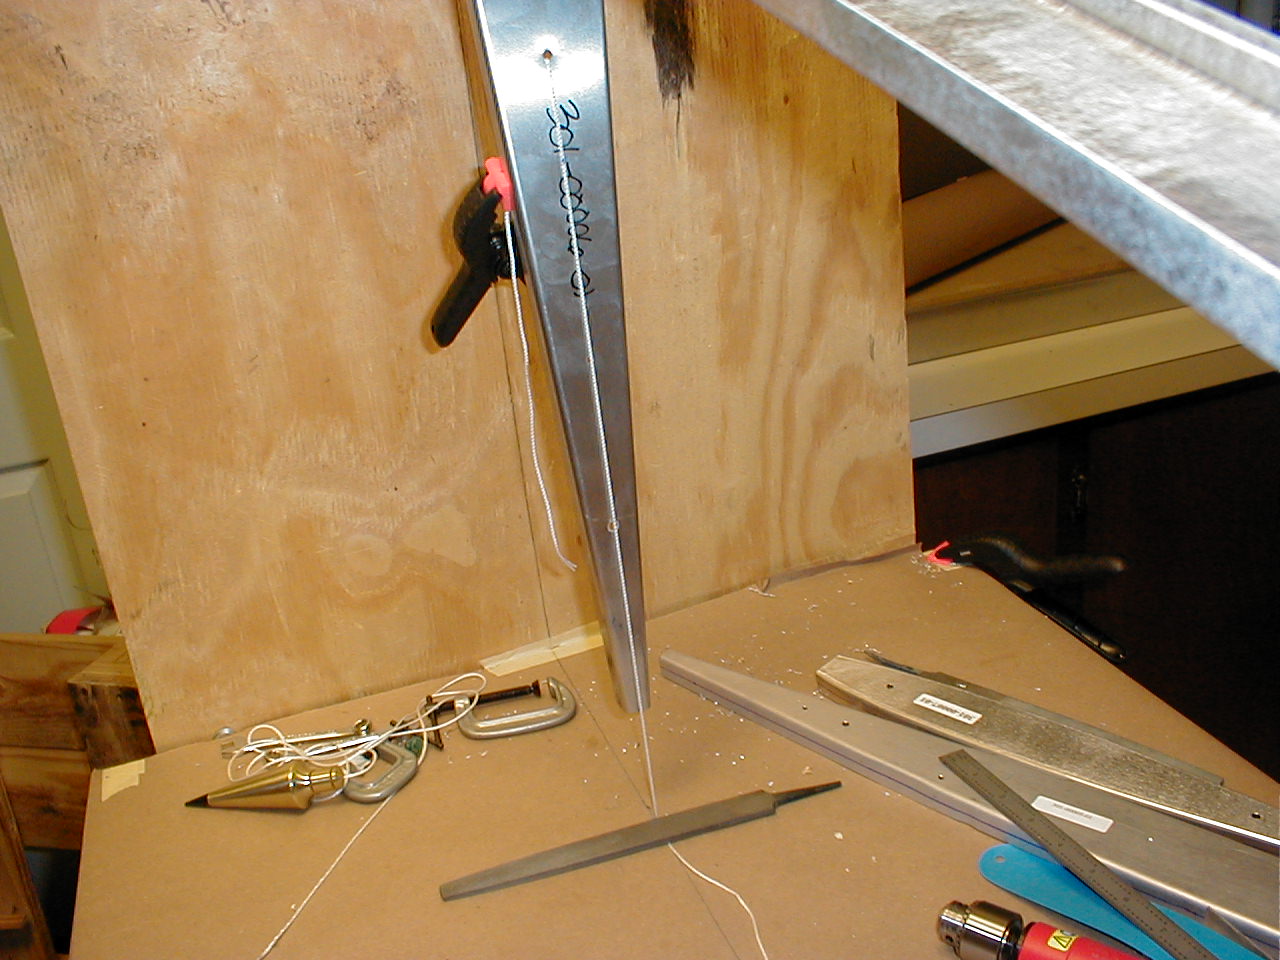
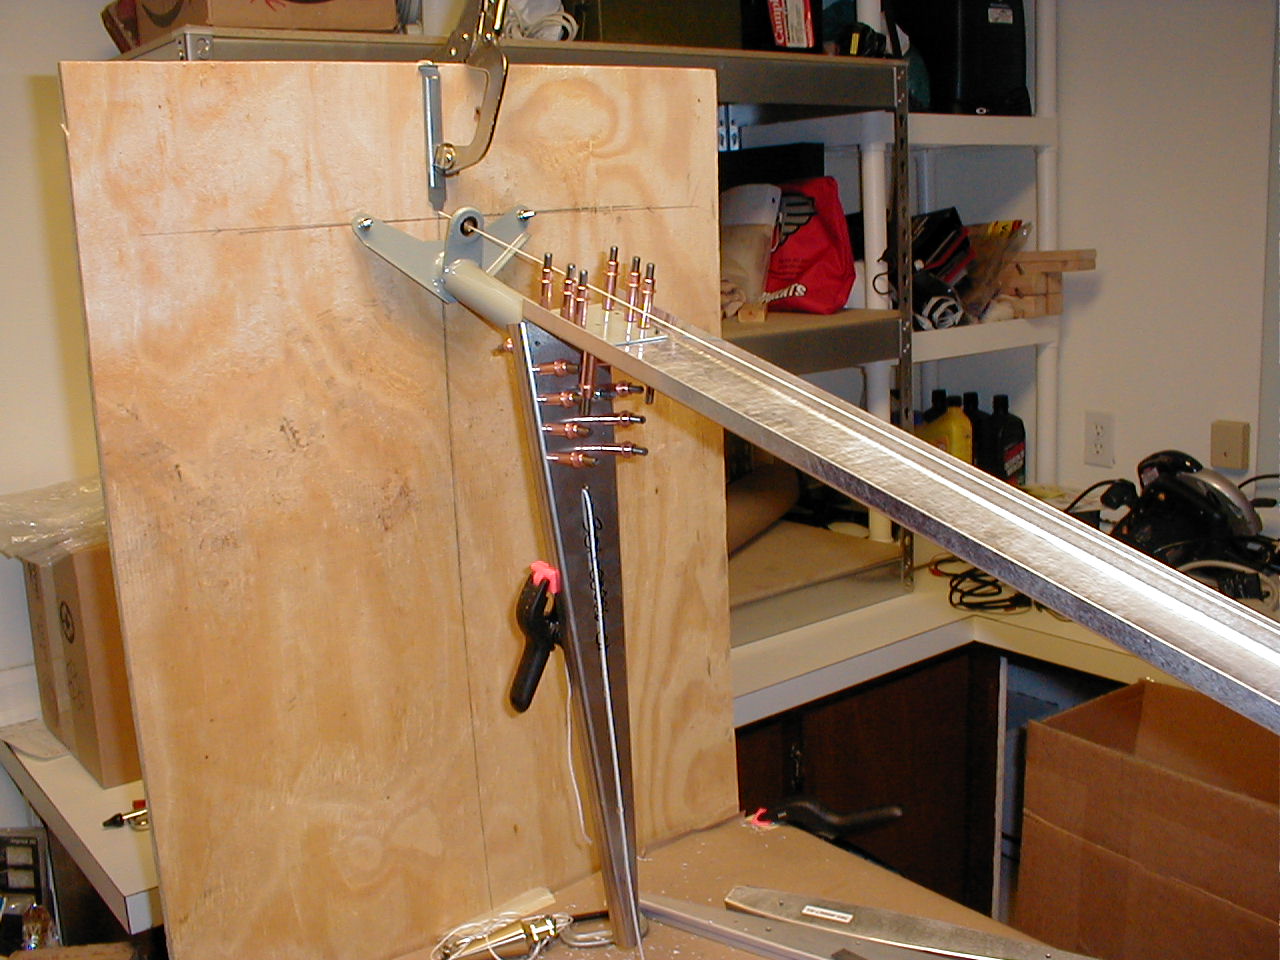
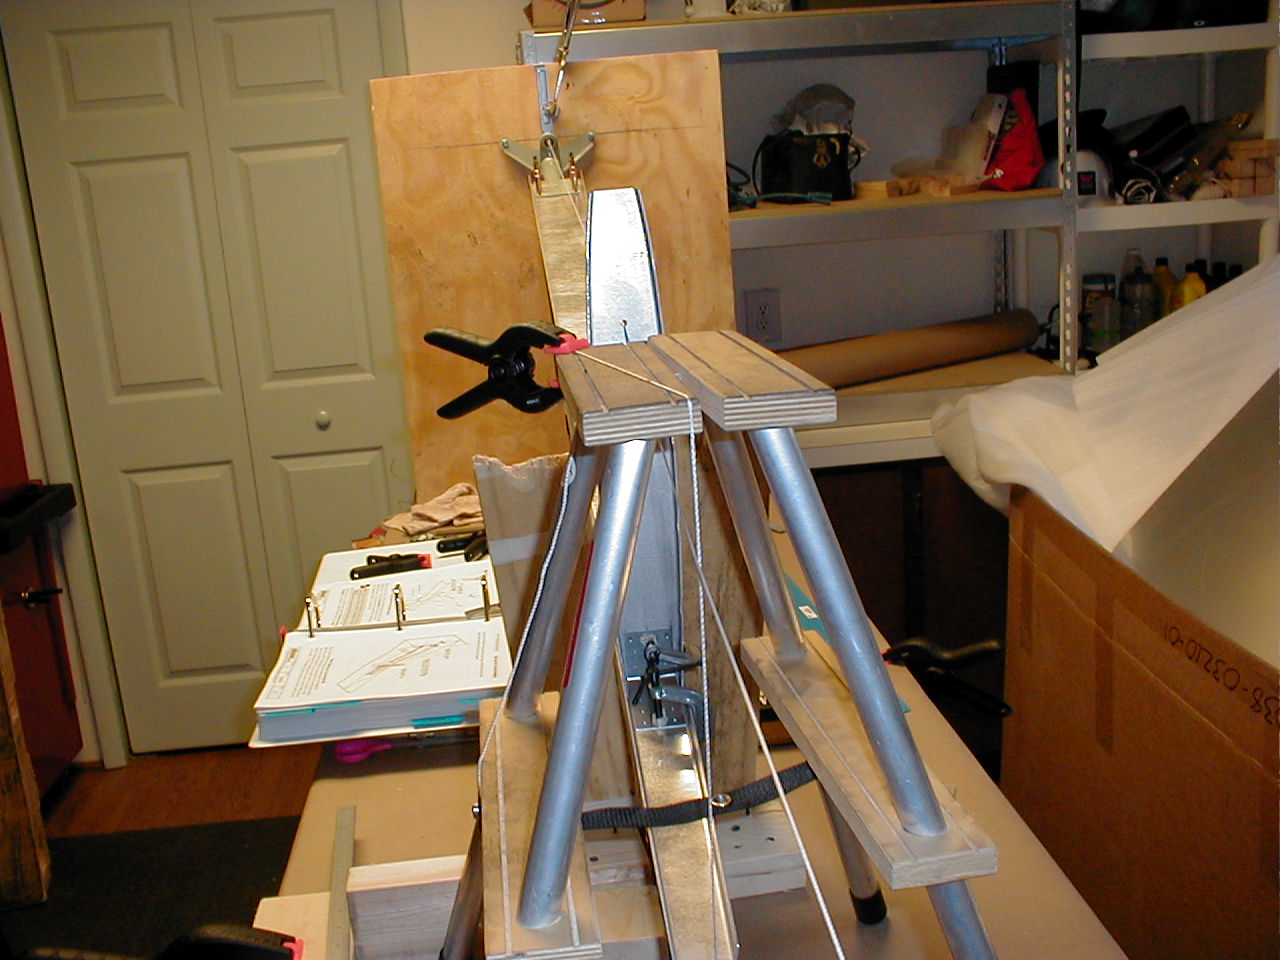
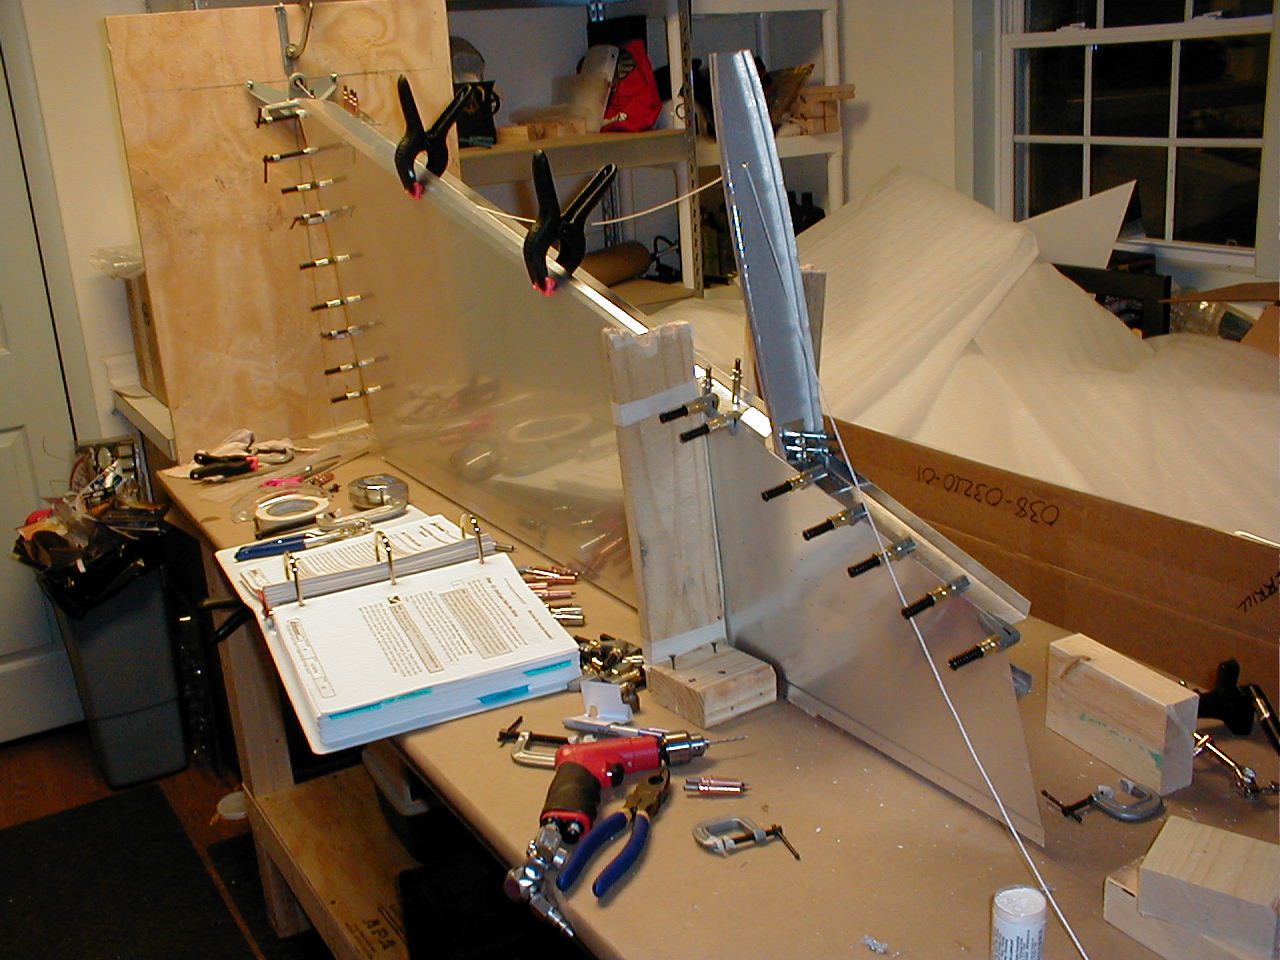
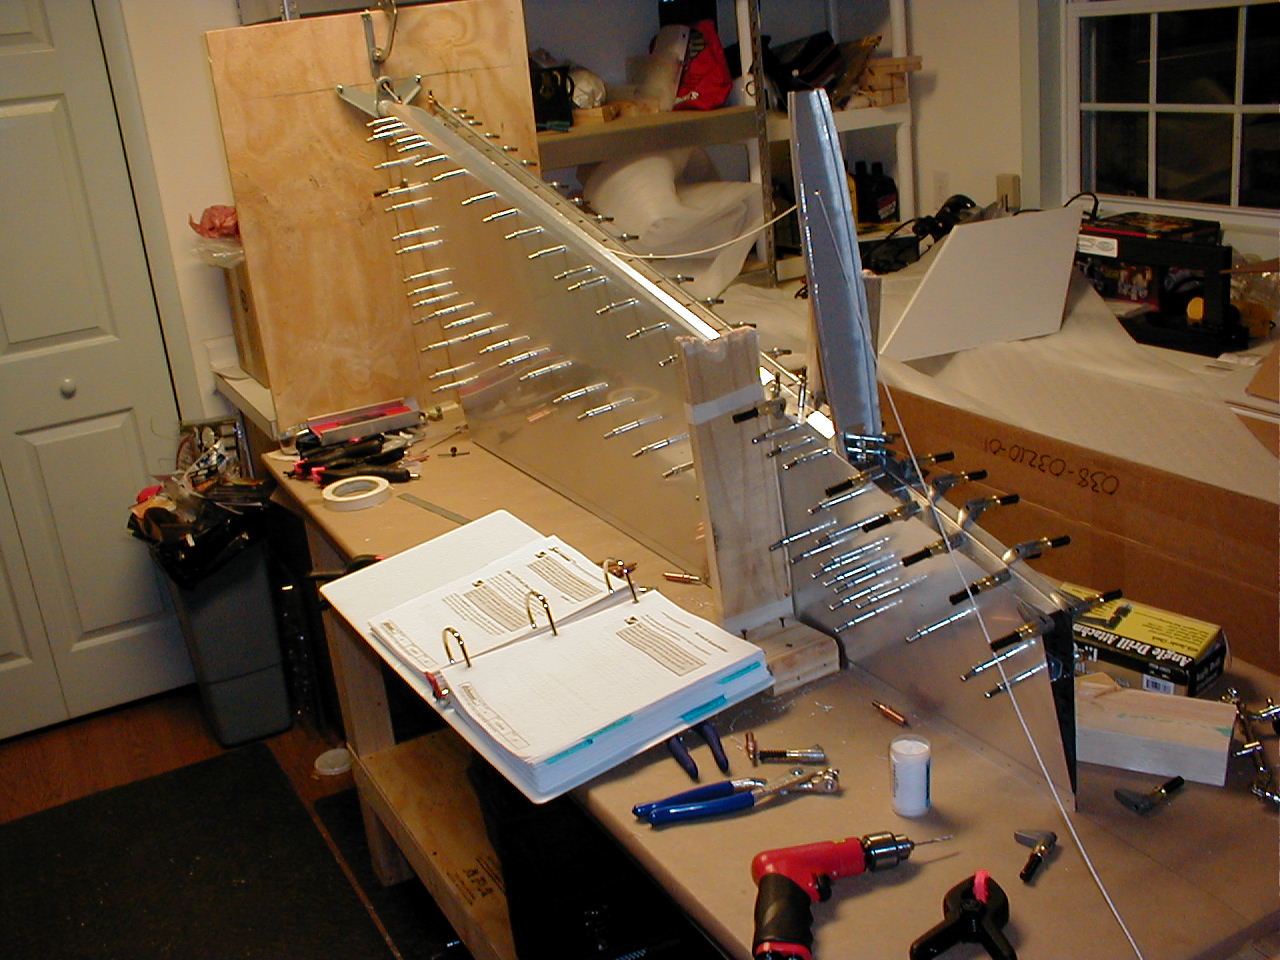
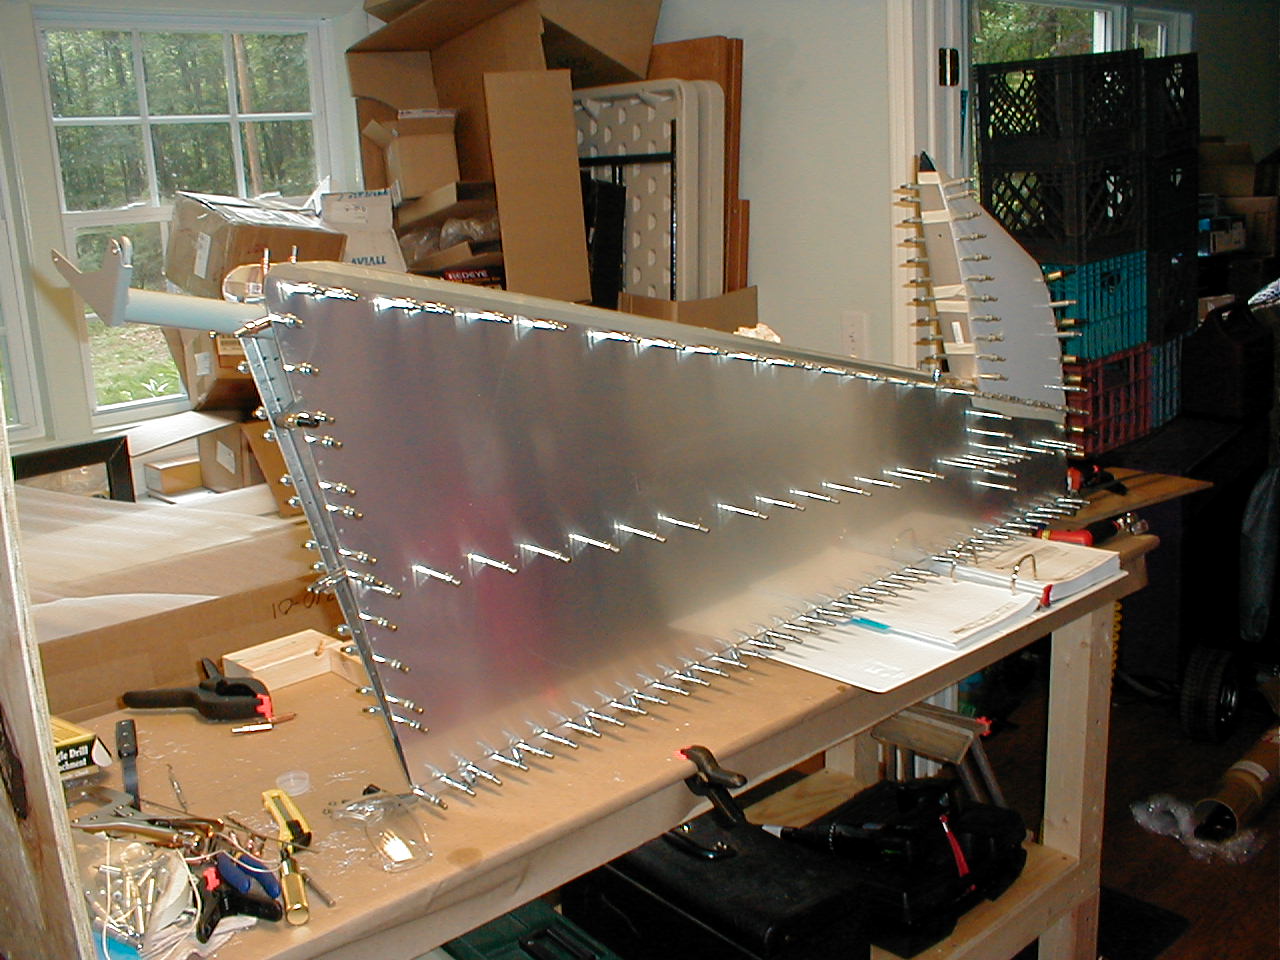
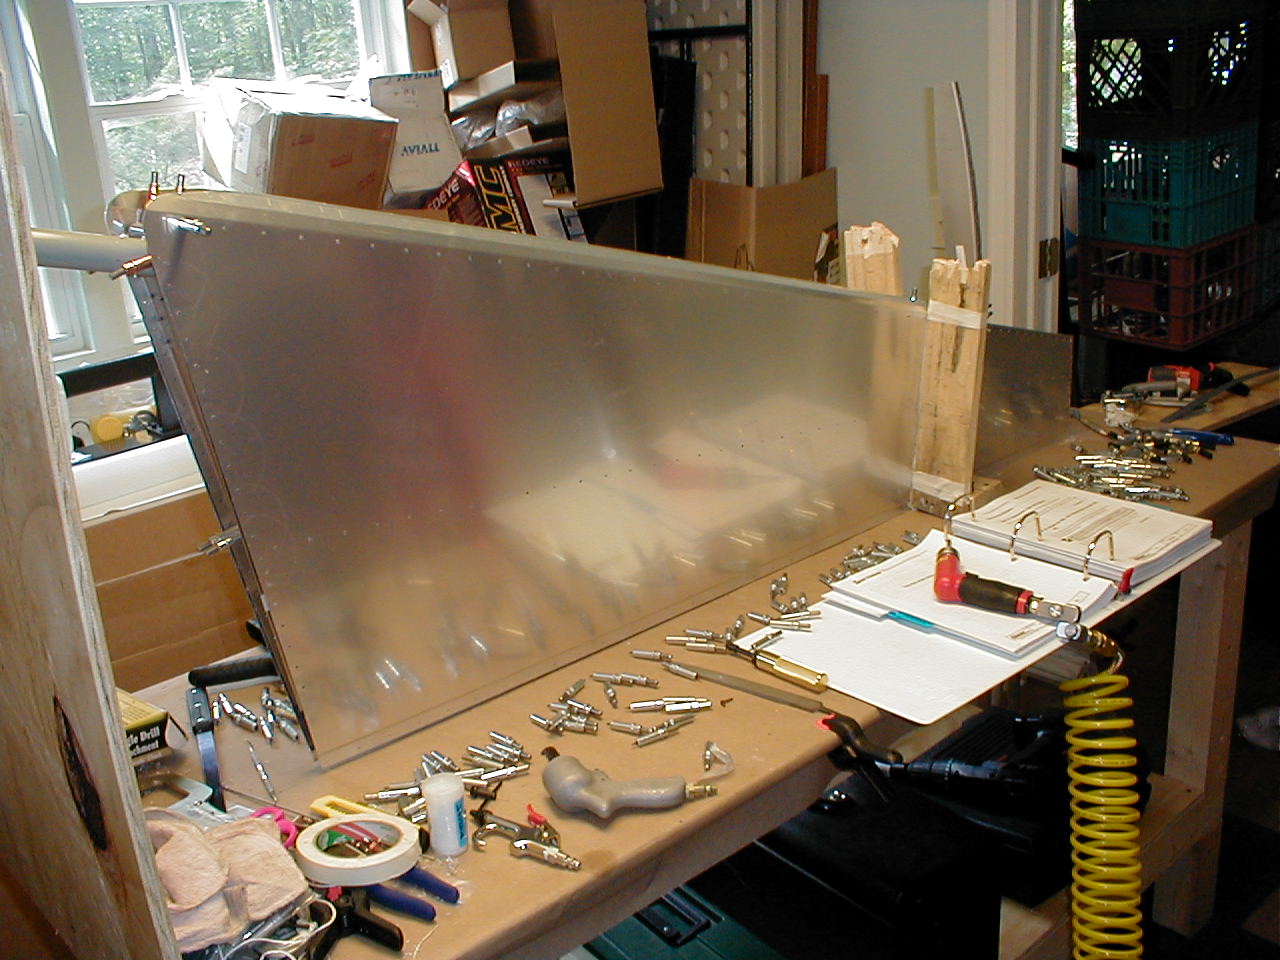
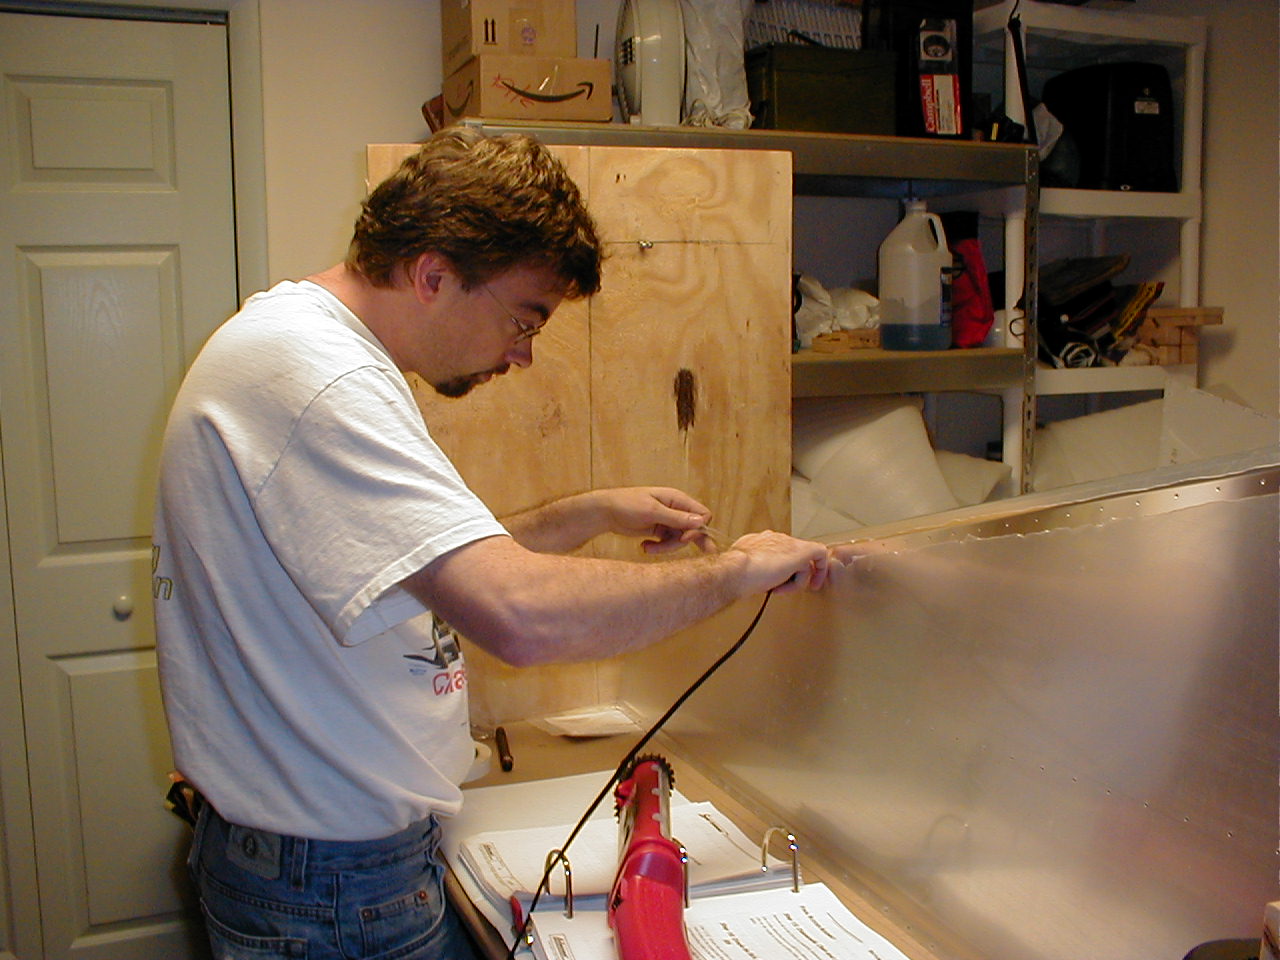
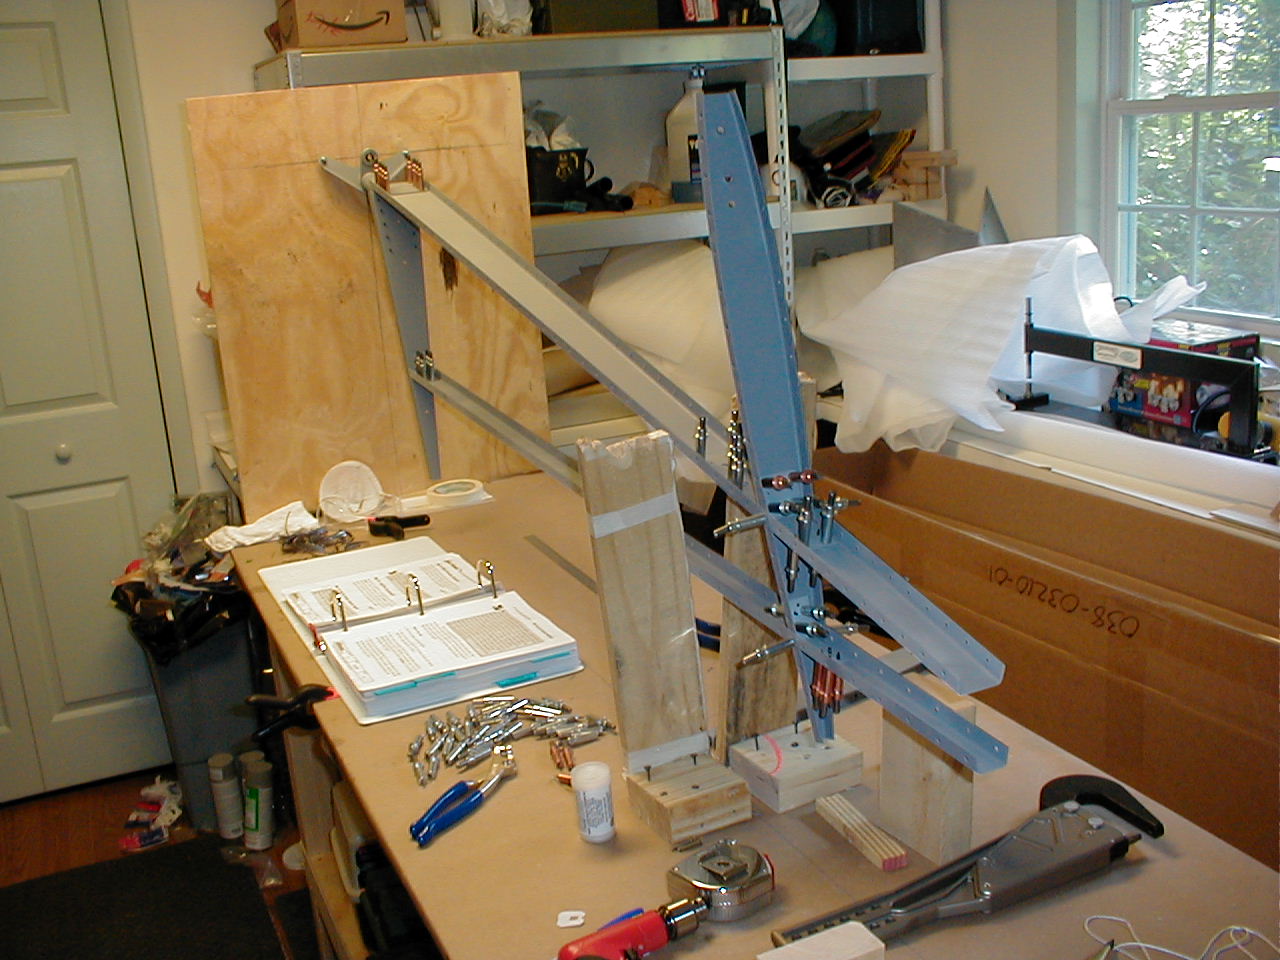
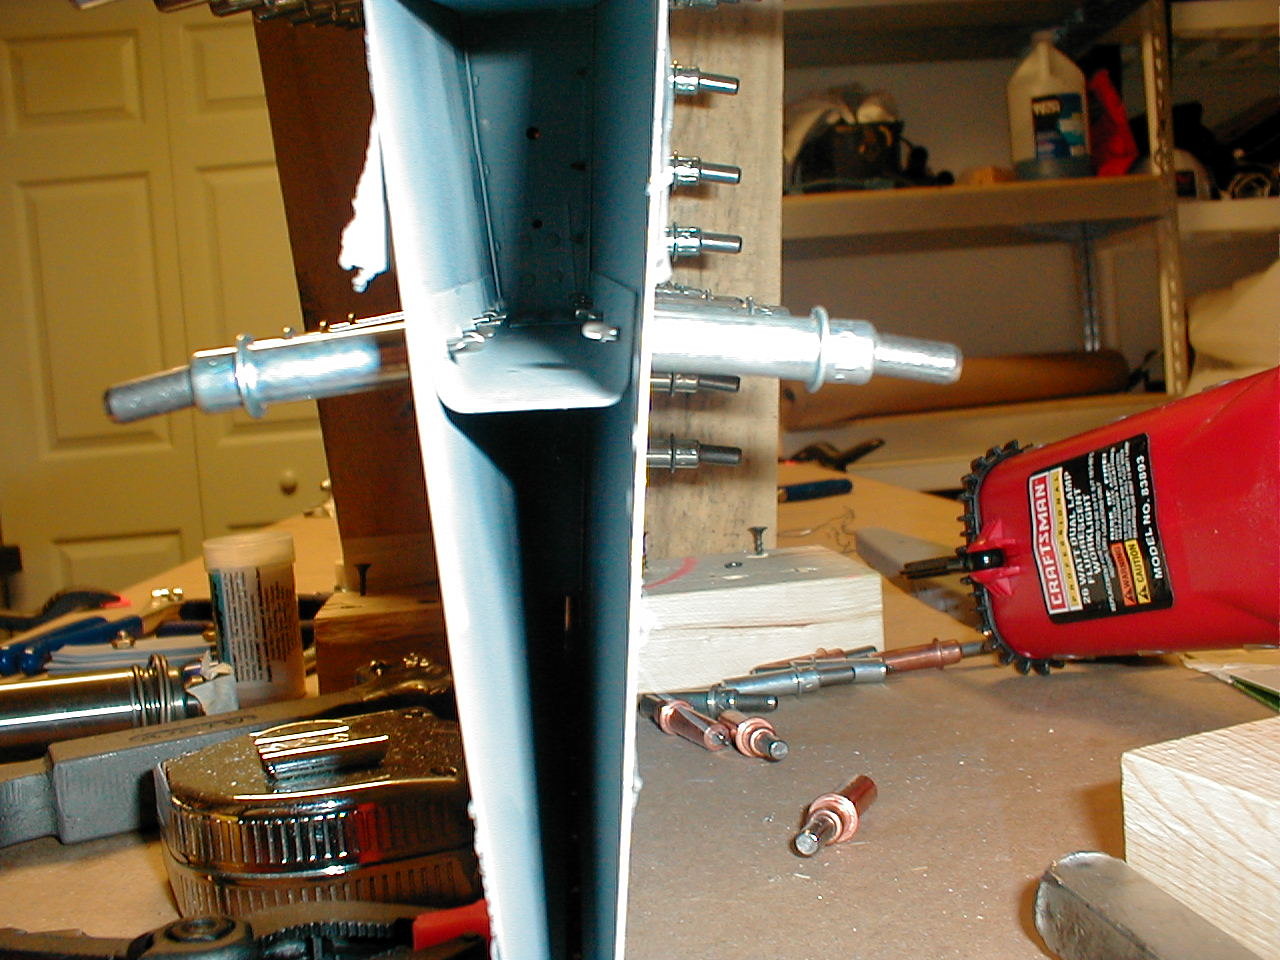
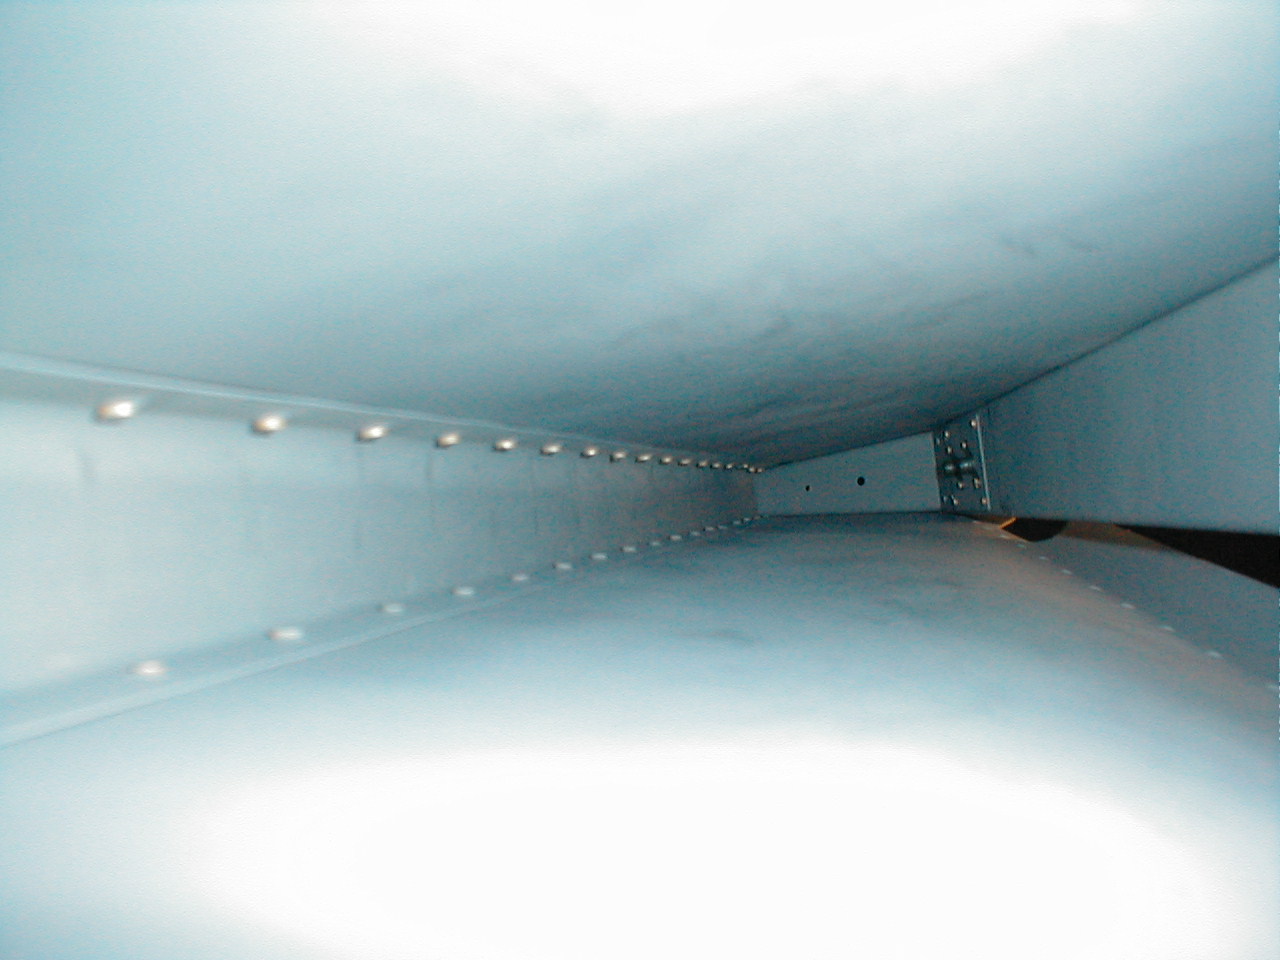
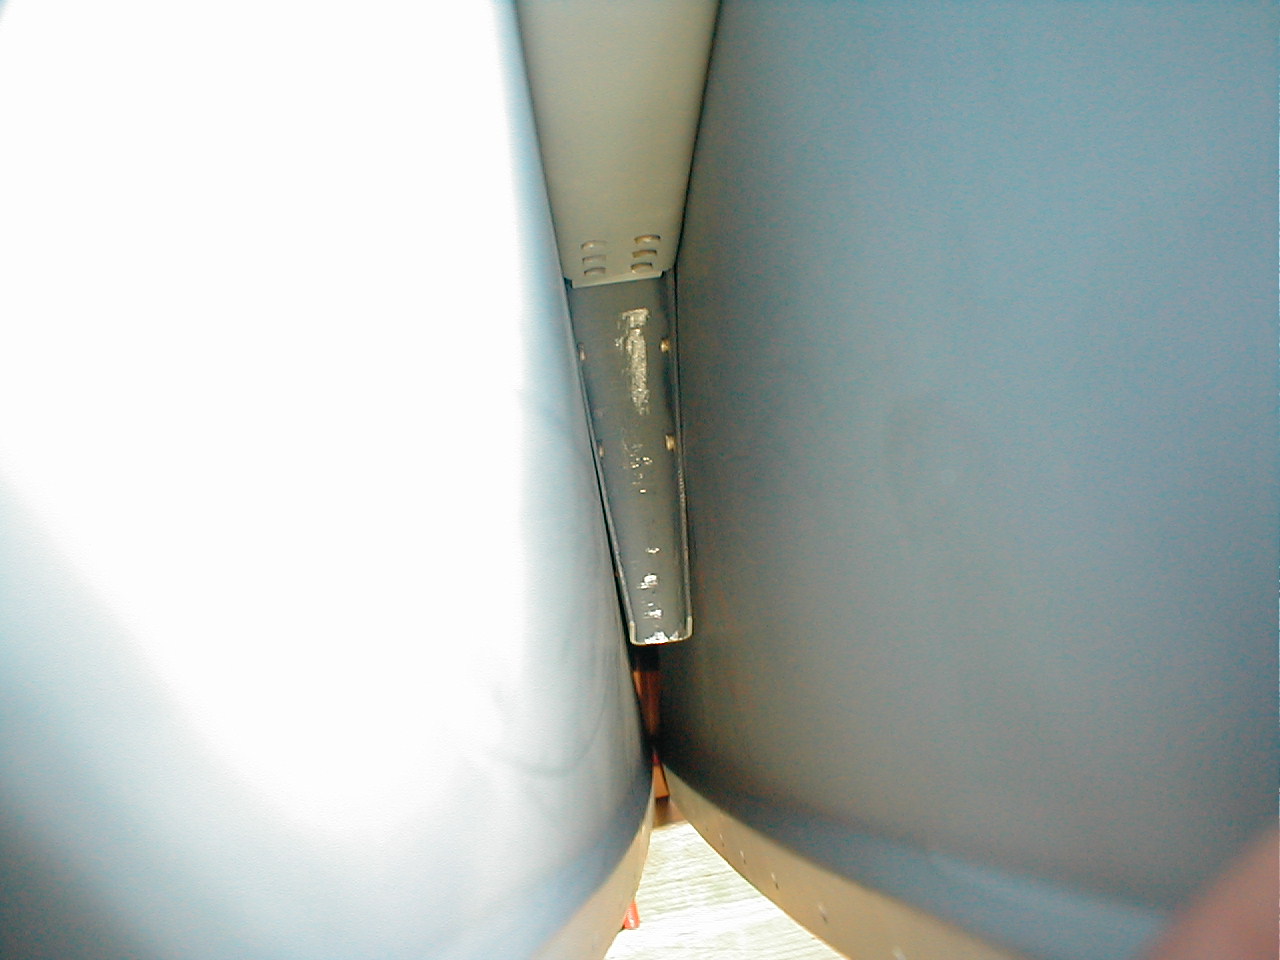
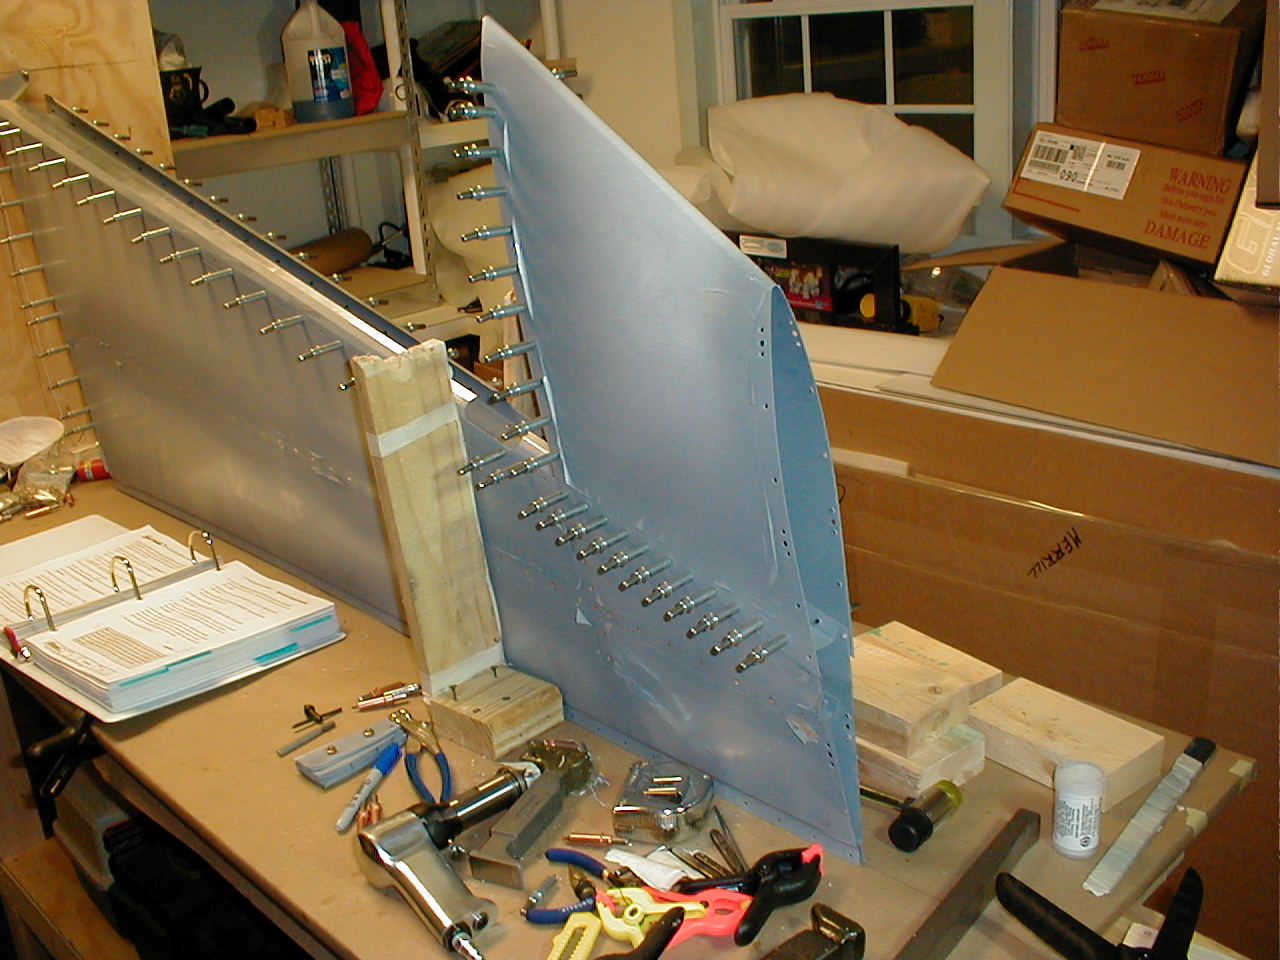
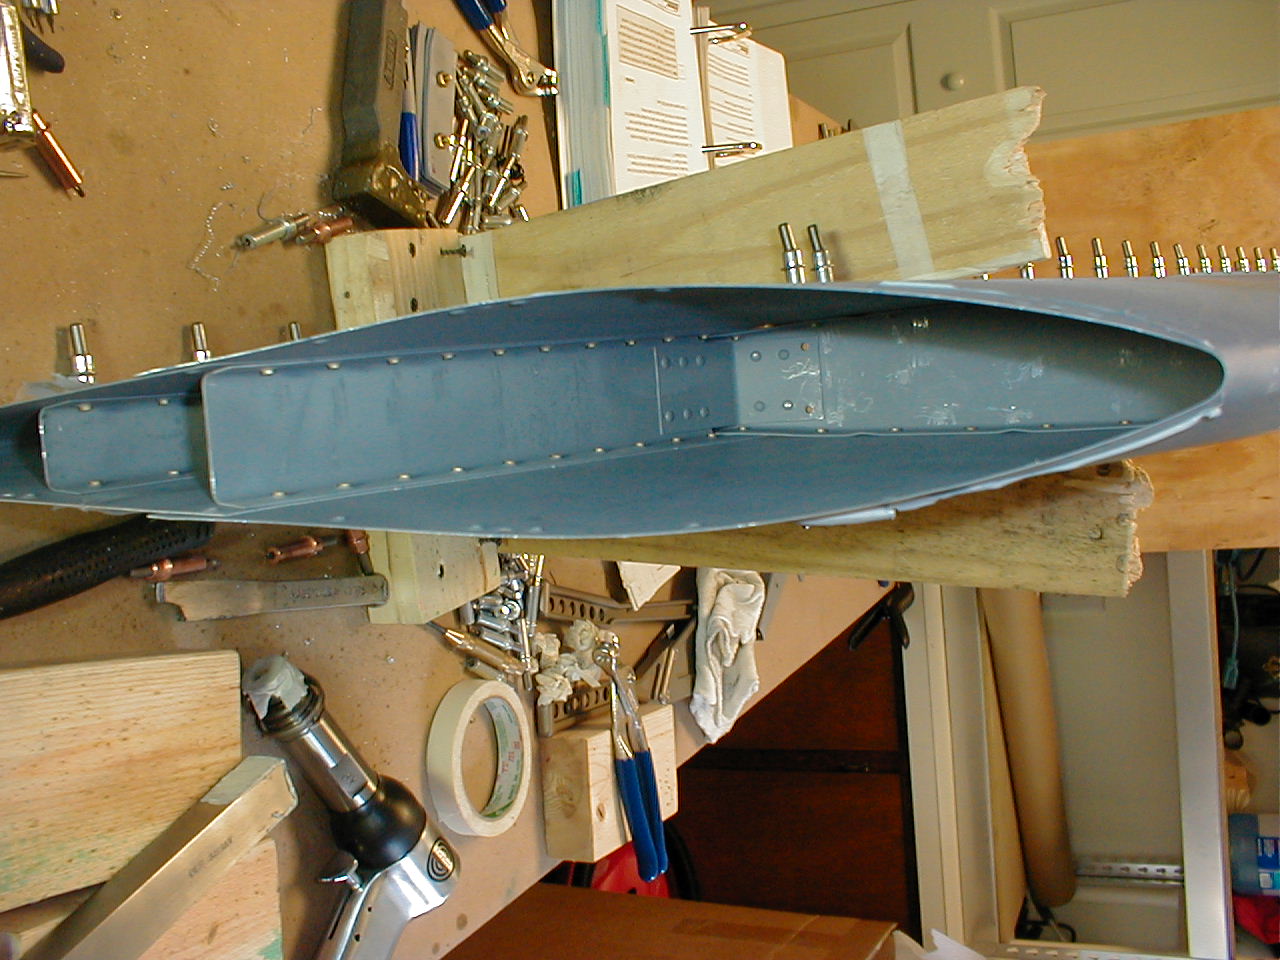
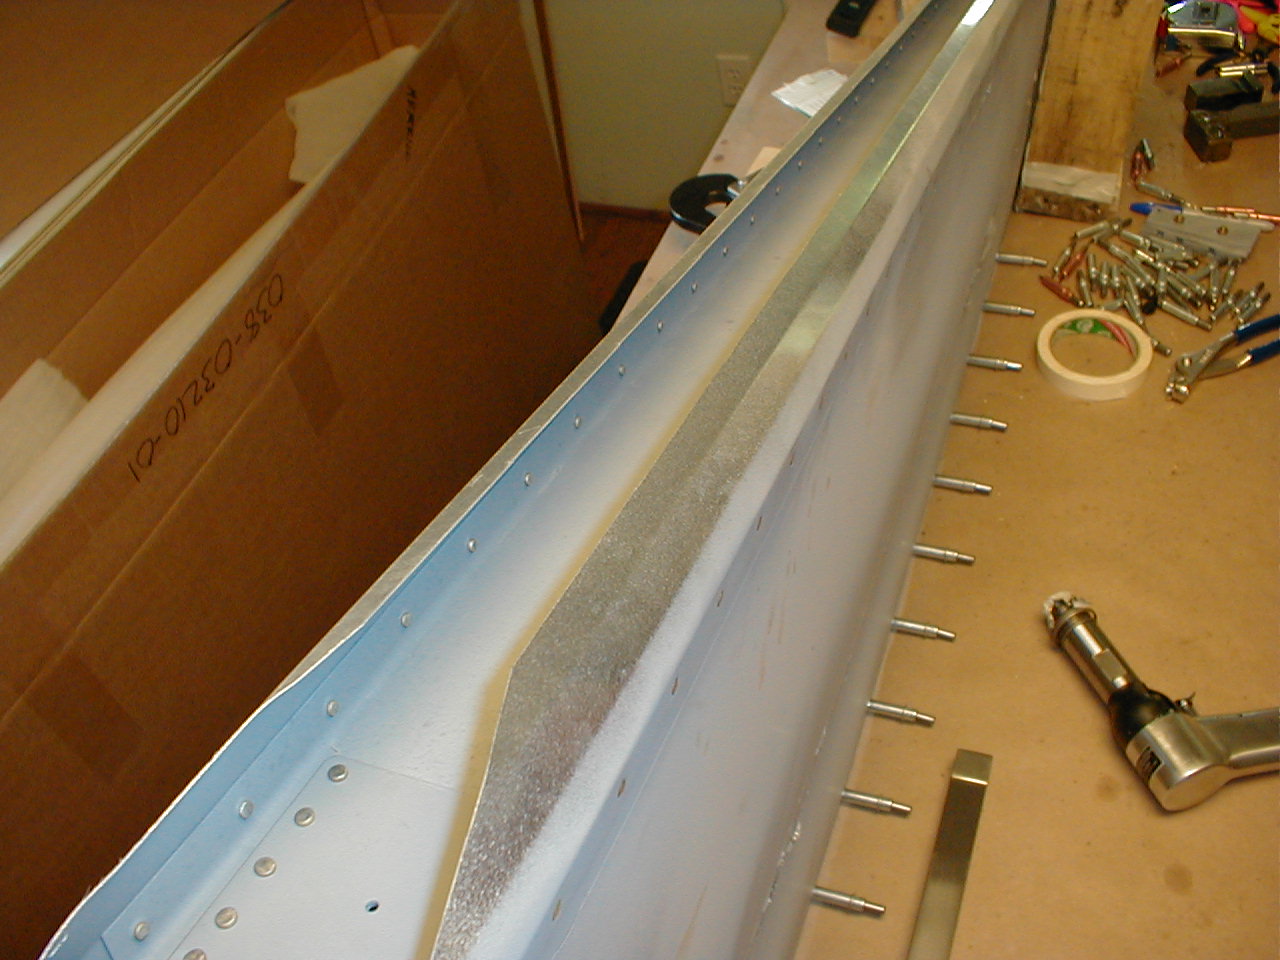
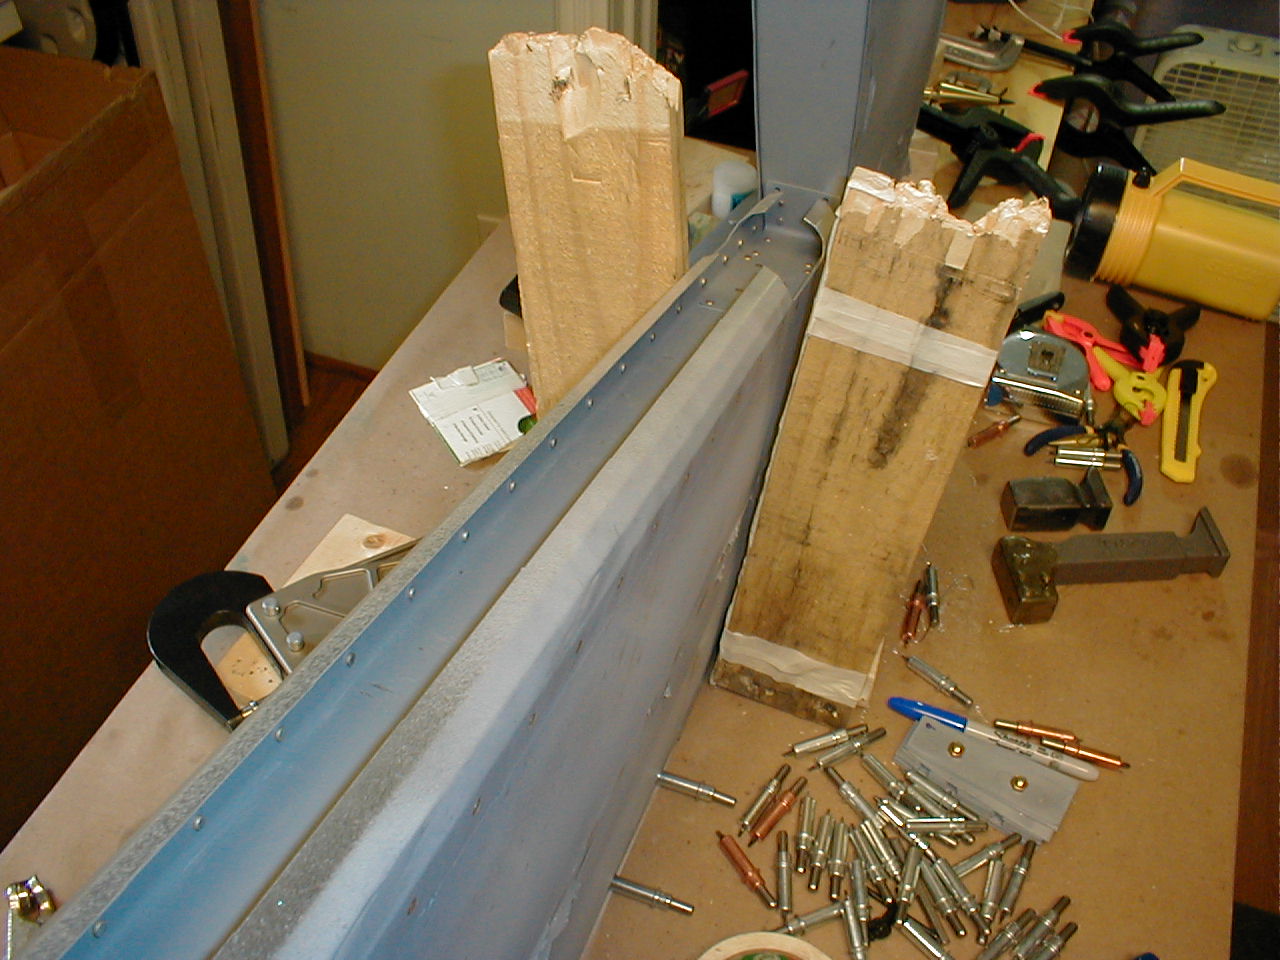
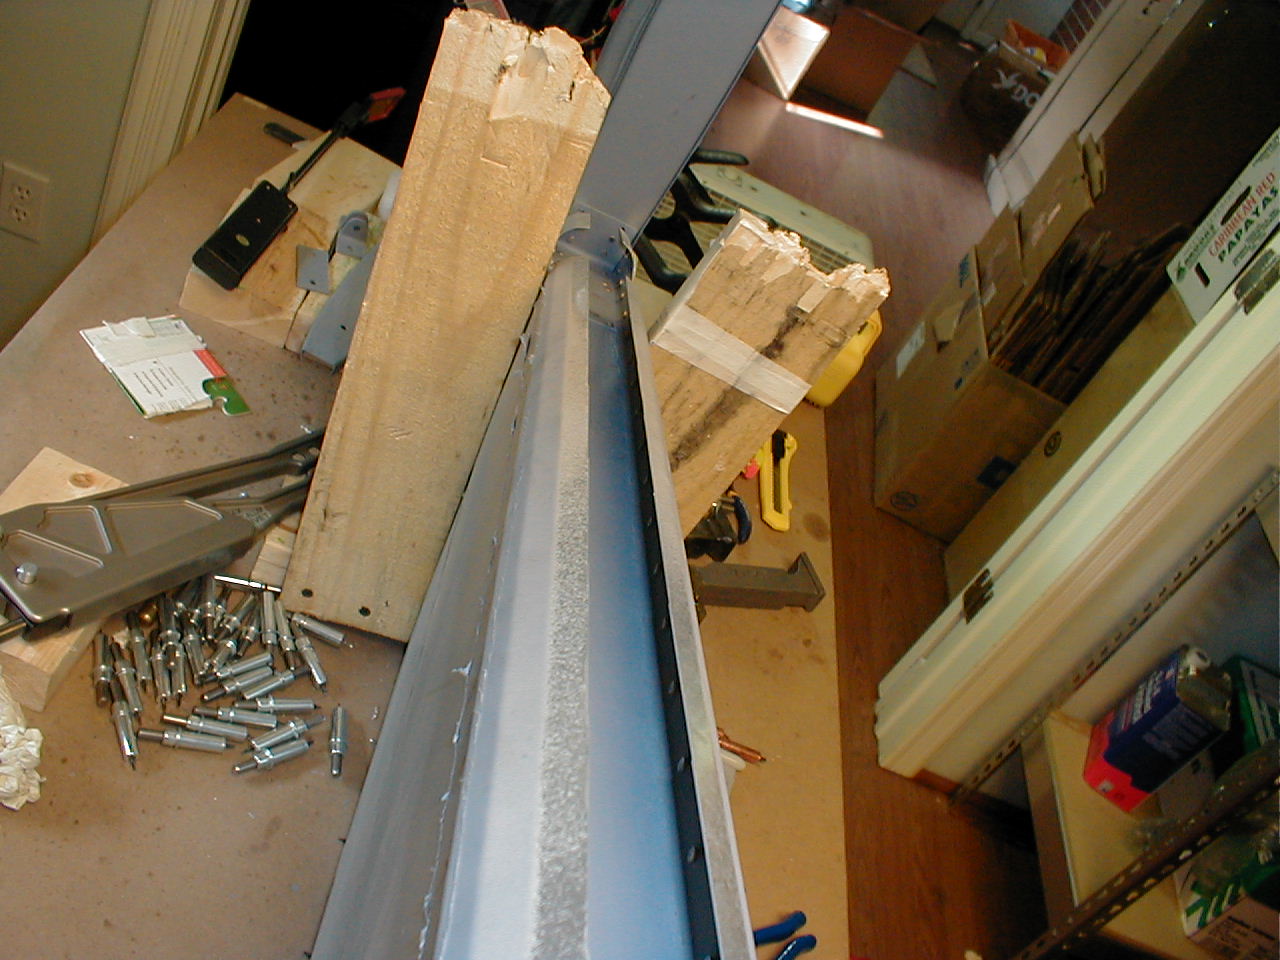
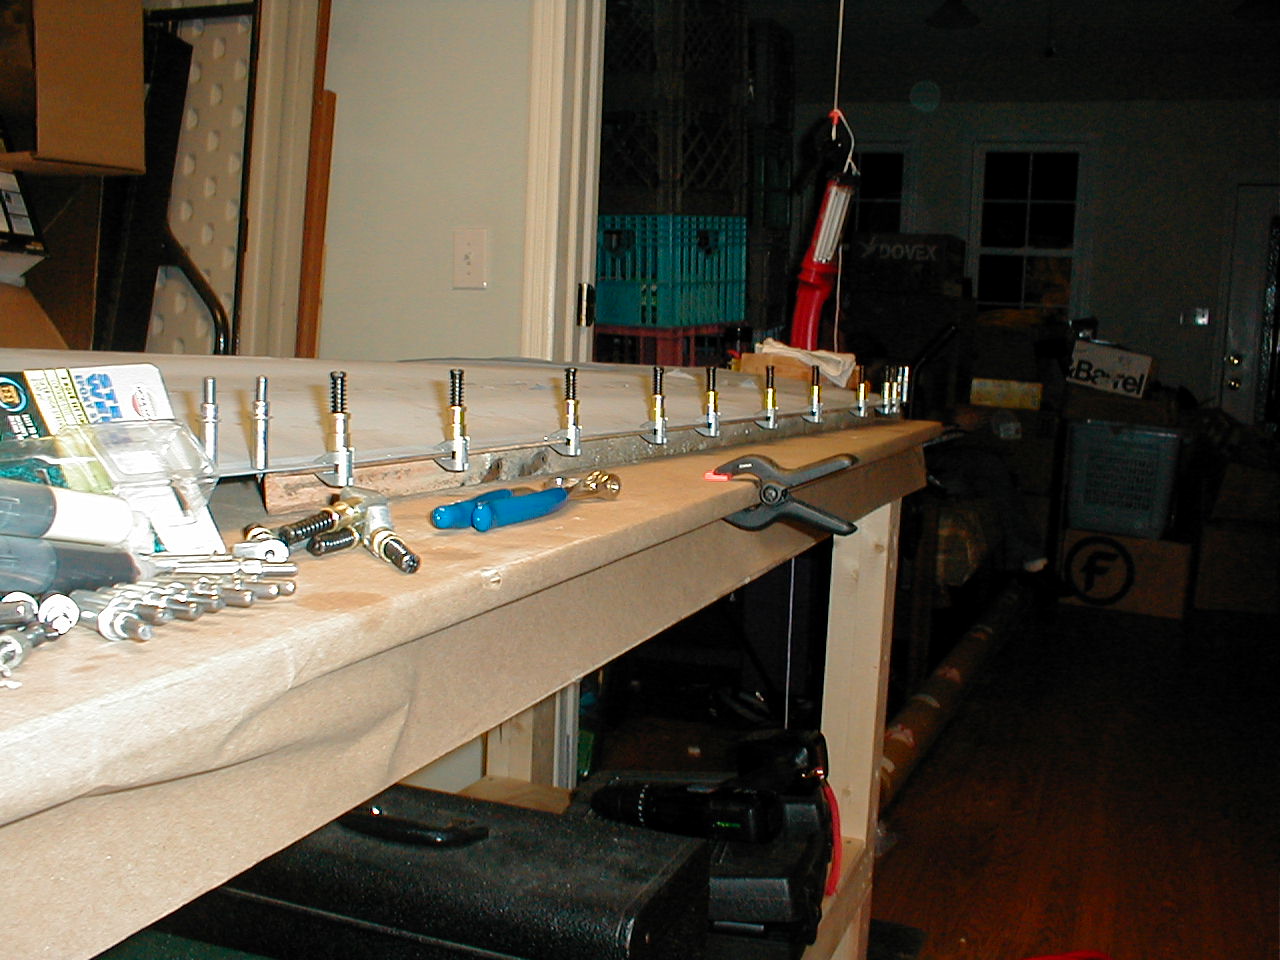
Step 10. Okay, quite frankly, I was about to give up. Perhaps I was being a bit too anal about this whole alignment thing, but I had the hardest time with this. My 6 foot table, the size recommended in the instructions, is not near long enough to be able to put a string through the tooling hole in the counterweight rib and attach it to the table. I think I needed about another 3-4 feet of table to make that work. The critical thing is that the alignment of the rib is right over the line on the table. So, I used a stool and plumb bob to bring the line up to the right height. I had this brillient (or so I thought) idea of using a laser pointer to line up the string, the hole in the rib, and the line on the vertical plywood. After all, I had this neato $15 laser site that worked fine for the lower end of the rib, so why not use a laser for the top end? Well, not so great. It finally dawned on me that I now had a reference high enough to use the original string method described in the book, only against my plumb bob line and not the table. You have to take into account the thickness of the plumb bob string, but this seemed to work out well in the end (let's hope - it is not assembled yet!!! :-) Once I had things roughly where I thought they should be, I put one of the skins up against it, and it seemed to line up well enough.

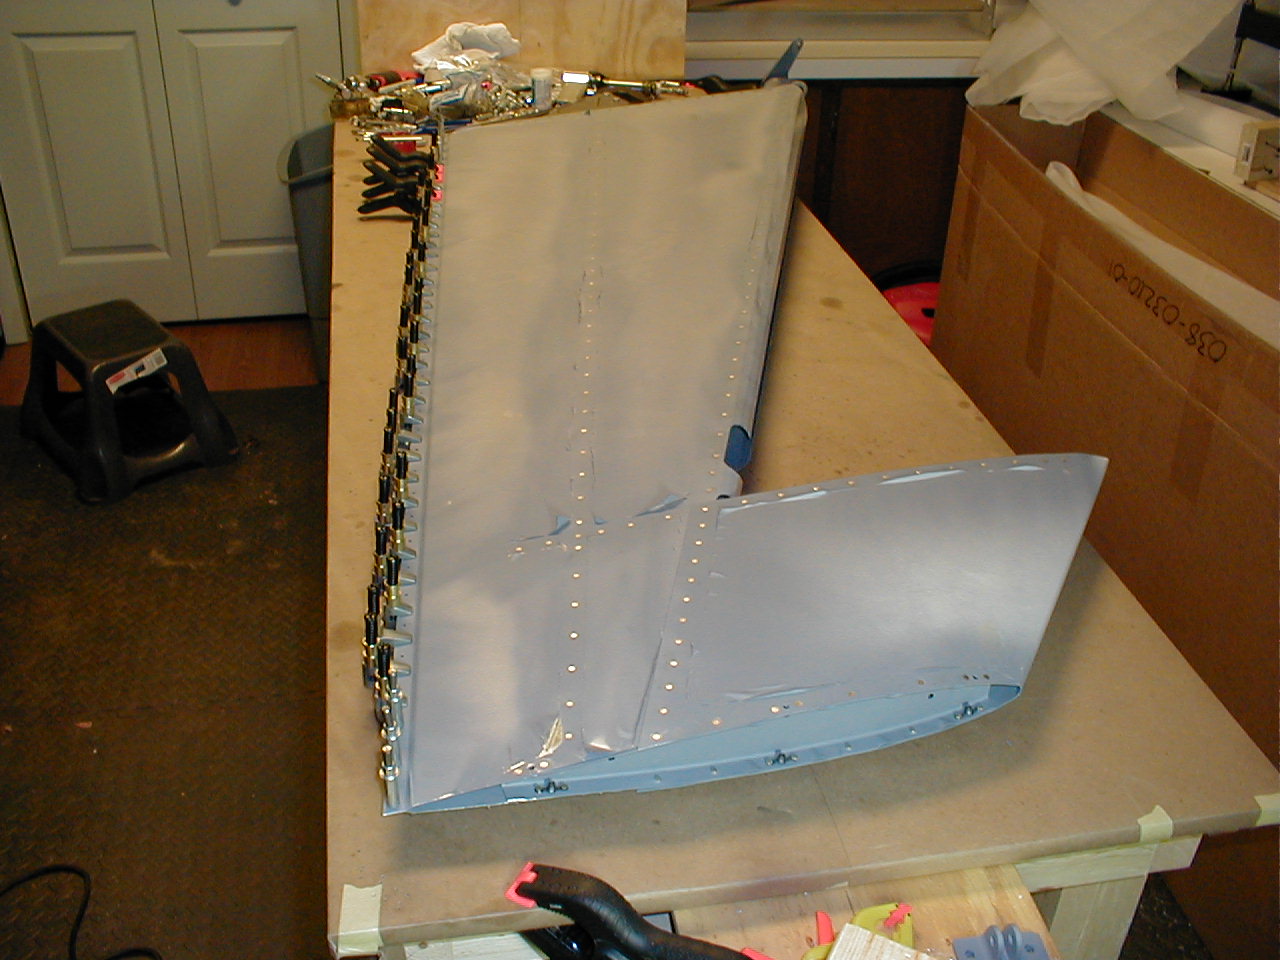
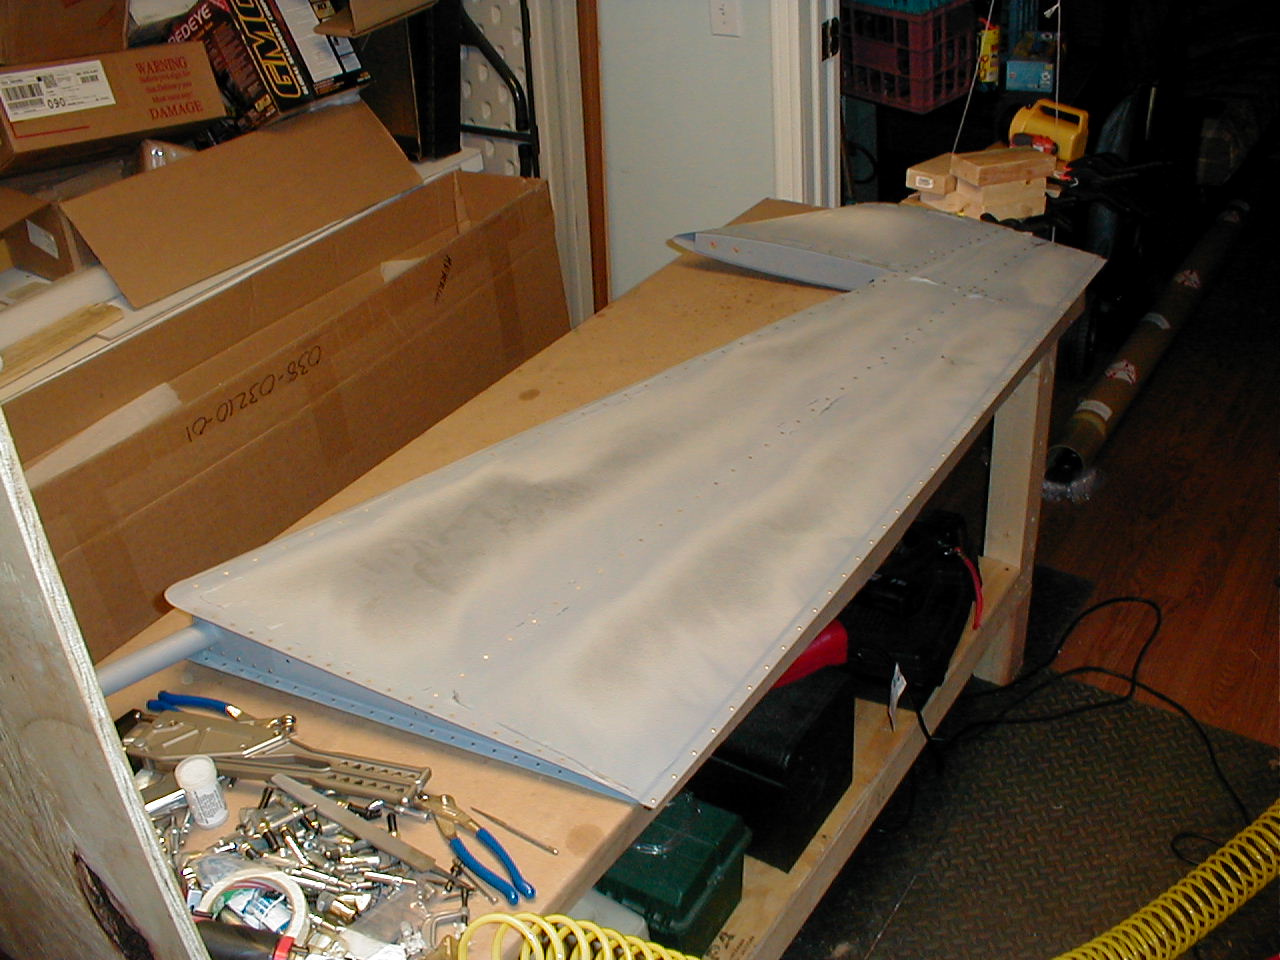
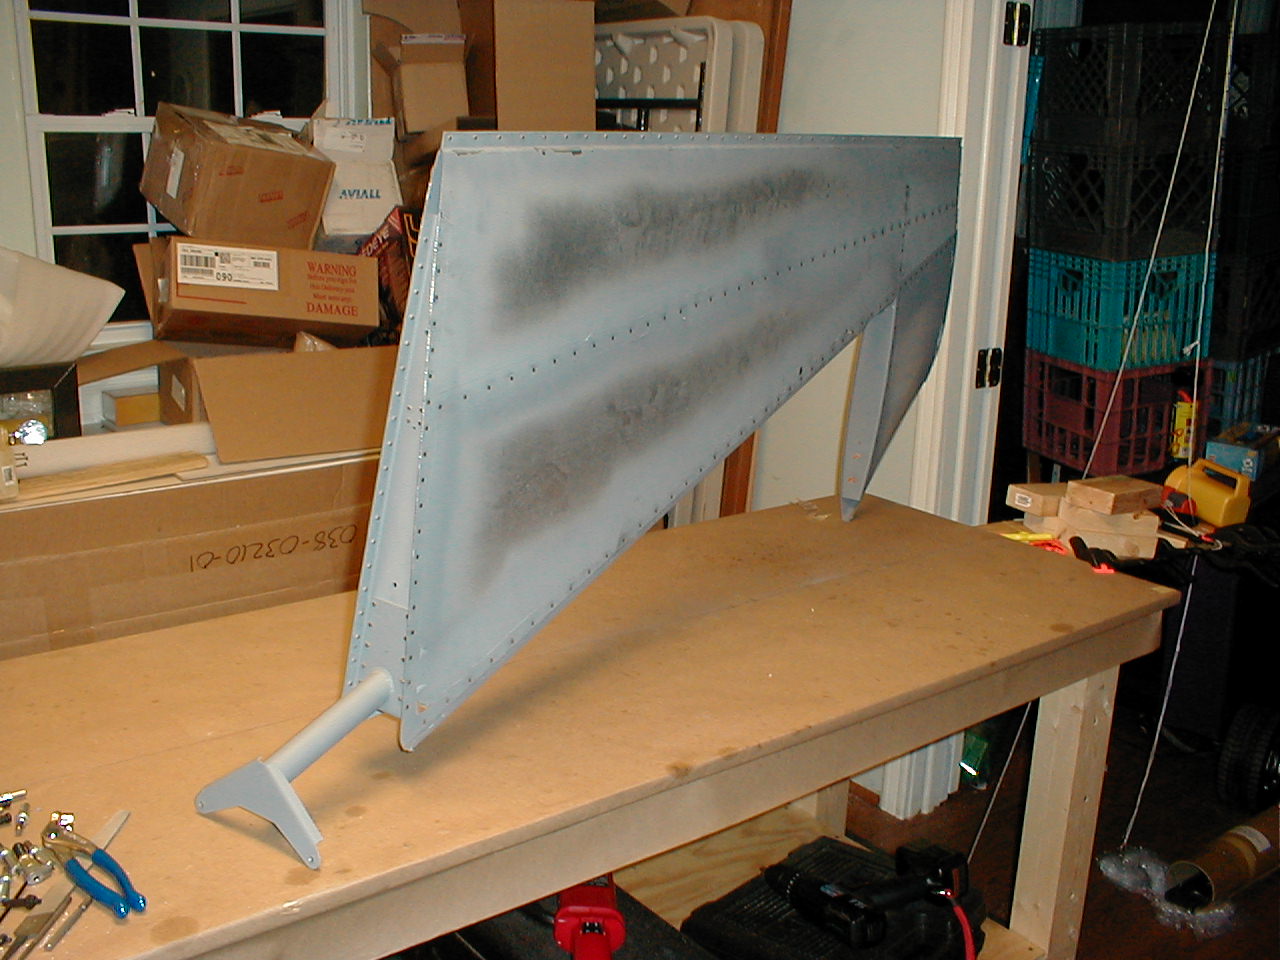
I made it through Step 11 before calling it a day. It is actually starting to look like a rudder! This made me feel much better, even though I know I have a LOT more work just on the rudder before I am done with it.
24 May 2005 - 3.7hrs
and
27 May 2005 - 1hr
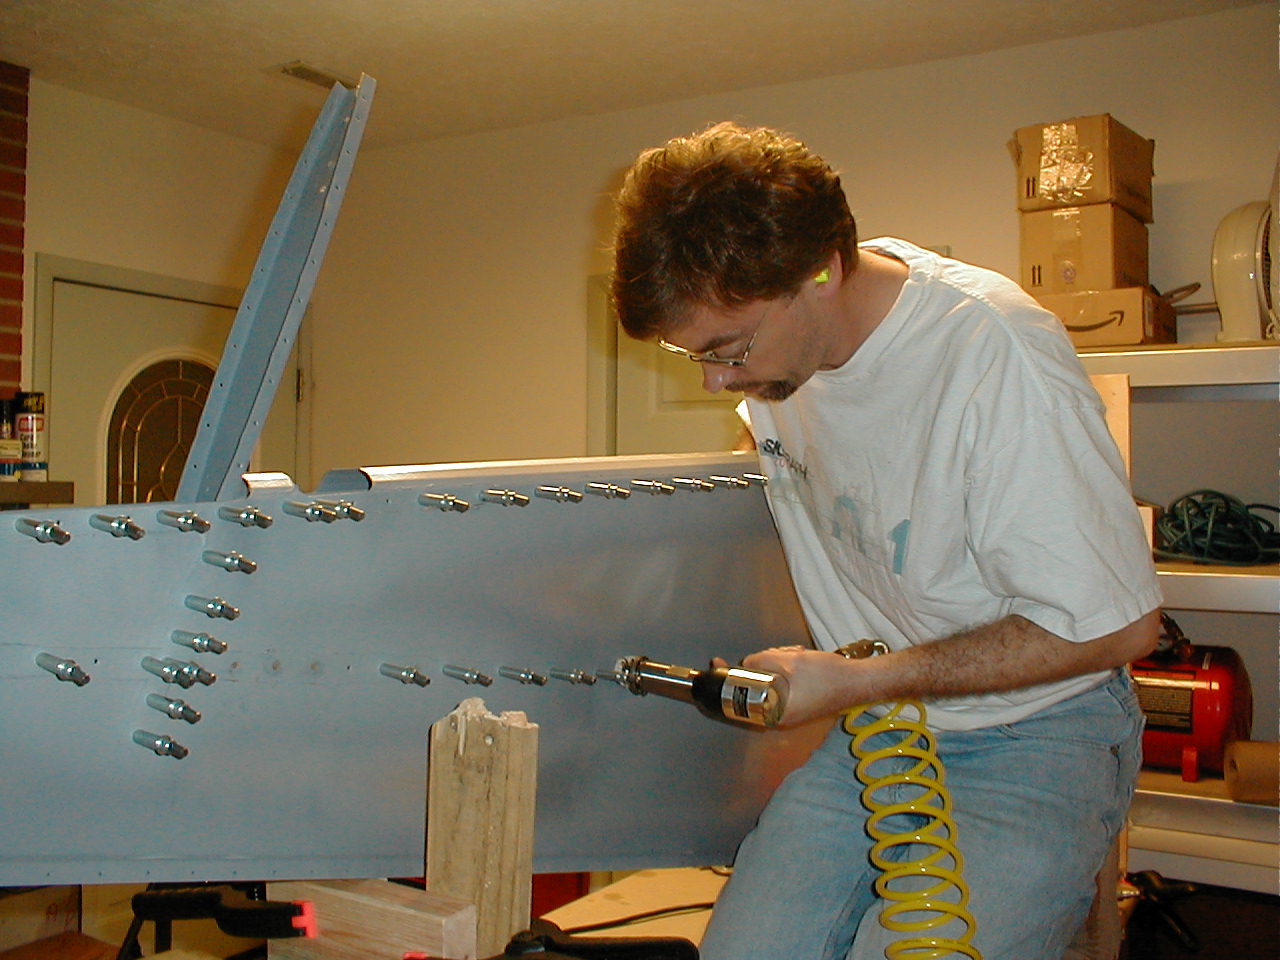
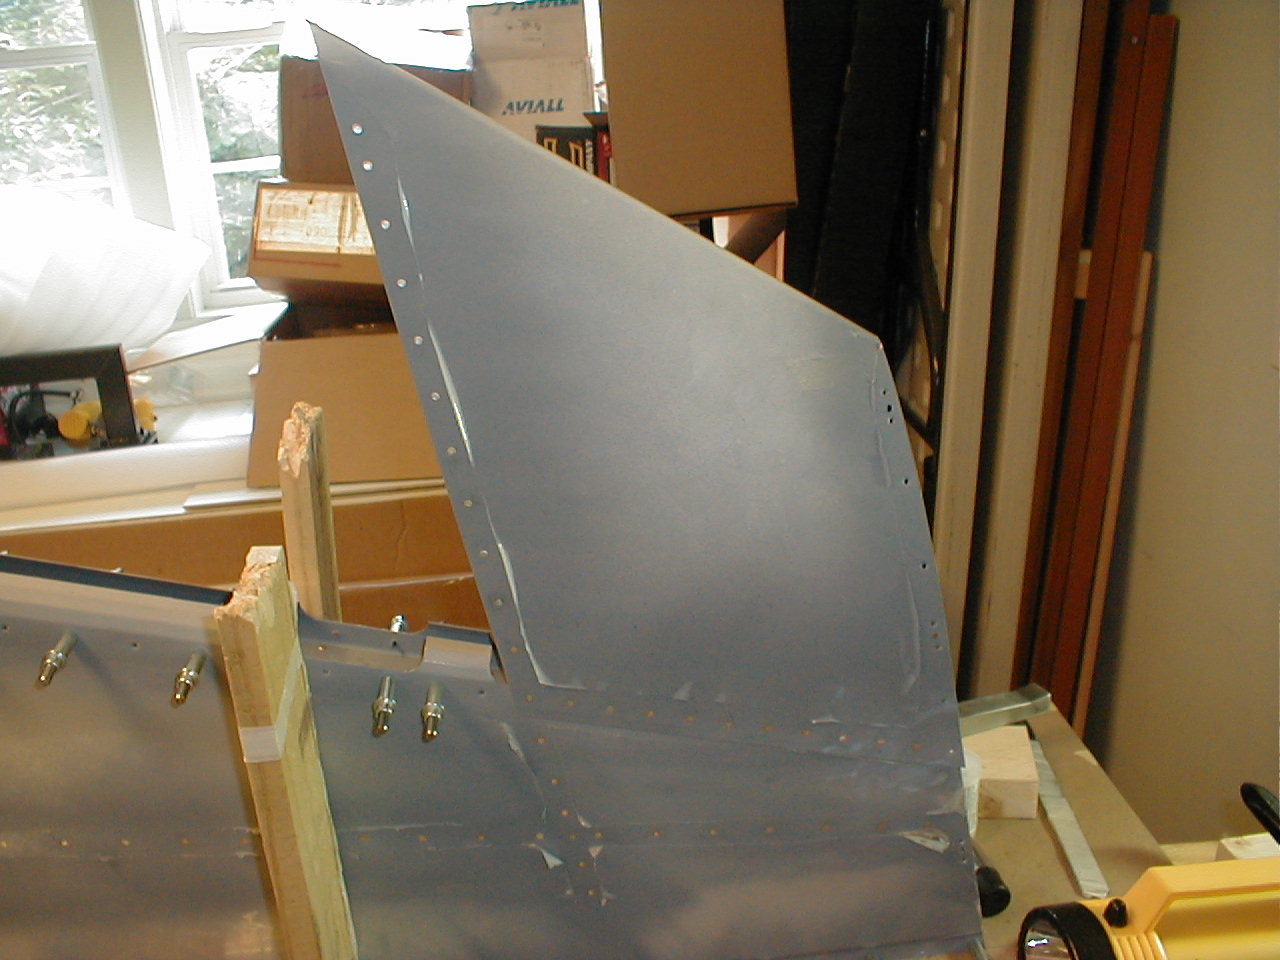
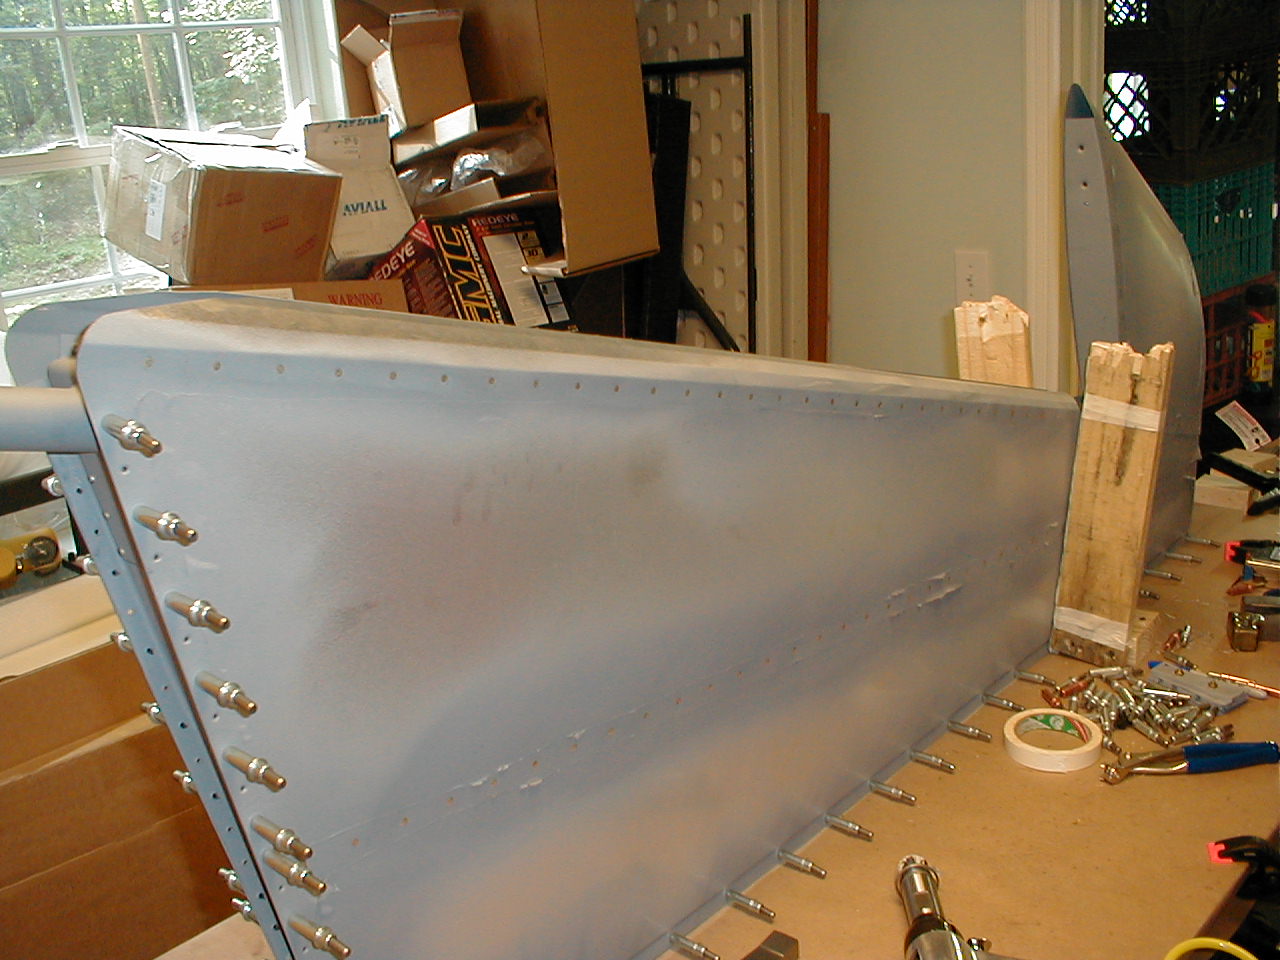
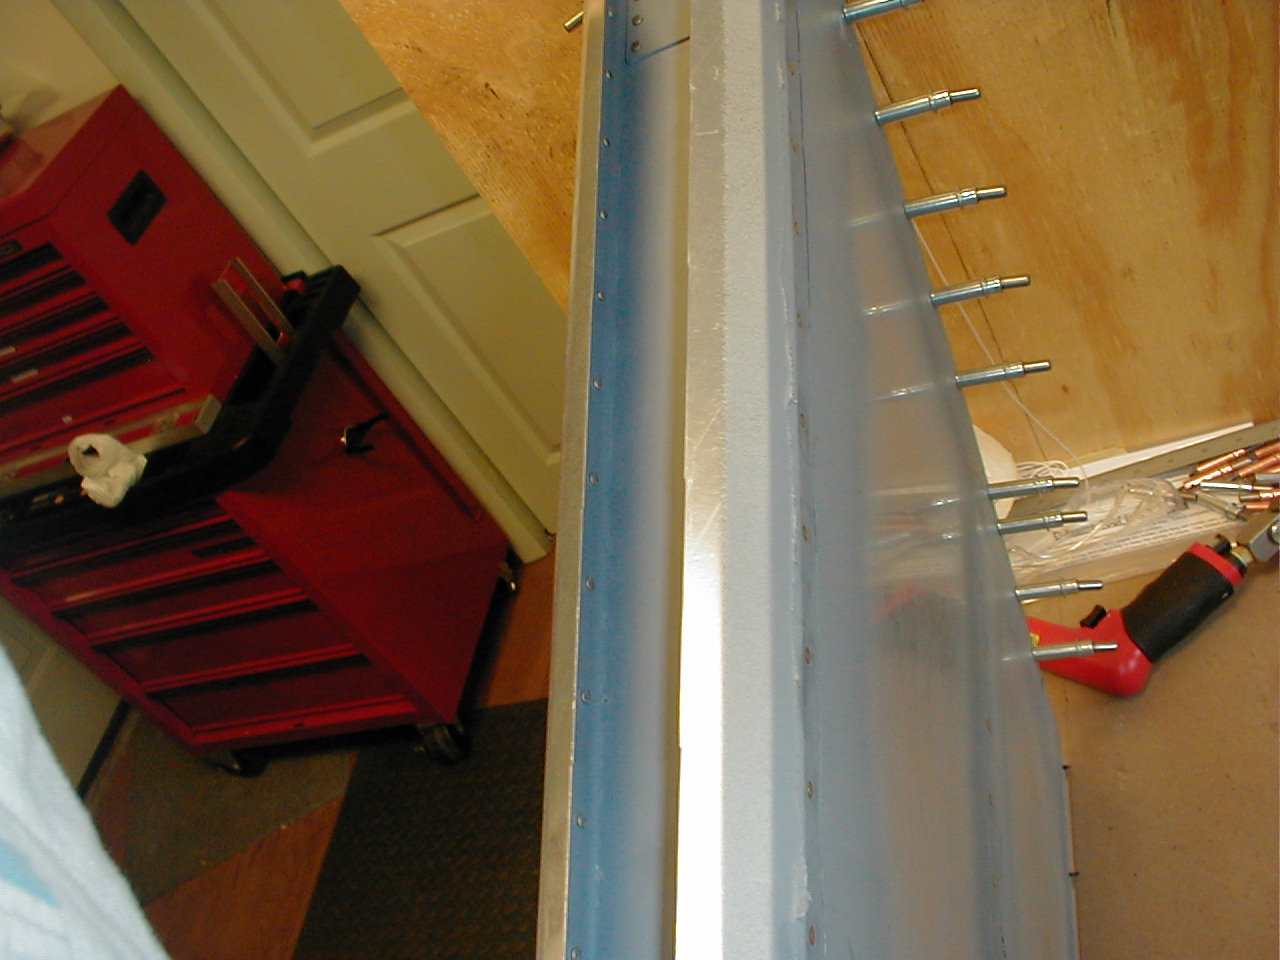
Left and right rudder skins in place, mounted forward skin and made the holes for the nutplates to mount the rudder tip.
28 May 2005 - 7.5hrs
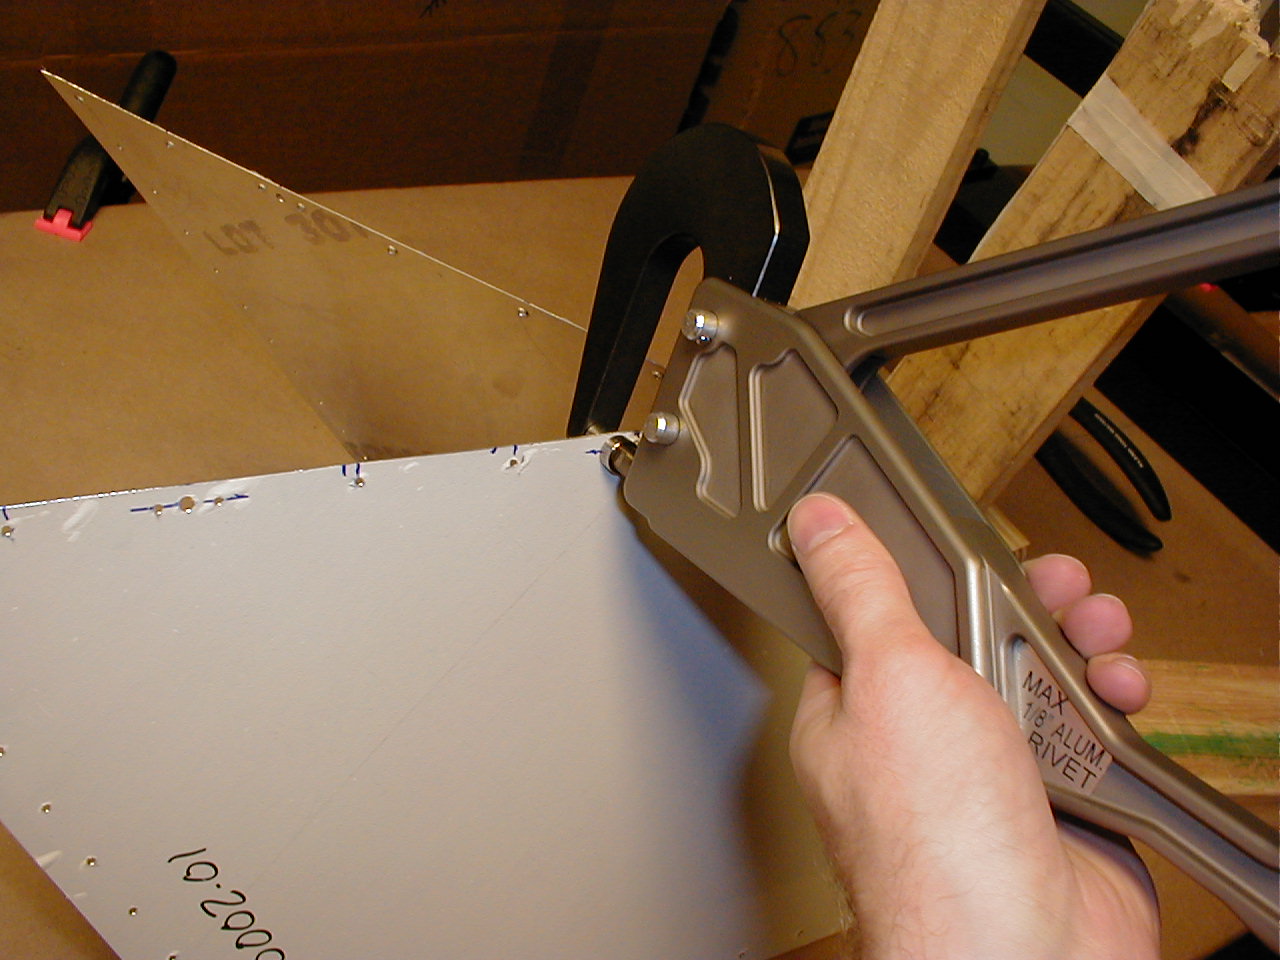
First deviation from standard plans - I decided to flush rivet everything on the skins instead of using universal rivets (I think they are ugly). The book says this is okay, but of course it takes longer since you have to dimple everything.
29 May 2005 - 4.8hrs
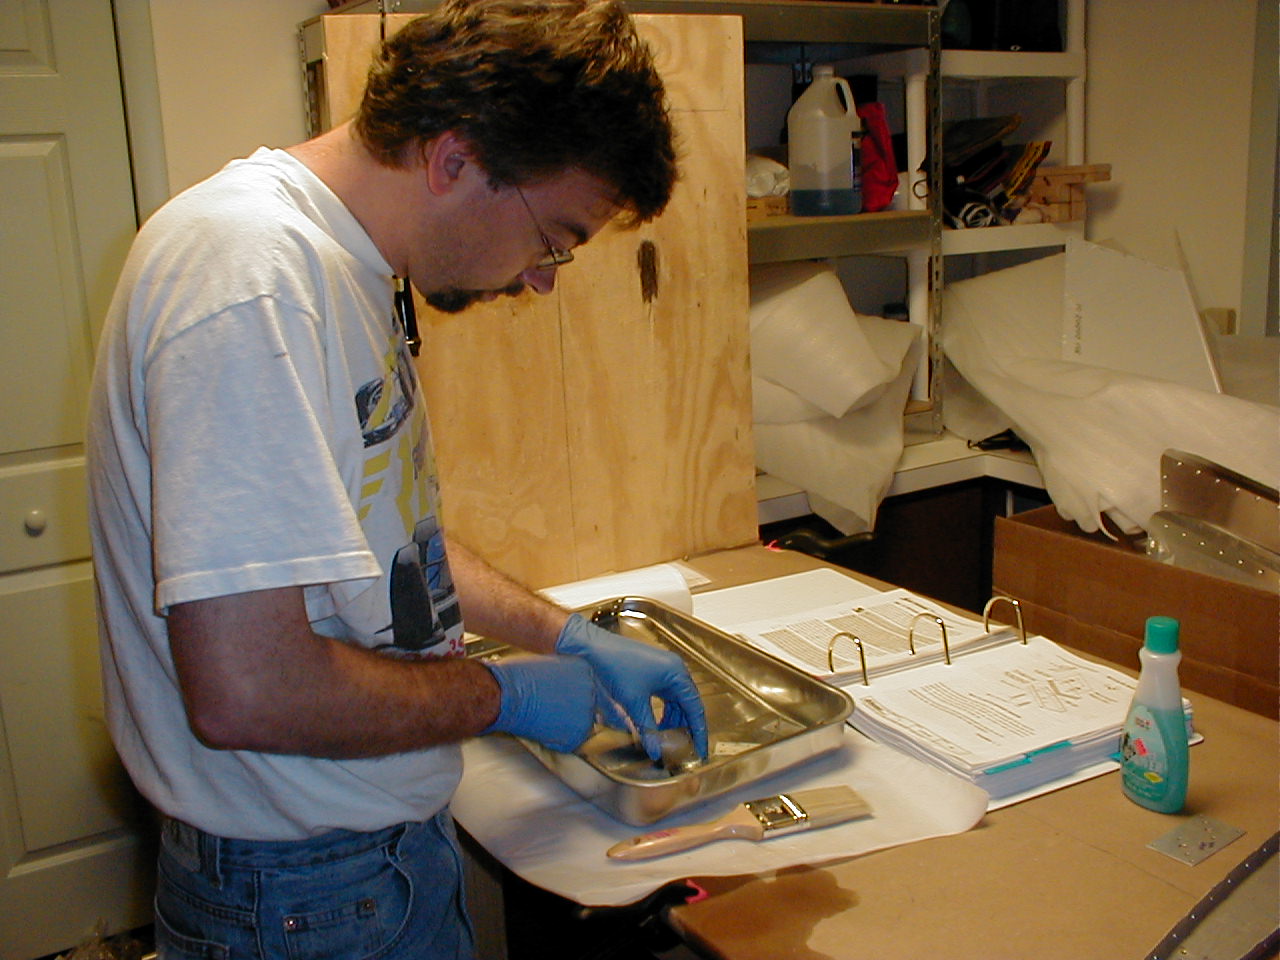
Cleaning, priming. I'm using Sherwin Williams 988 in a rattle can.

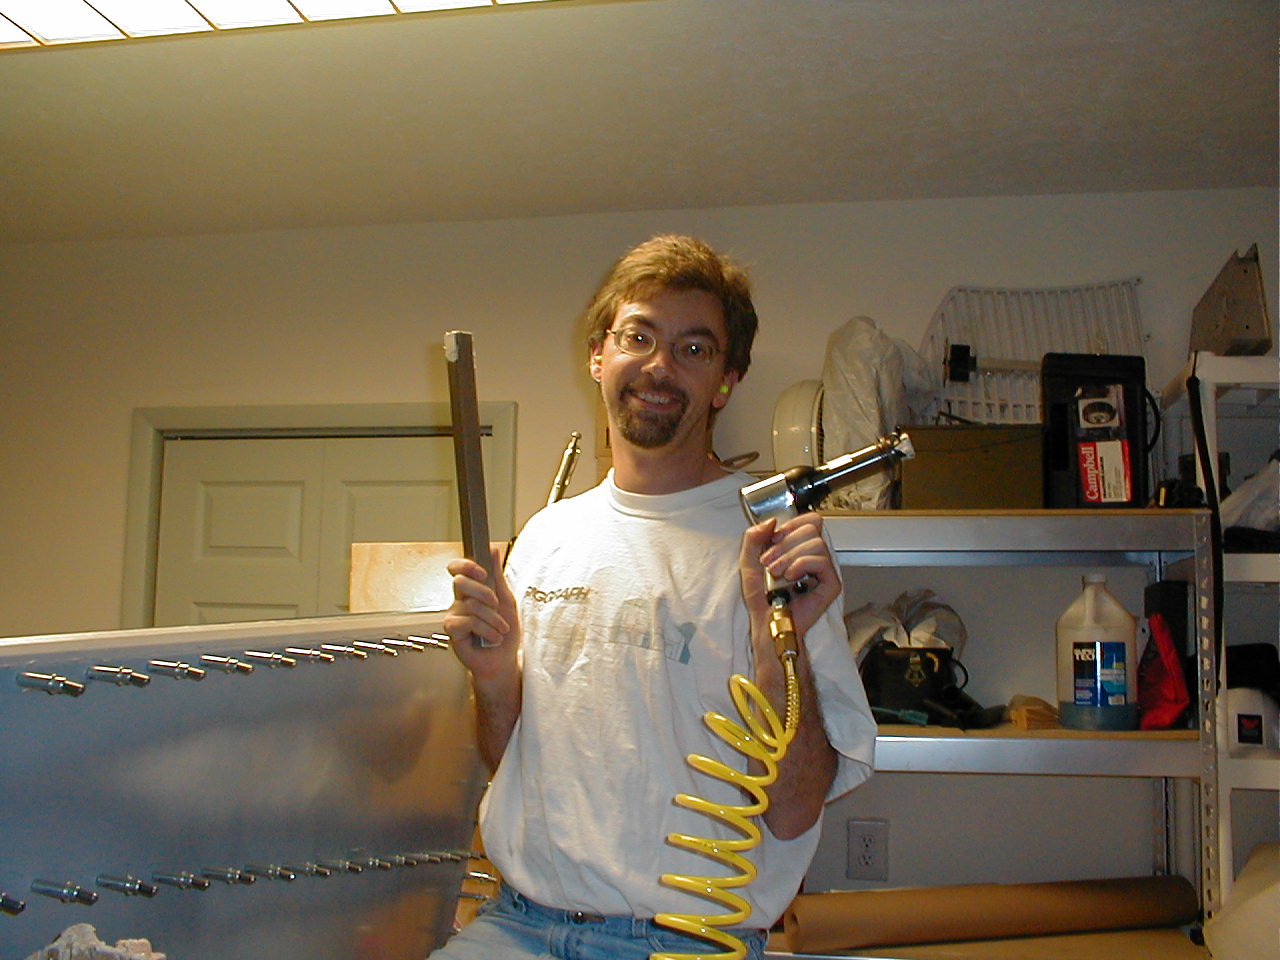
30 May 2005 - 7.25hrs
First rivet, squeezed, and first driven rivet! Probably not perfect, but acceptable, to me at least.

31 May 2005 - 3hrs
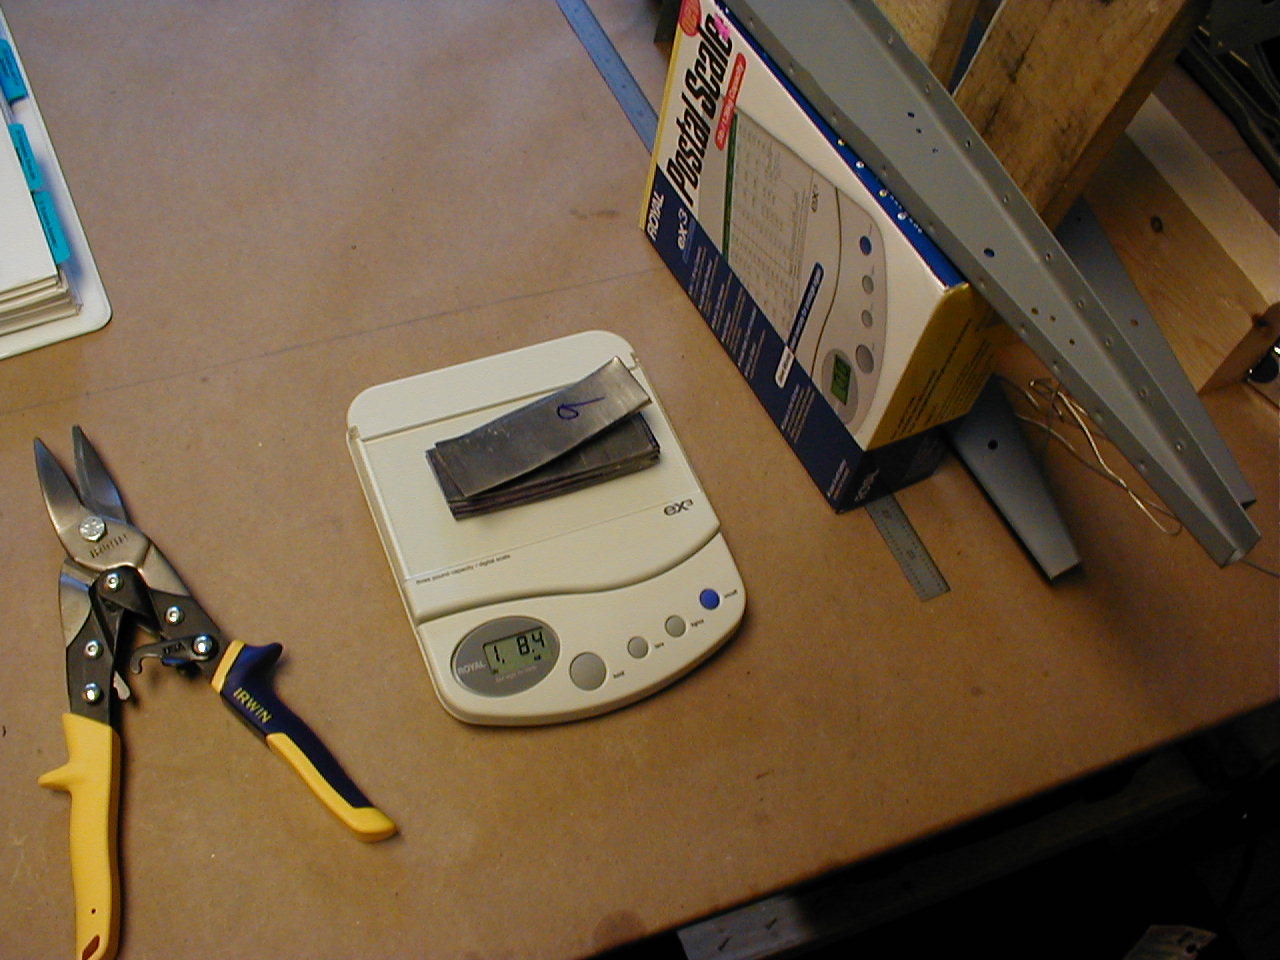
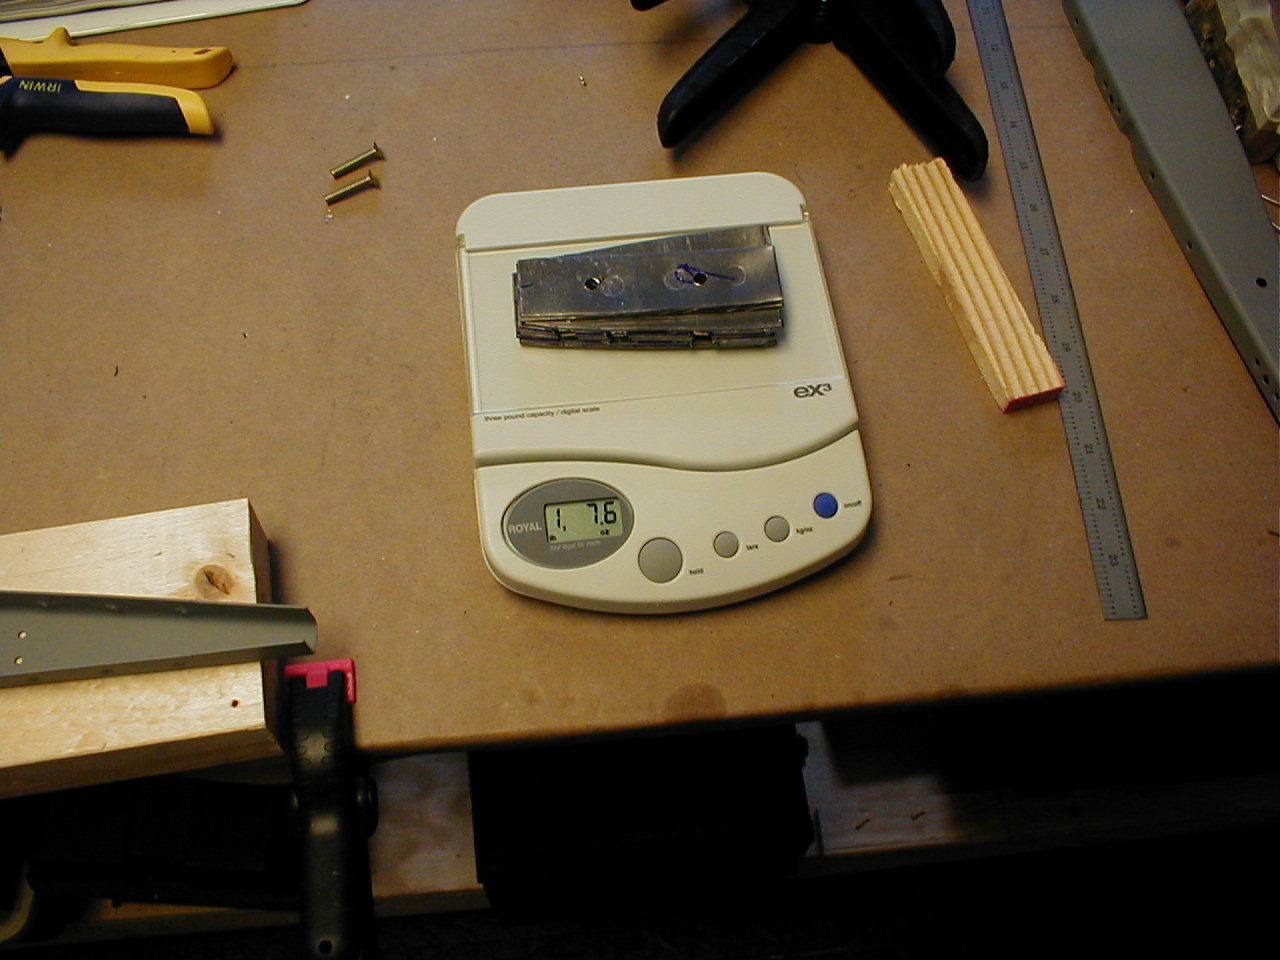
Fabricating the counterweight was interesting. The lead was SO easy to cut! I expected it to be hard, but the snips almost went through it like butter. I bought this little postage scale at Walmart for $20.


Also started the left skin.
01 Jun 2005 - 1hr
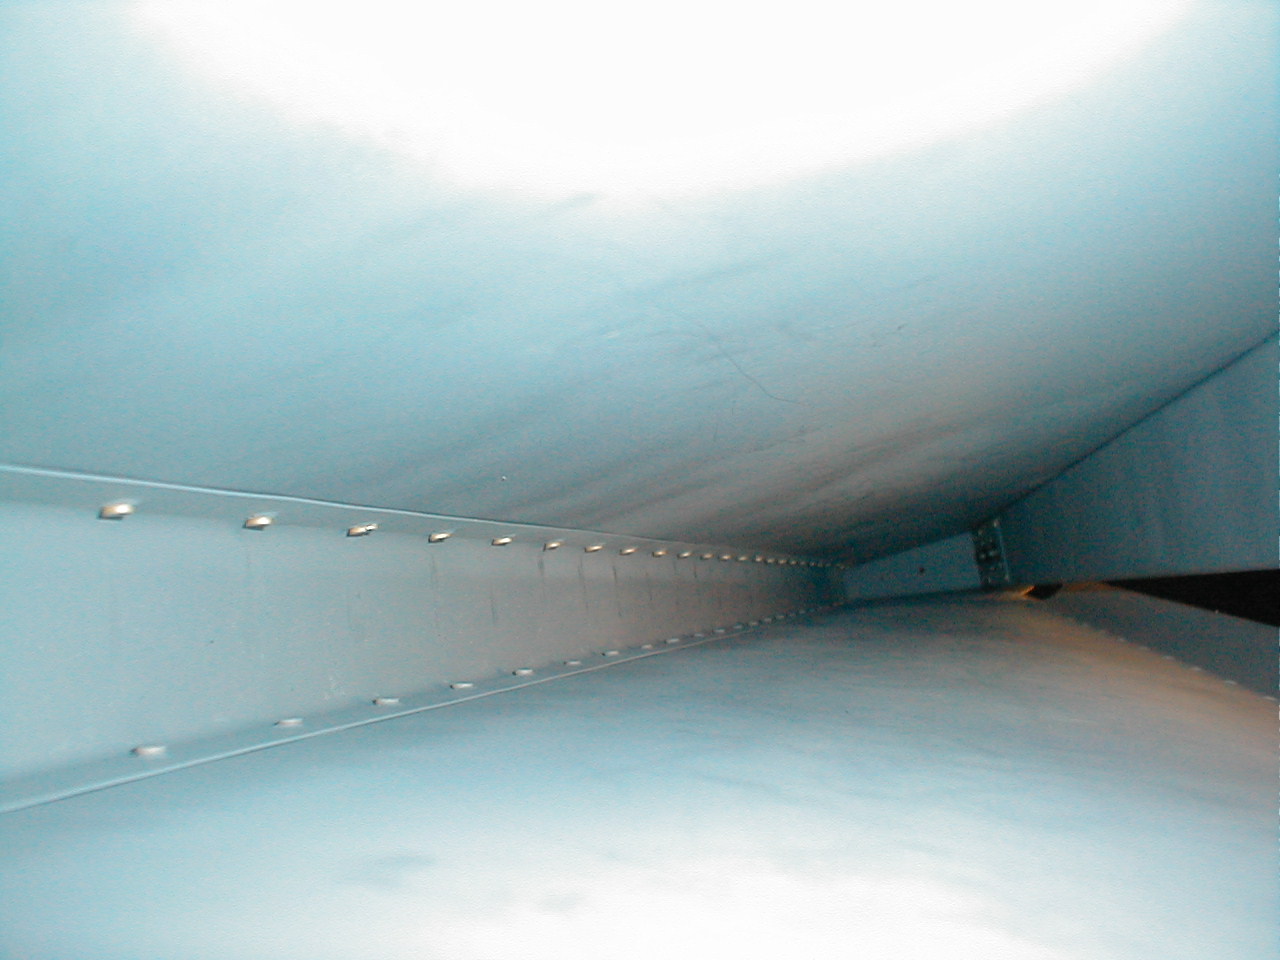
I did a little more on the left skin (the few rivets on the counterweight rib on the left skin). In order to put the right skin on and be able to rivet, you need a pretty small bucking bar. You need to remove the clecoes from the left skin, and pull the skin away from the assembly enough to get your hand inside with the bucking bar for the right skin and aft spar connection. None of my current bucking bars will do the trick, but I found one at Avery (#630) that another builder recommended. I've ordered it, and it should hopefully be here on Friday so I can start the right skin this weekend.
03 Jun 2005 - 4hrs
The new bucking bar arrived. Nice!!! Although it was still difficult, I don't see how I could have done the rudder skins without it. I anticipate I will use it on some other hard to reach spots down the road. I scratched some of the primer off while riveting, but I just did a quick touch-up inside after I was done. The Sherwin Williams 988 seems to be working well so far, but it takes 2-3 days for it to harden so it does not scratch easily.

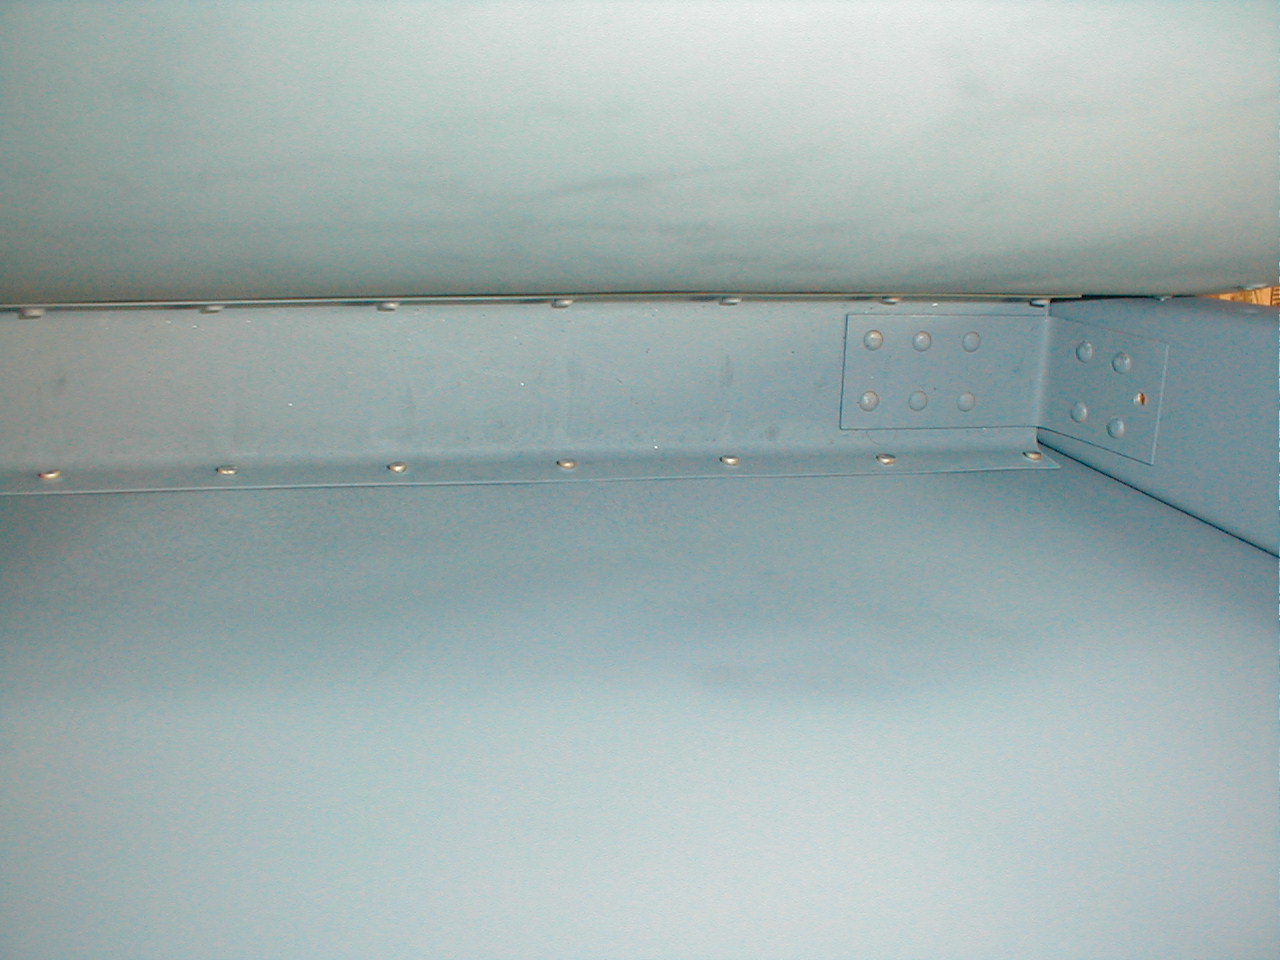

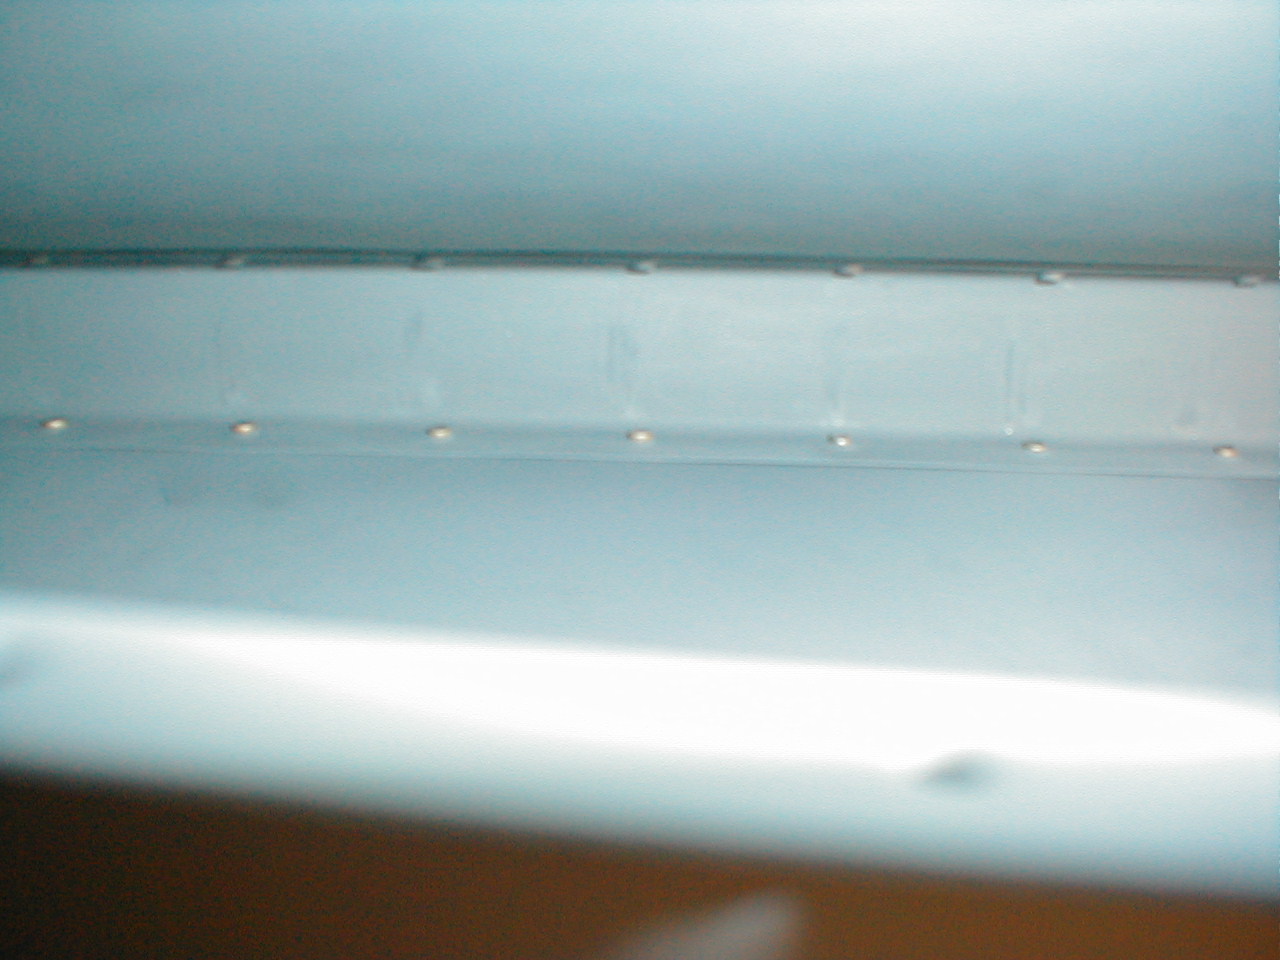
04 Jun 2005 - 6.75hrs
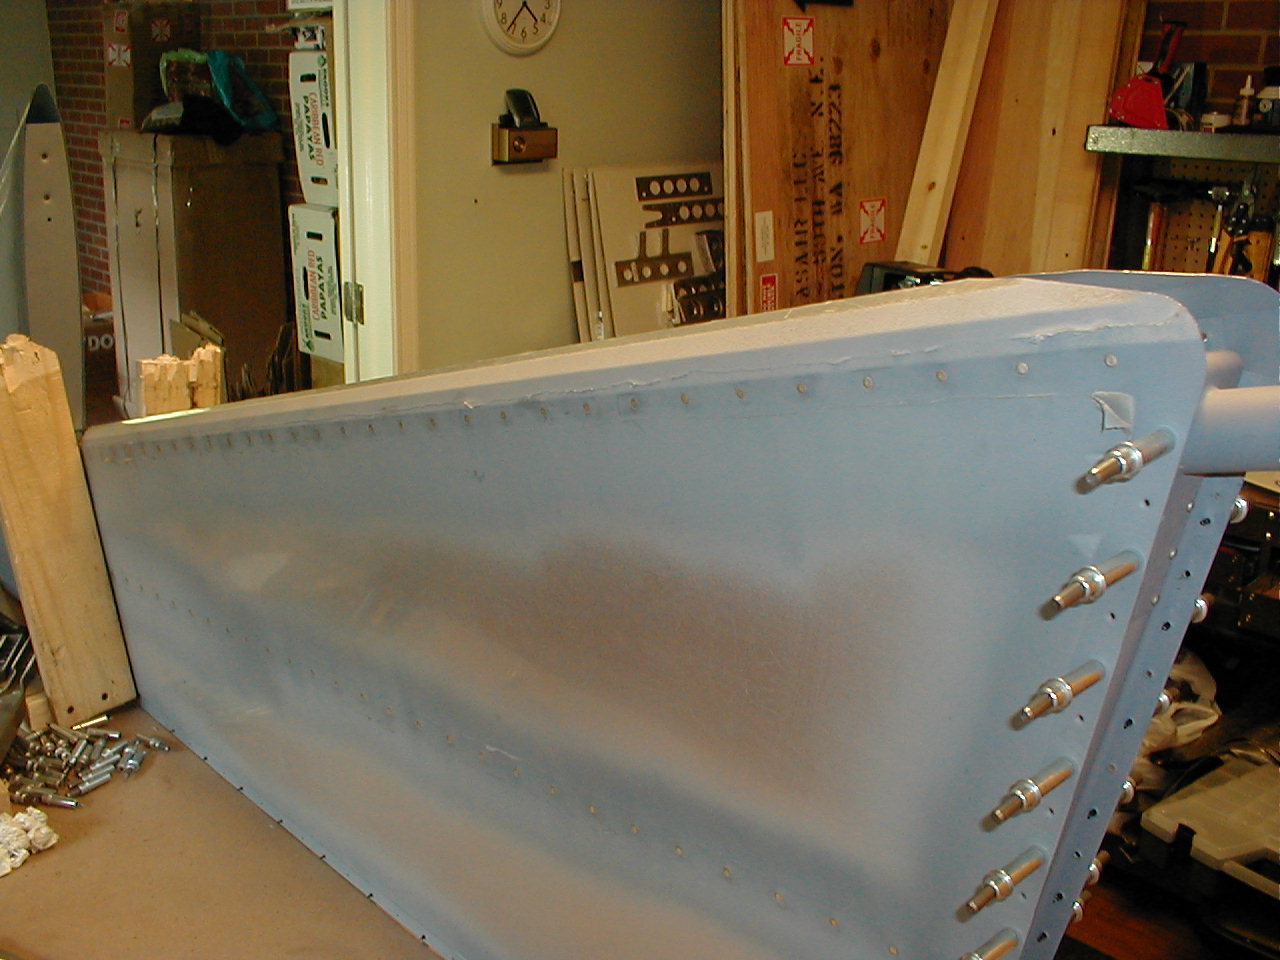
Rudder is starting to come together. I had one rivet, the trailing-most one on the top of the forward skin, that I had to re-do. Not once, not twice, but I had to drill it out FIVE times!!!! The sixth time riveting it was still not perfect, but it was good enough. That was very frustrating...
I decided that I wanted to flush rivet everything if at all possible. The plans call for the forward-most rivets being pop-rivets, but I just could not bring myself to do it. The problem is that the counterweight is on the other side, and with it in place you can't get a bucking bar in place to to a hard rivet. So, I didn't install the counterweight first. I hard riveted, then I installed the counterweight layer by layer (you cut sheets of lead in layers and stack them to form the weight). It was fairly difficult getting up inside there, but perseverance paid off, and I think the flush rivets on the forward skin look a lot better than pop-rivets.
I got as far as setting up the trailing edge in preparation for riveting. I used the epoxy trick outlined in the manual, and it worked out well.

06 Jun 2005 - 3hrs
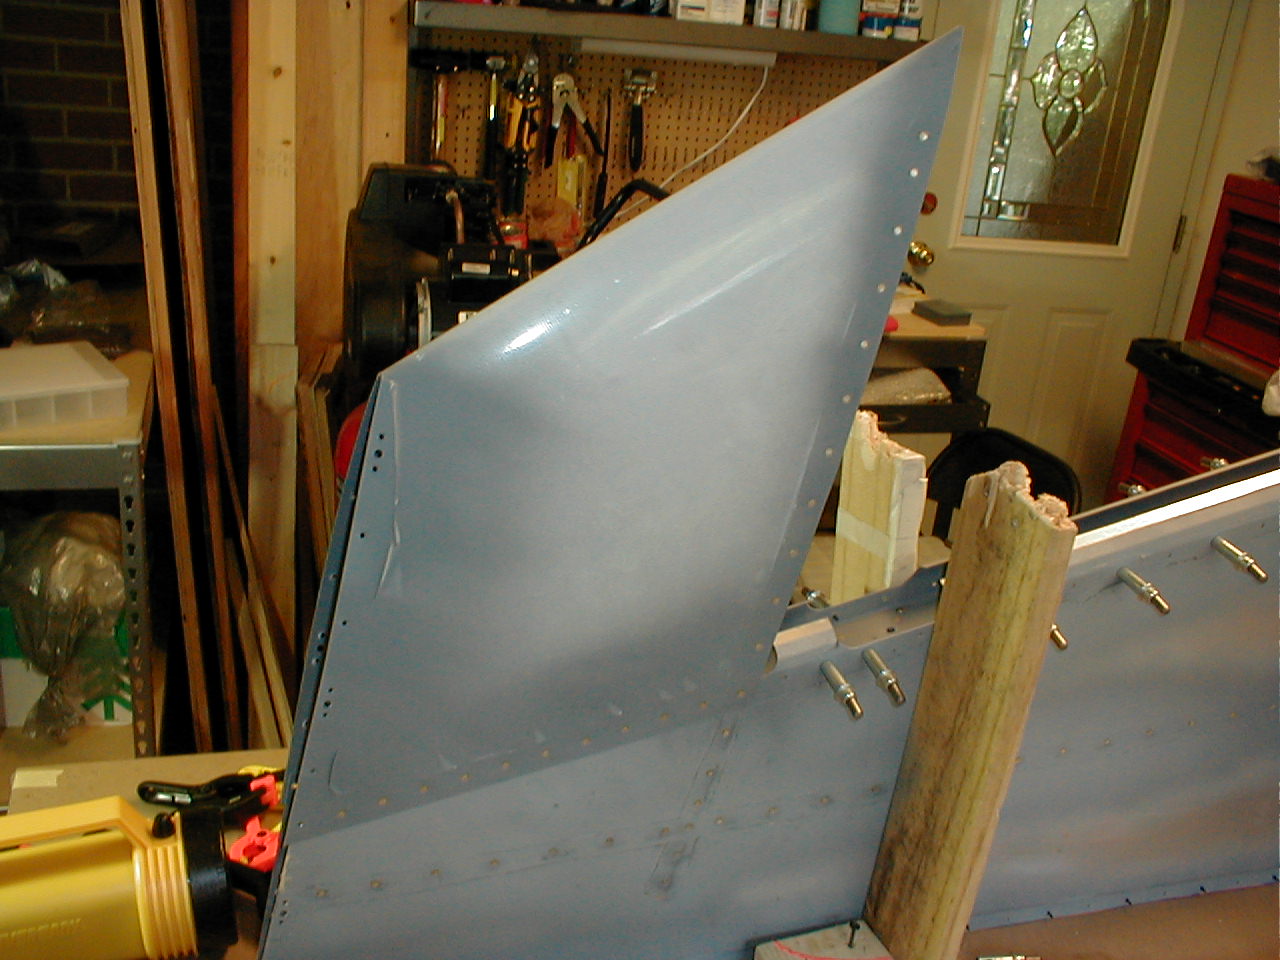
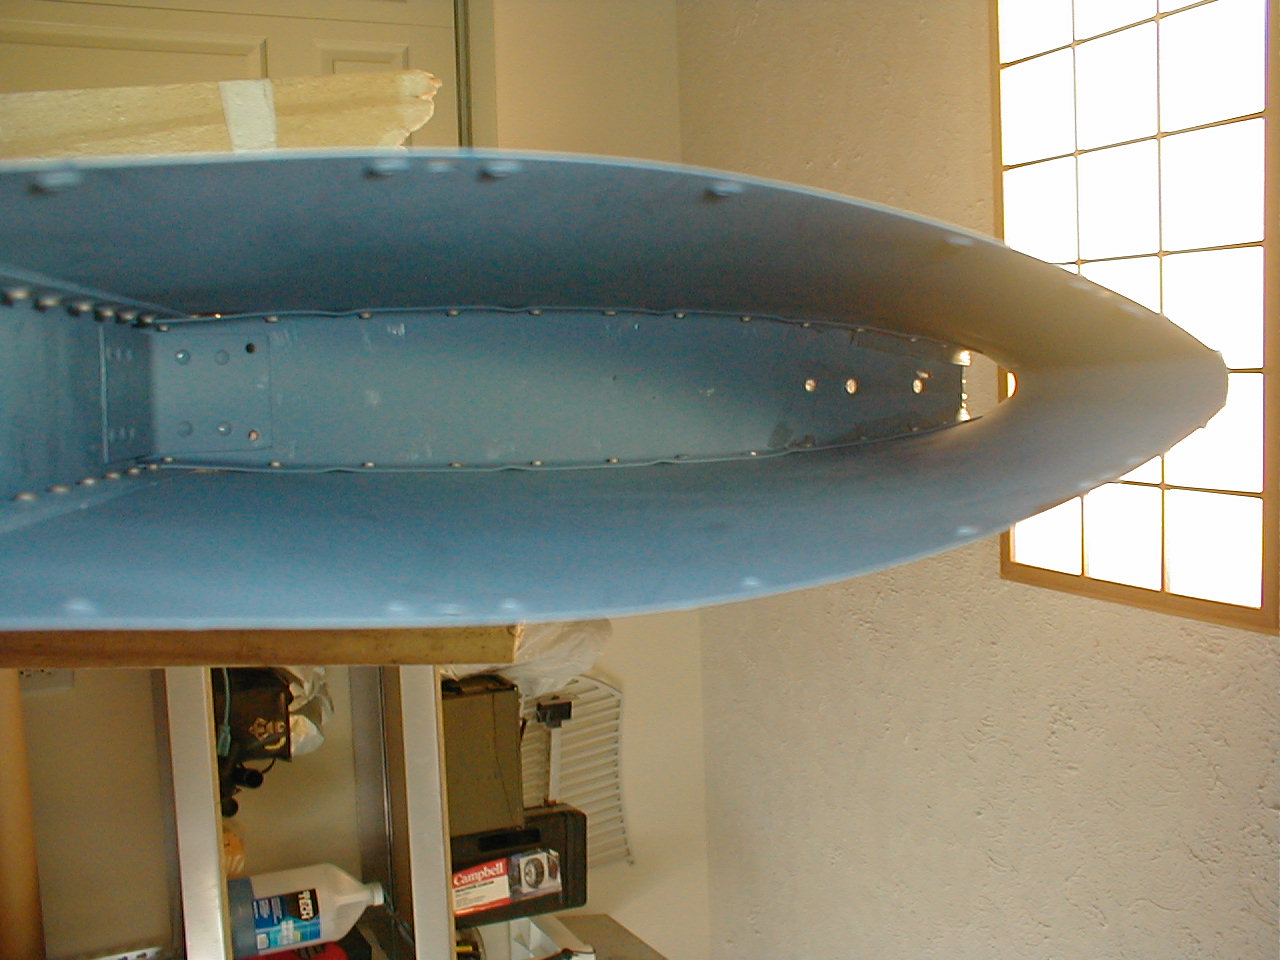
Finished the rudder today!!! :-) Totaled about 59 hours. Probably more time than most people, but I was learning as I went, and it takes a bit more time for the flush riveting. I think I'm getting better at this, though, so I might be able to progress a little faster on the rest. We'll see, no real rush after all.
My trailing edge came out VERY nice!!! From top to bottom the straightness only varies by the width of a pencil line on the table. I'm pretty happy with that! :-) Obviously could not flush rivet the trailing edge...
Brought to you by the number seven!