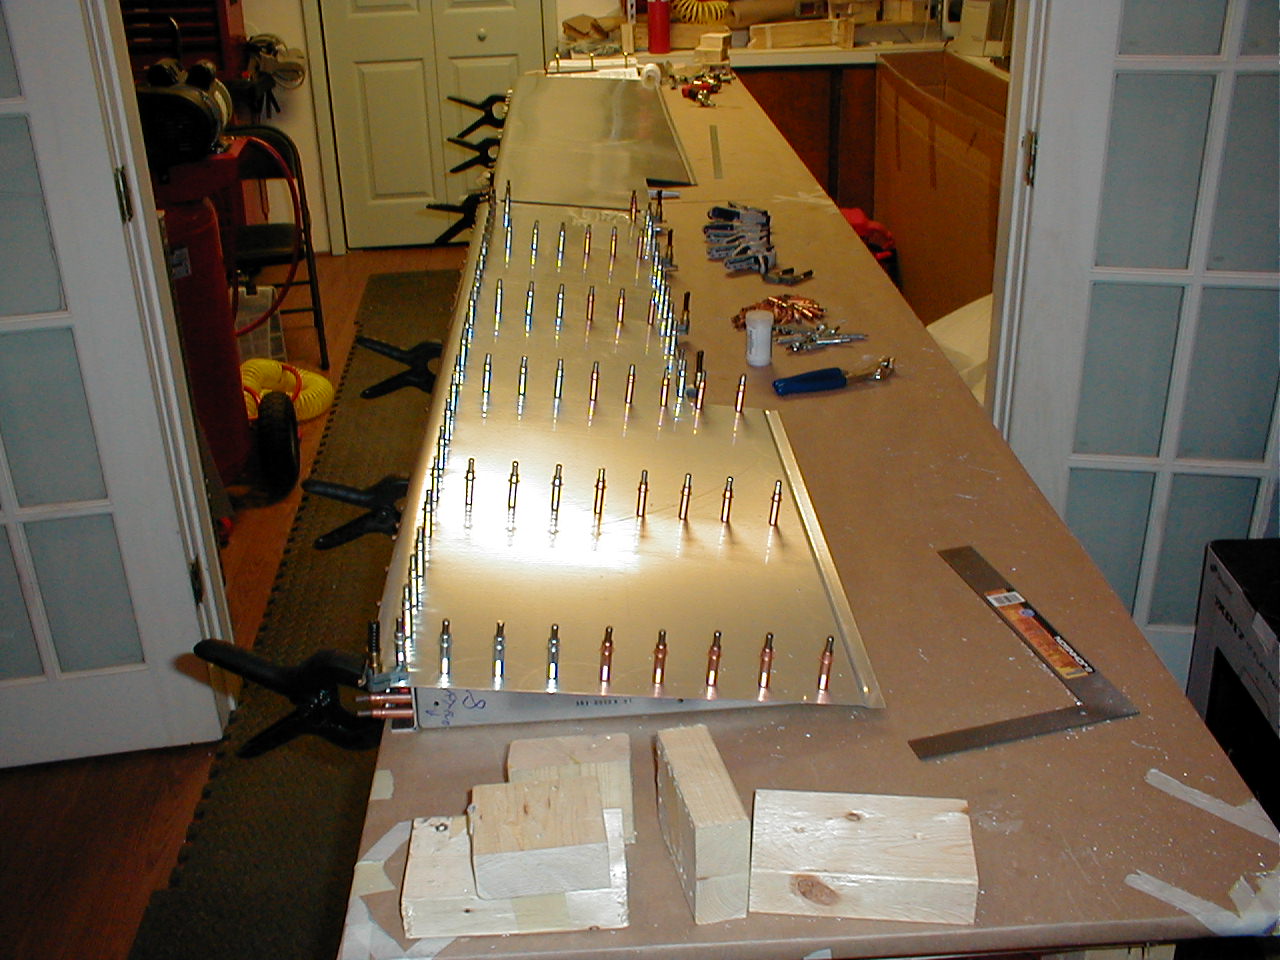
25 Sep 2005 - 3.75hrs
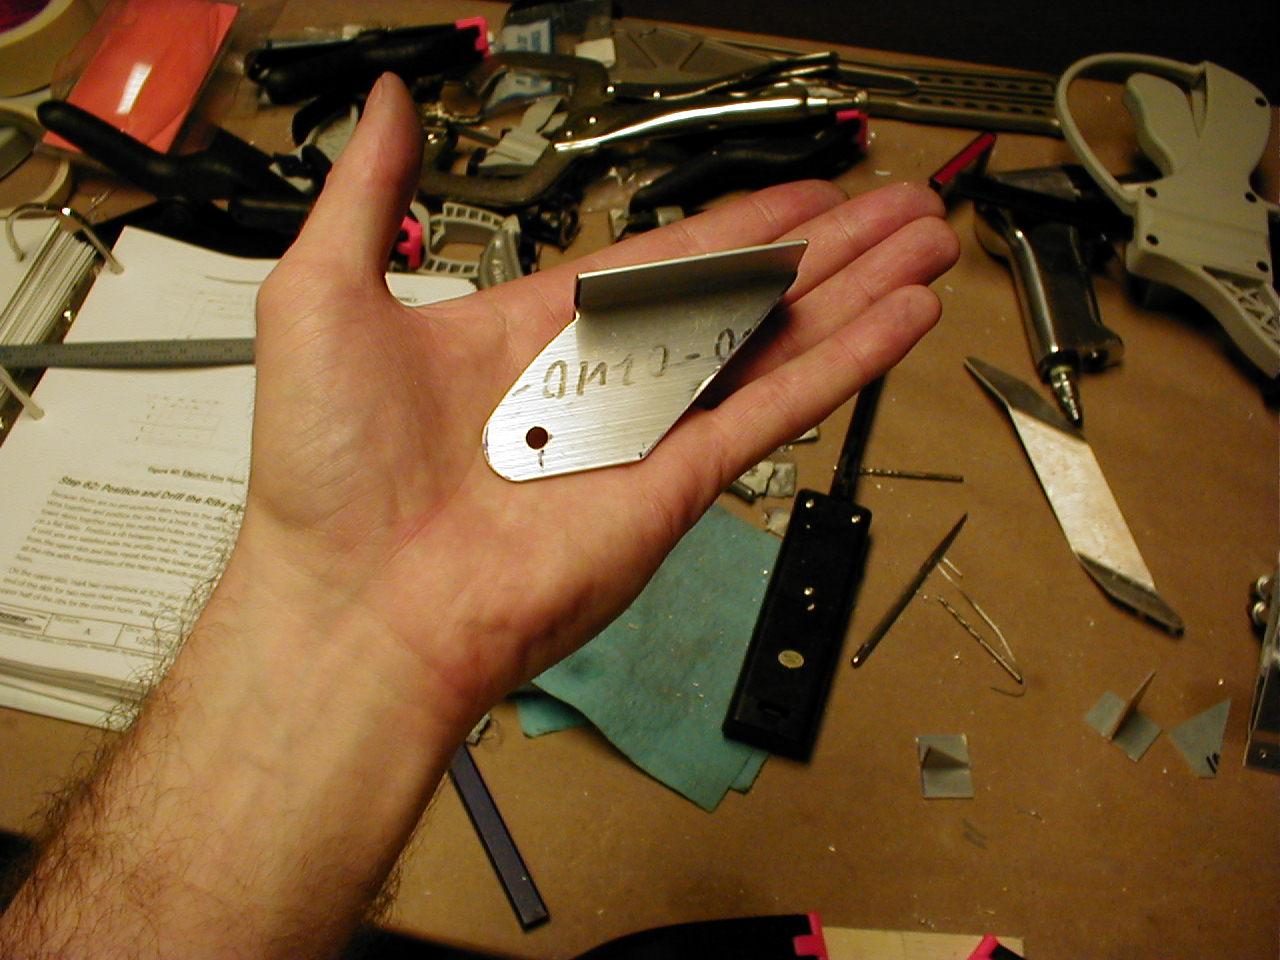
I'm skipping ahead and assembling the trim tab first.
26 Sep 2005 - 1.3hrs
Sections 61-71 do not mention drilling out the hinge line holes or the trailing edge holes, but near the end it says to rivet the trailing edge. Up to now the instructions basically lead you by the hand, but the trim tab instructions could be improved. Fortunately it is not a difficult part, but even so...
27 Sep 2005 - 1.15hrs
22 Oct 2005 - 1.0hrs
Did you know that blind "pop" rivets come in the flush variety? I didn't, and there are a few places that you can't use a driven rivet. Someone mentioned the flush blind rivets at the EAA Regional flyin in VA, so I spent some time tracking them down. Most of them are 120 degree, not 100 degree. After trying for several days to find 100 degree, I gave up, ordered the 120 degree, and a simple 120 degree dimpler that works in a pop rivet gun.
03 Nov 2005 - 1.5hrs
04 Nov 2005 - 1.5hrs
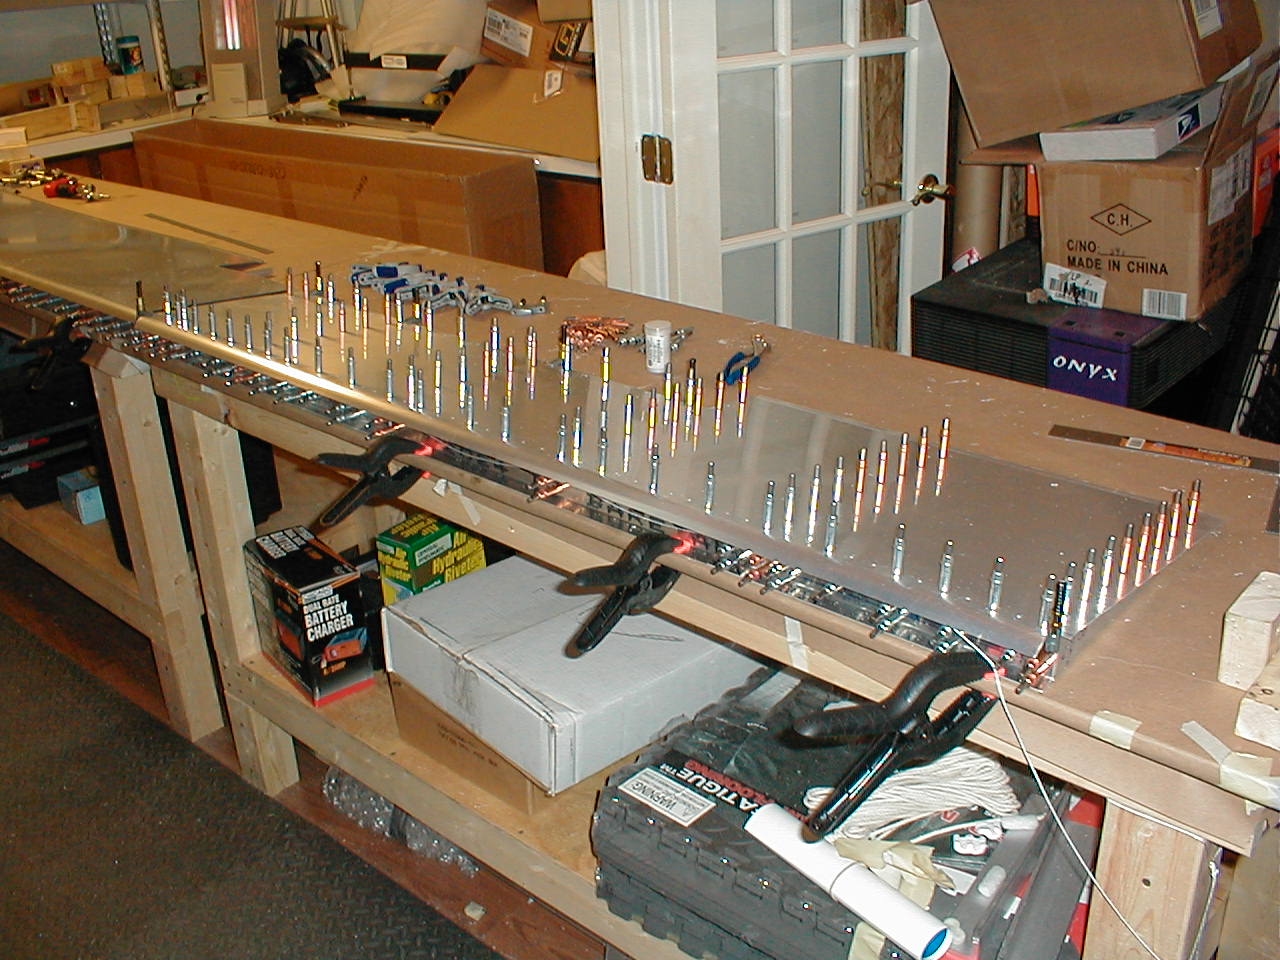
05 Nov 2005 - 0.6hrs
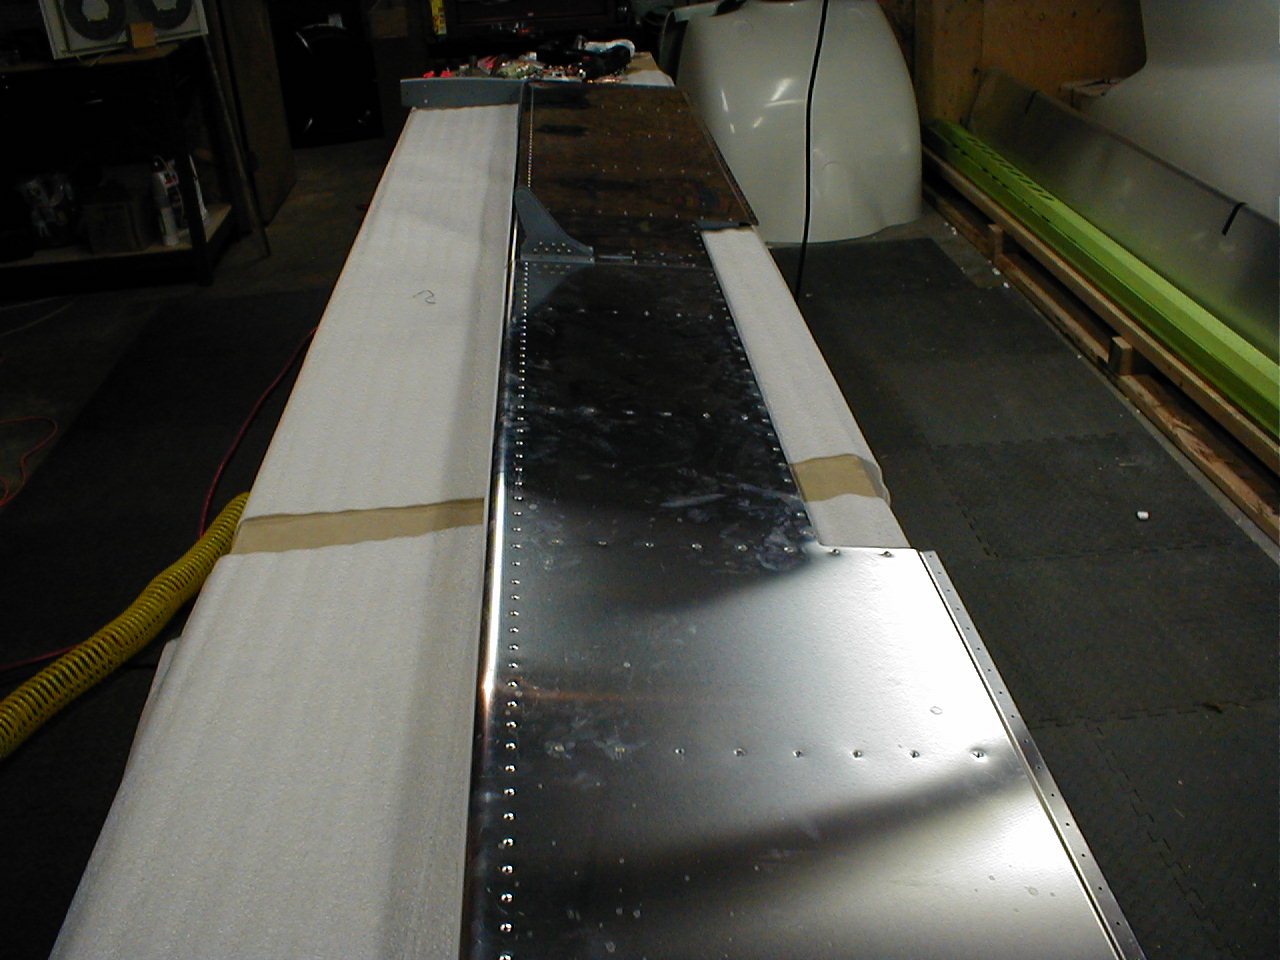
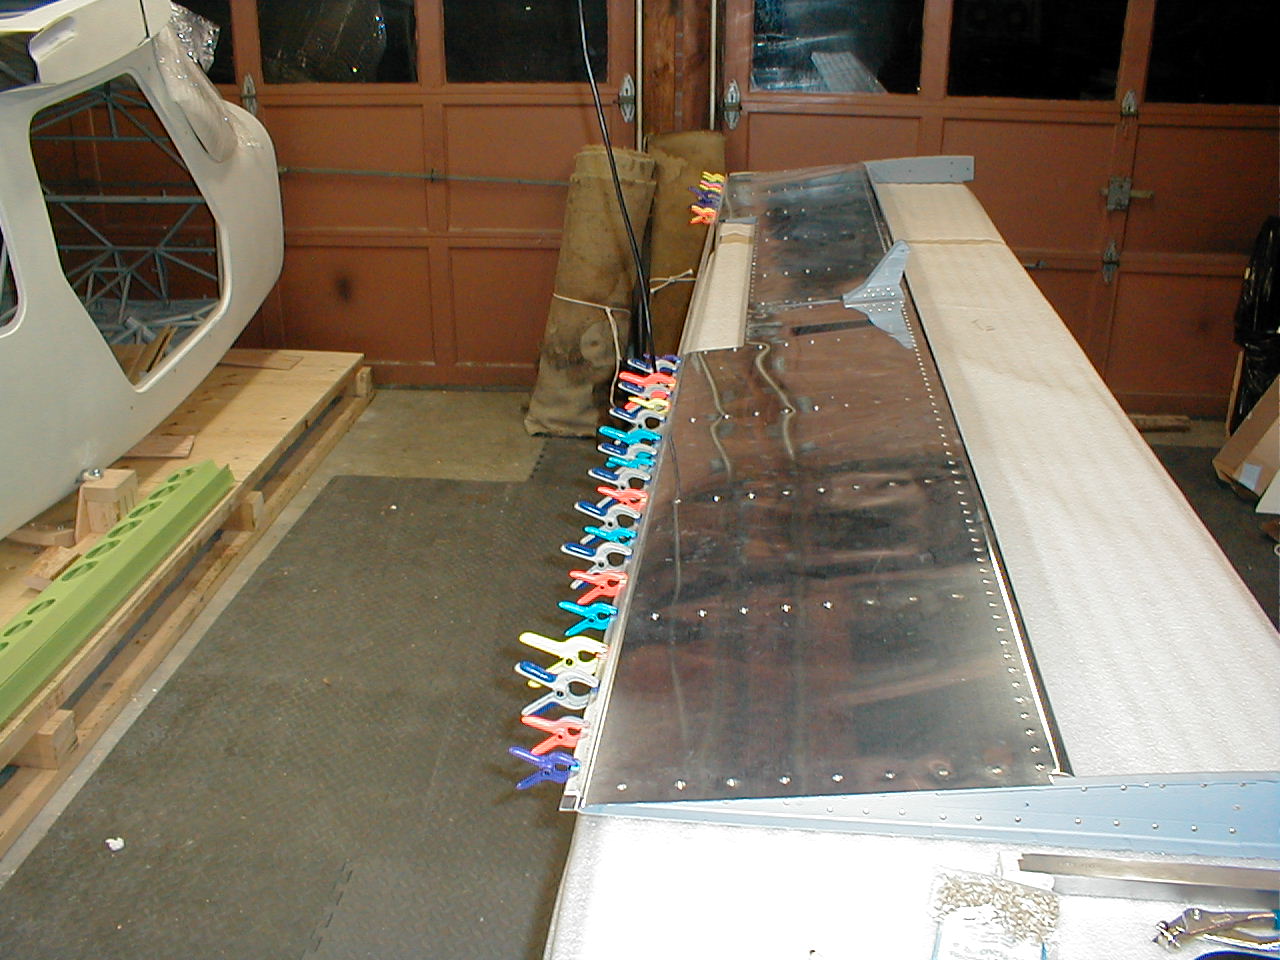
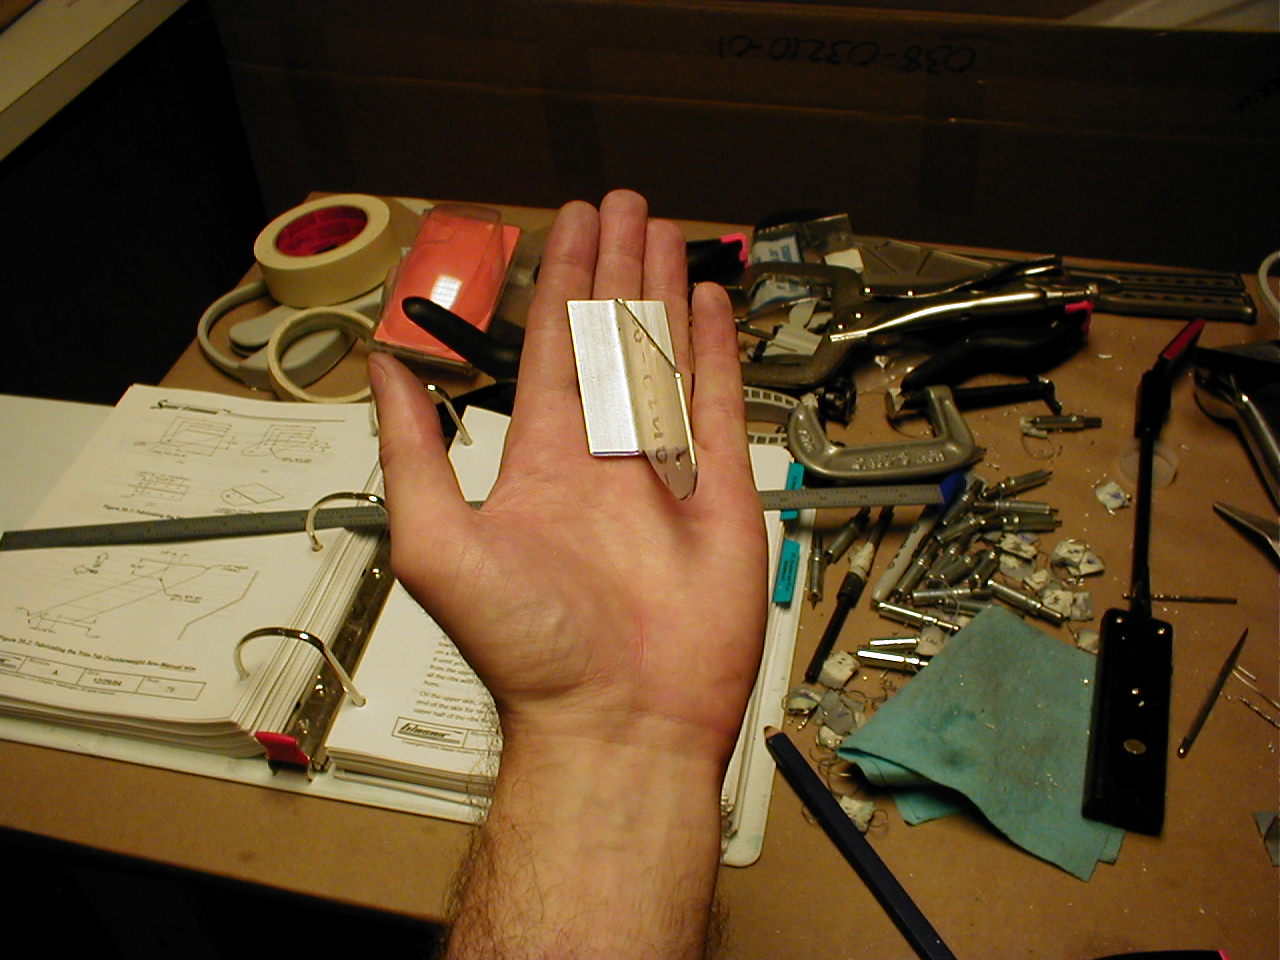
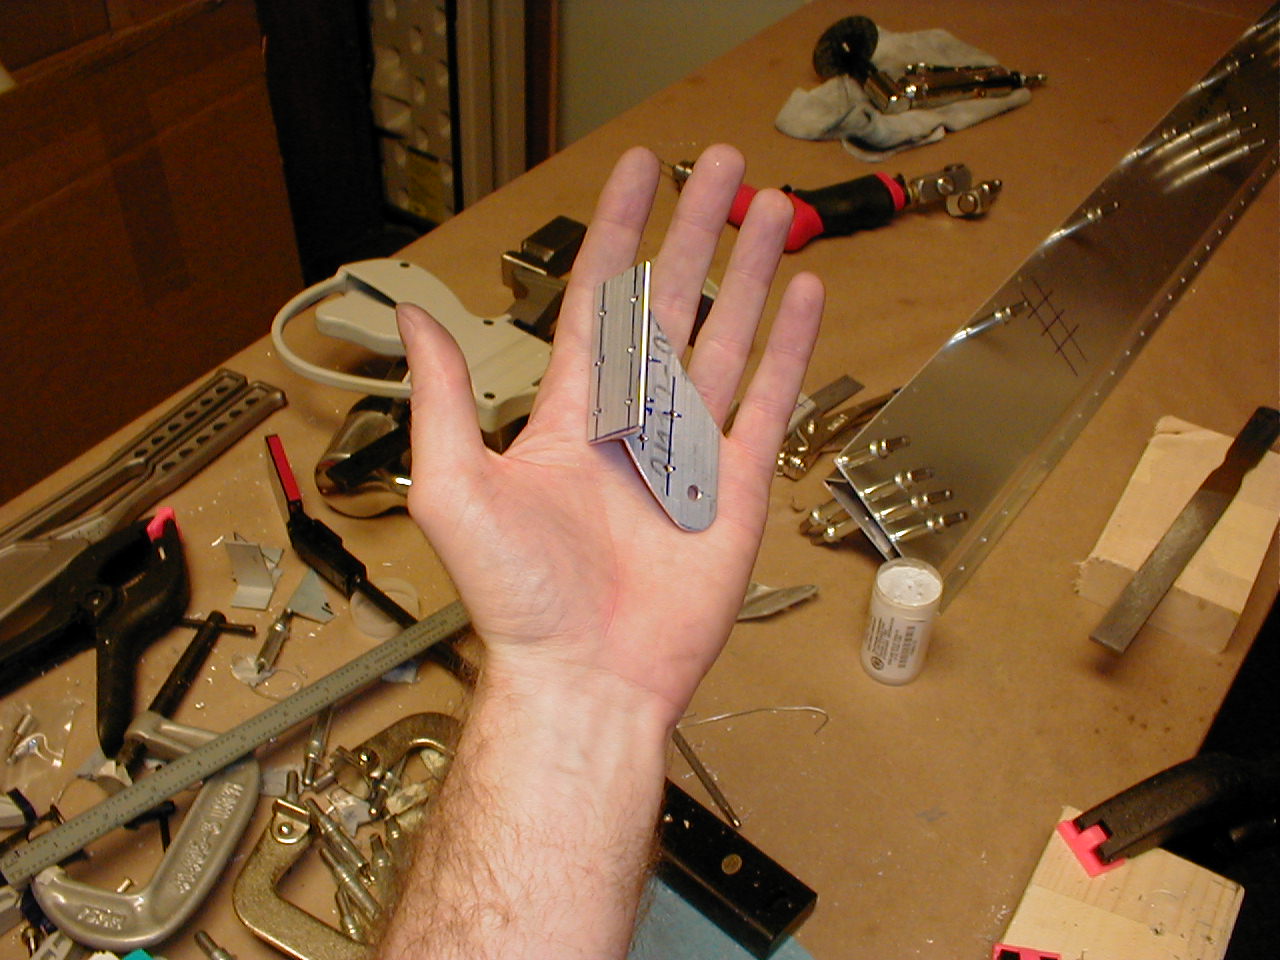
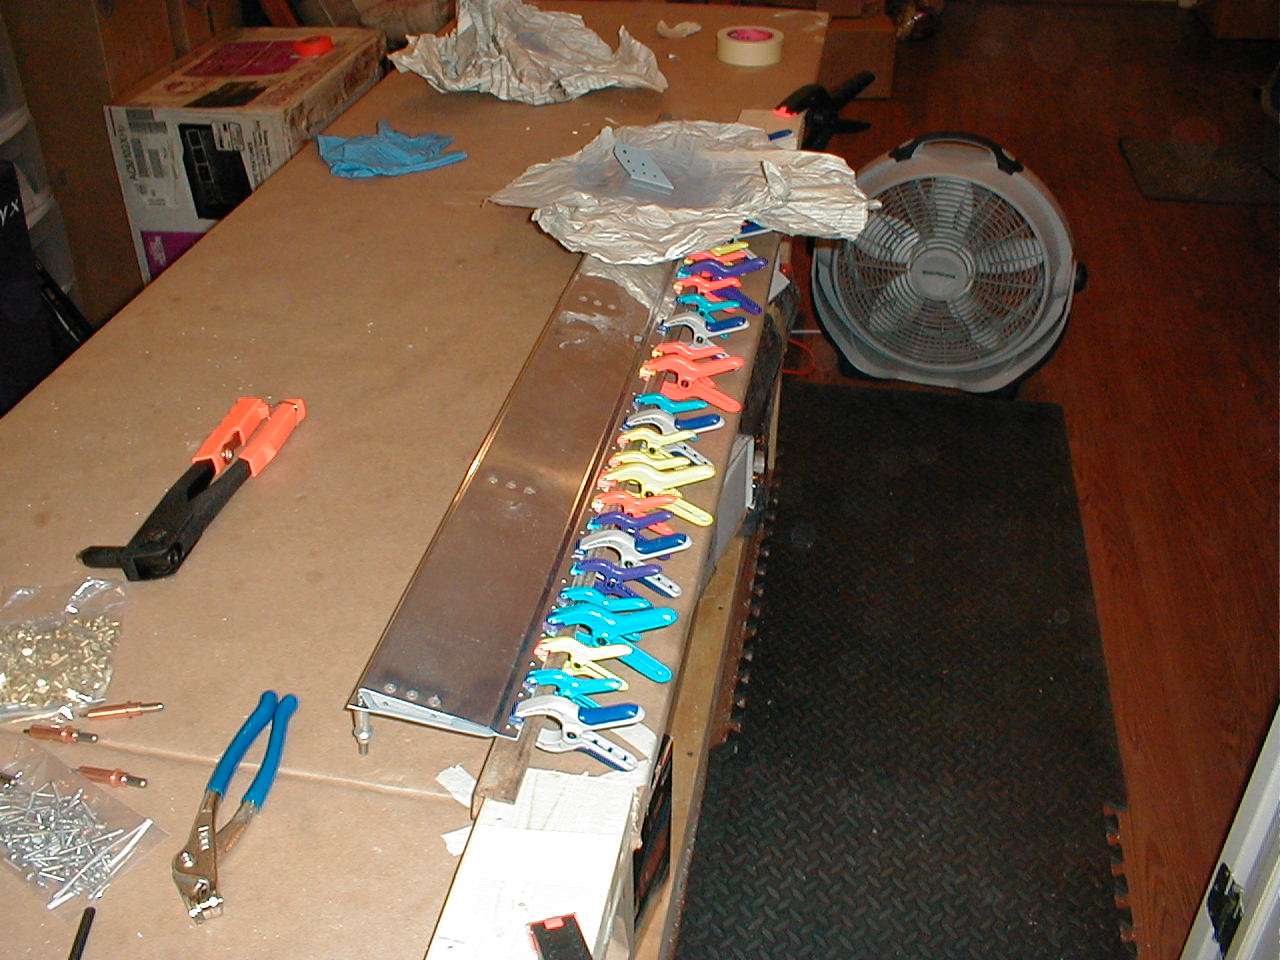
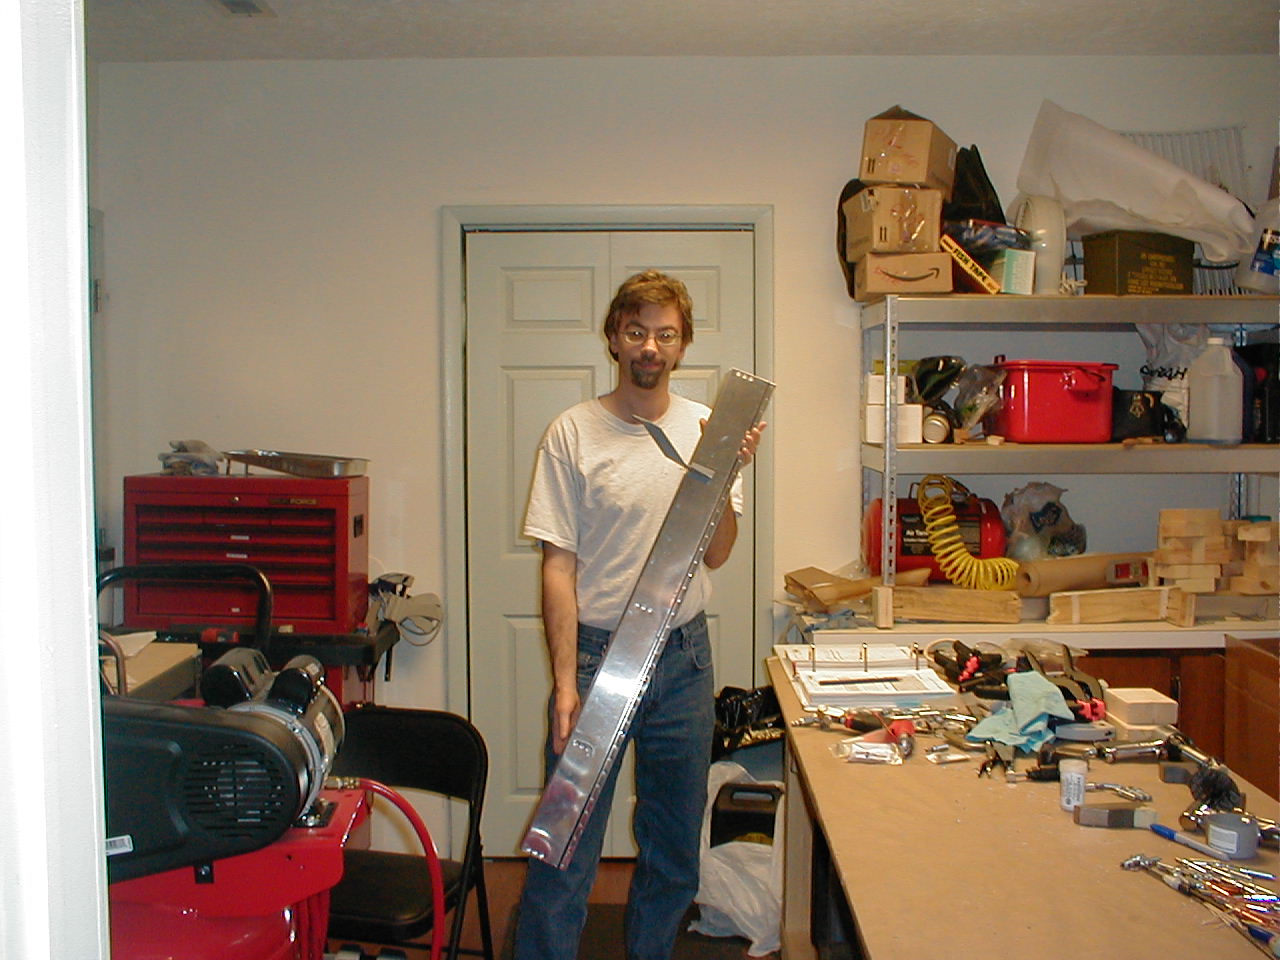
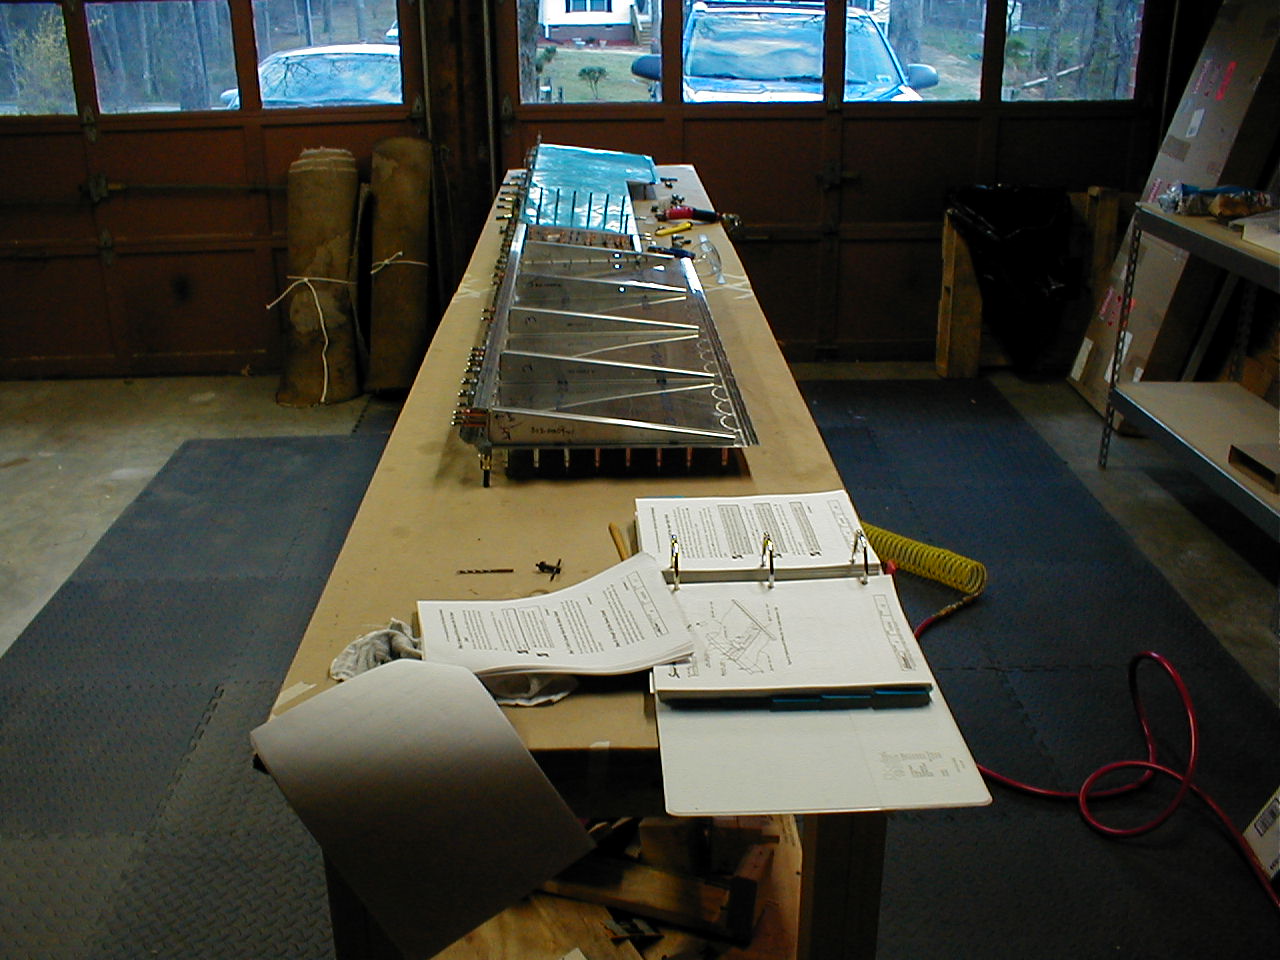
Finished up the trim tab. I used structural blind rivets for most of the rib rivets, and a squeezer with driven rivets for the rest. The epoxy trick and clamping the trailing edge to a piece of angle iron worked well here, as it did on the rudder. Nice straight trailing edge.
05 Nov 2005 - 1.5hrs
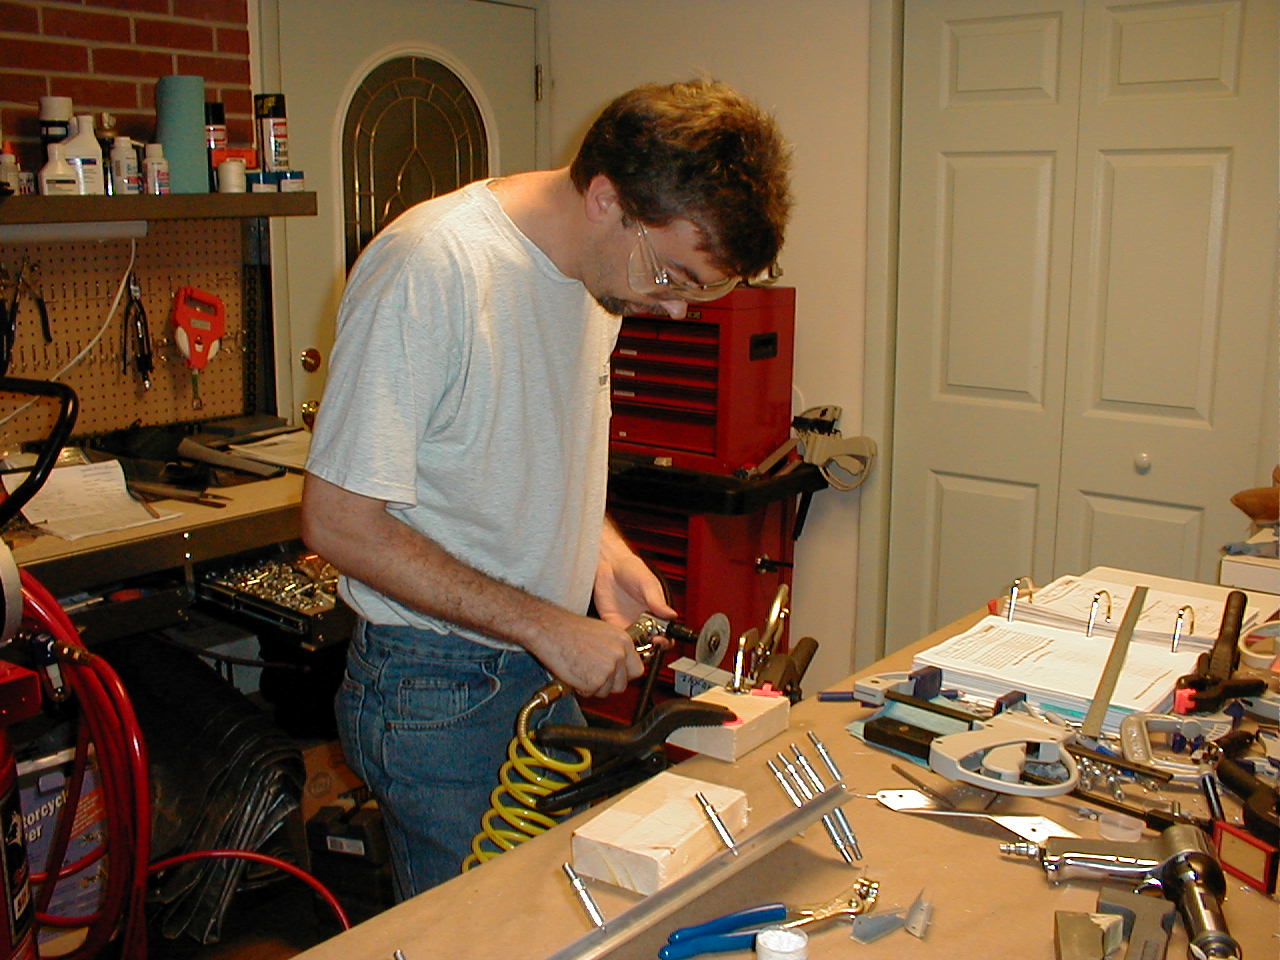
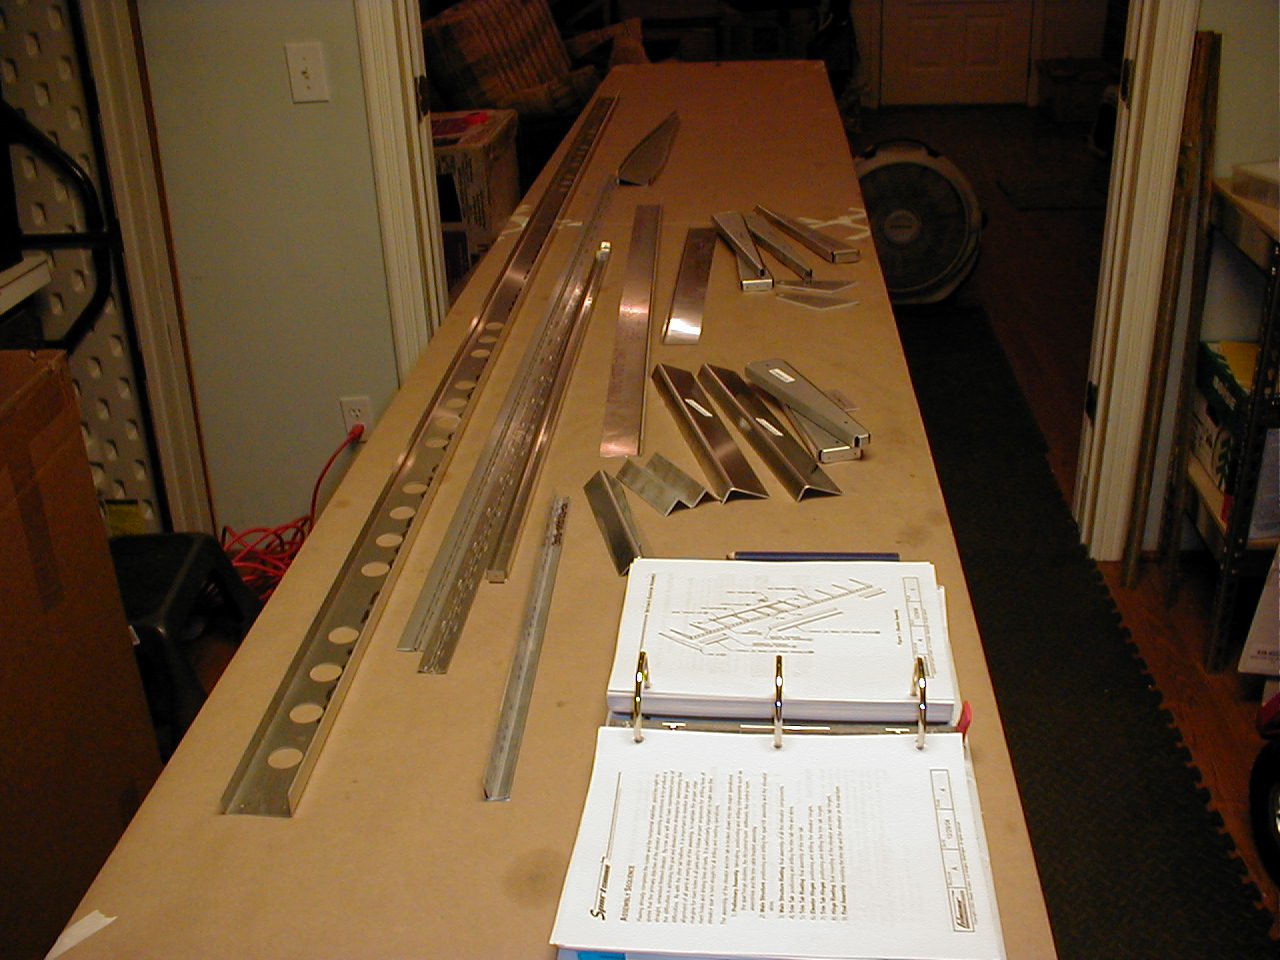
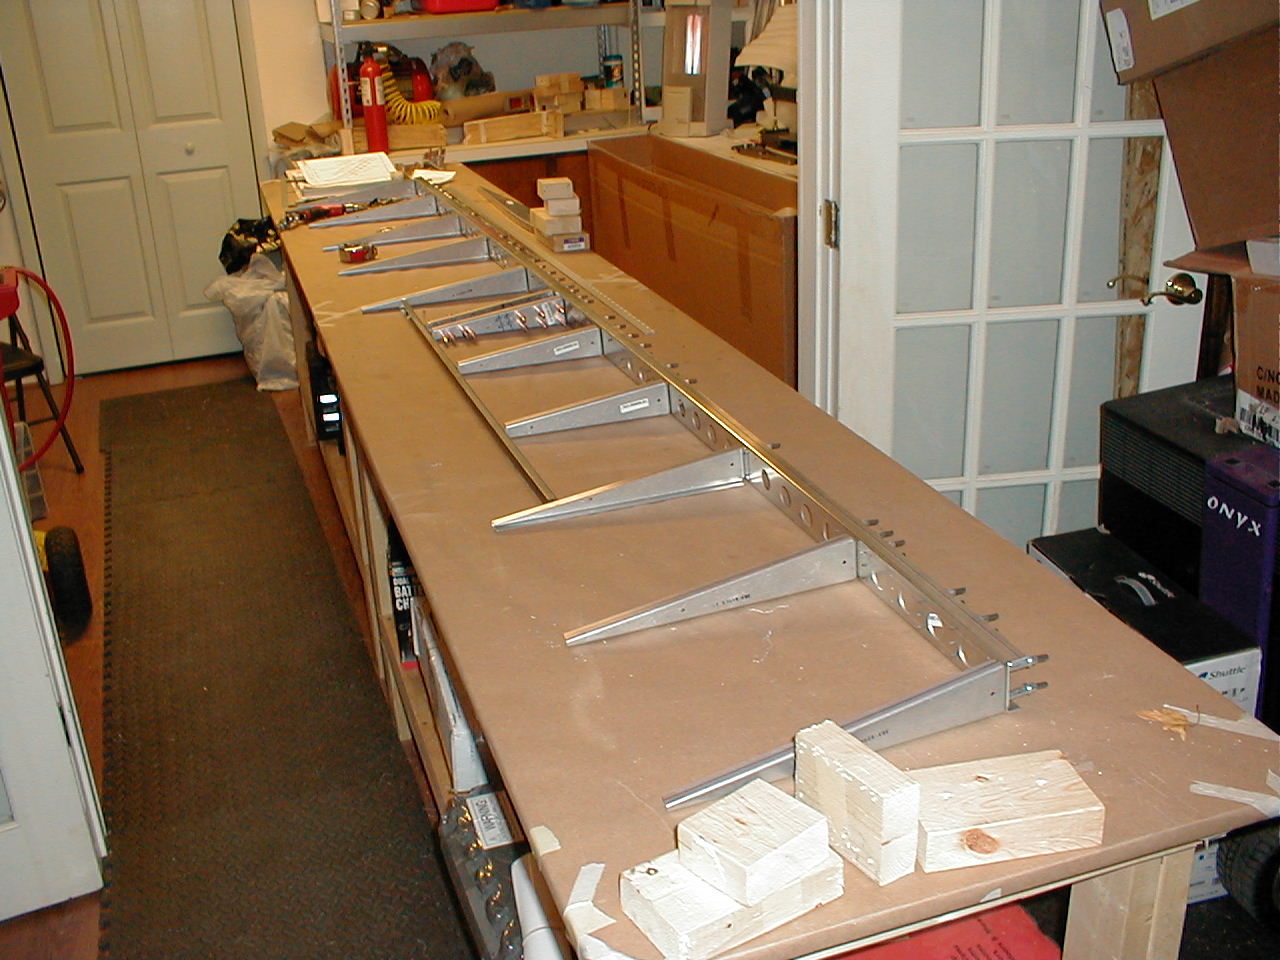
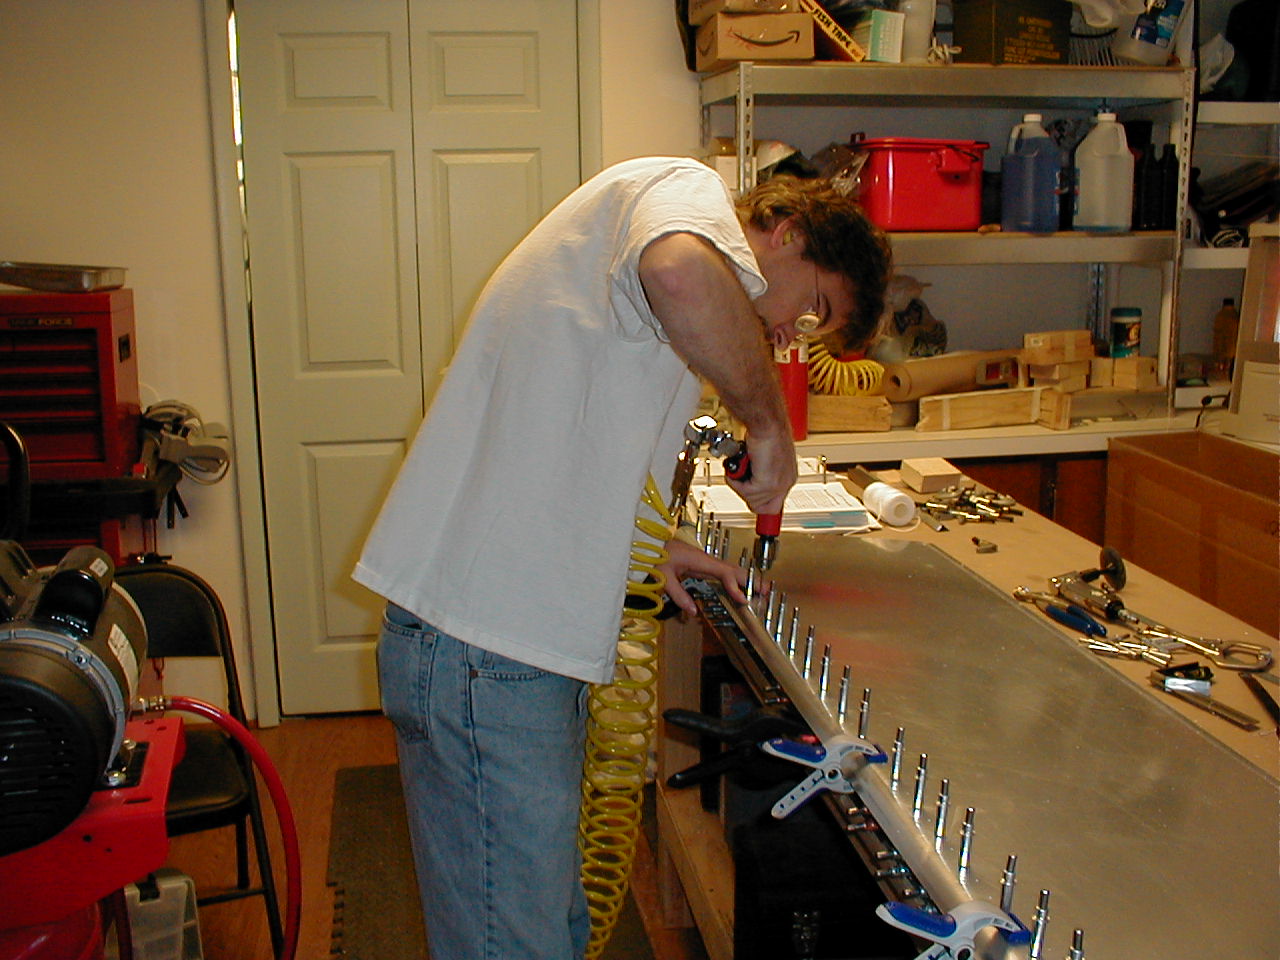
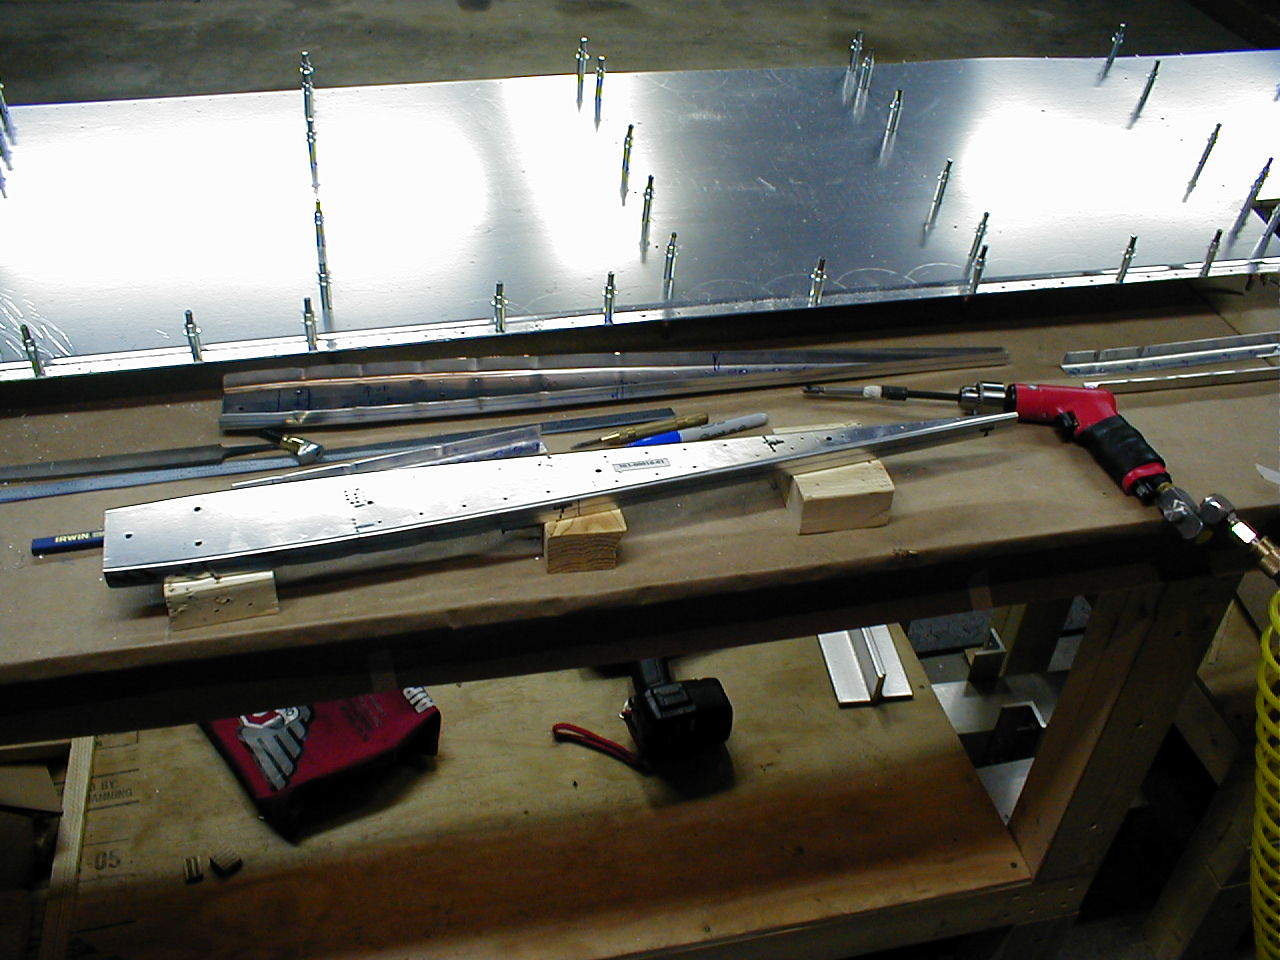
Cleanup the work bench and start the elevator. Deburring...
12 Nov 2005 - 4.25hrs
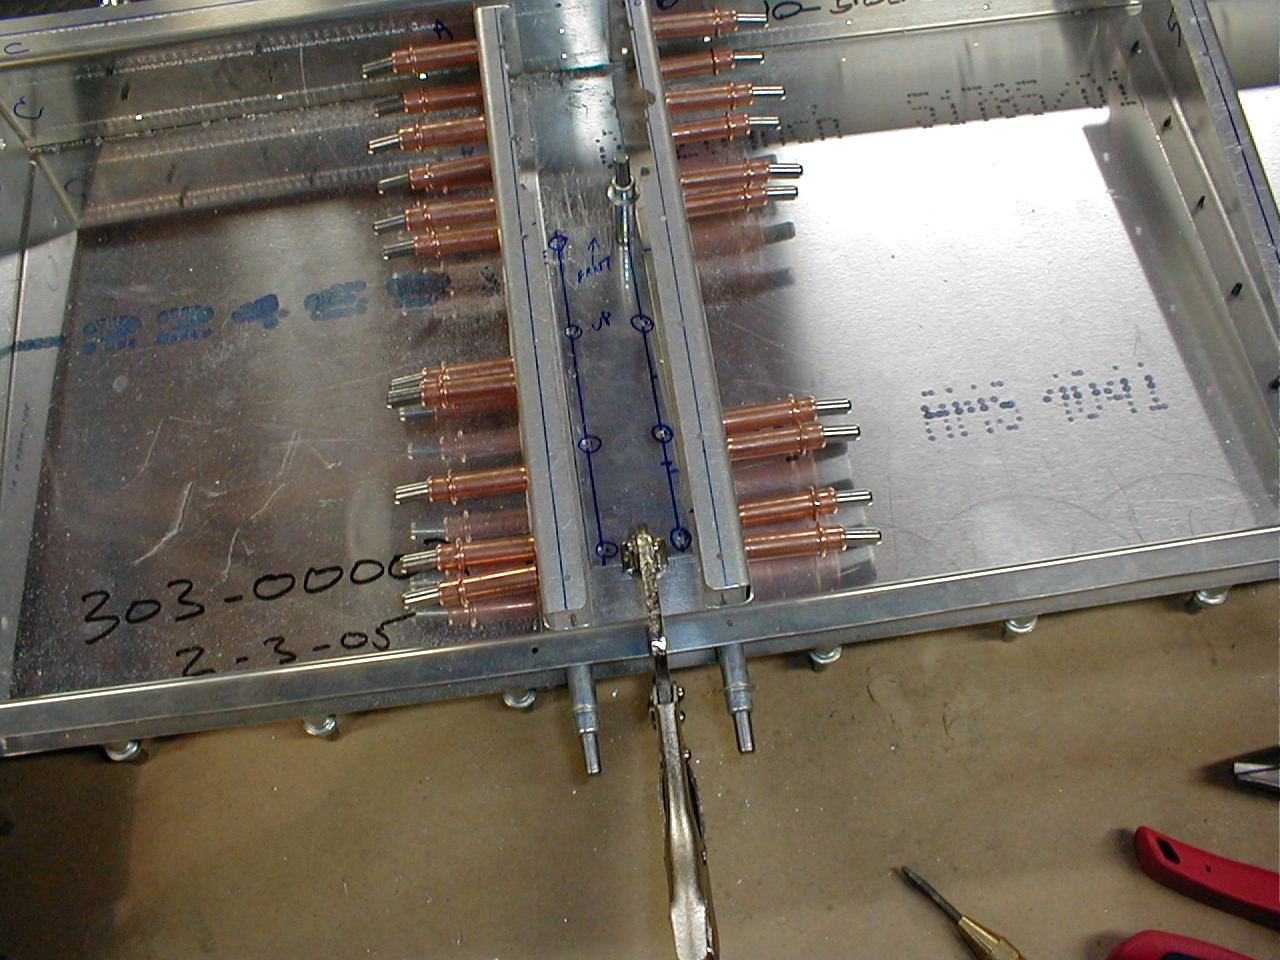
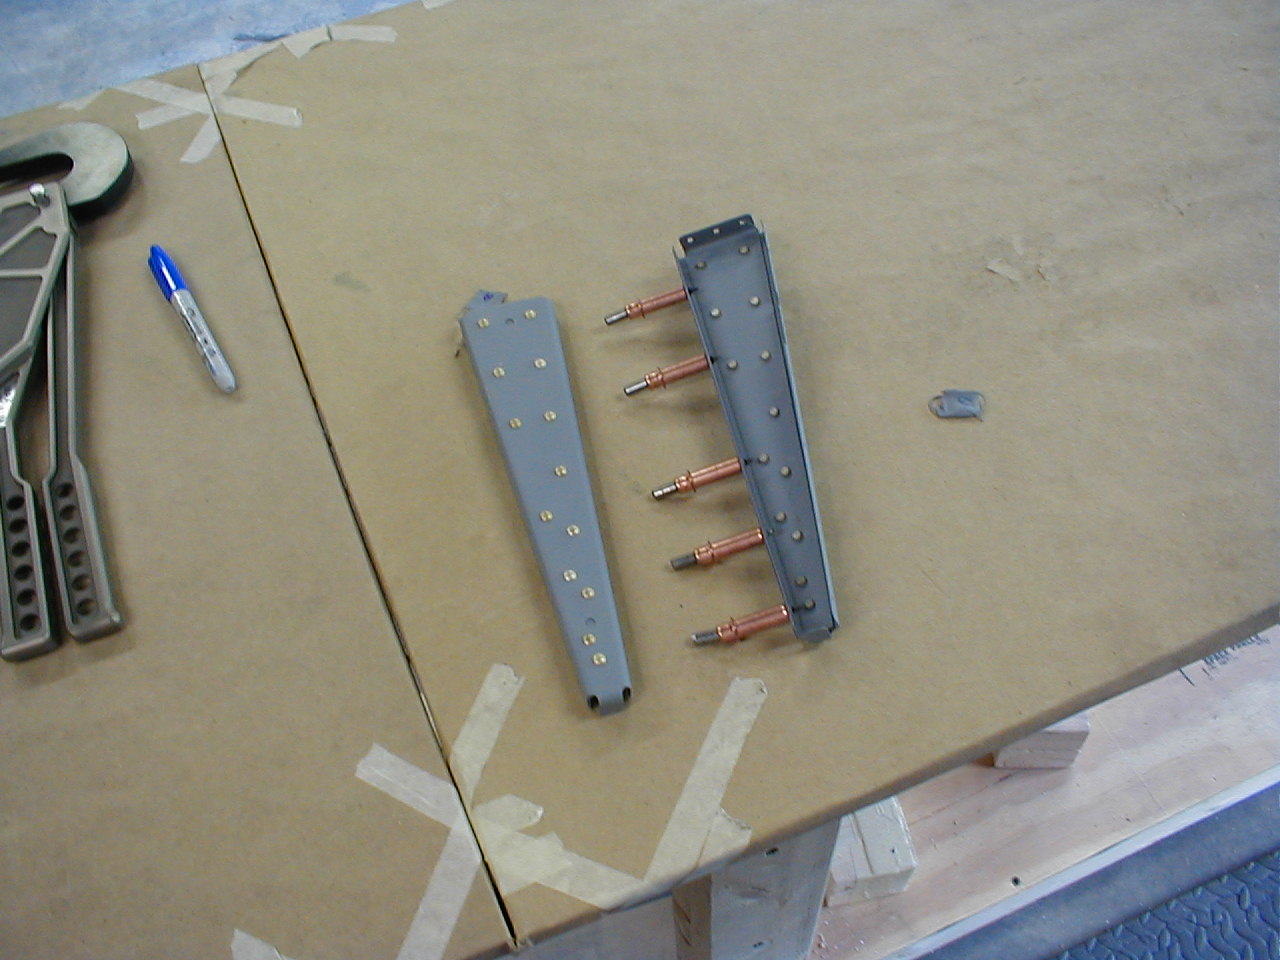
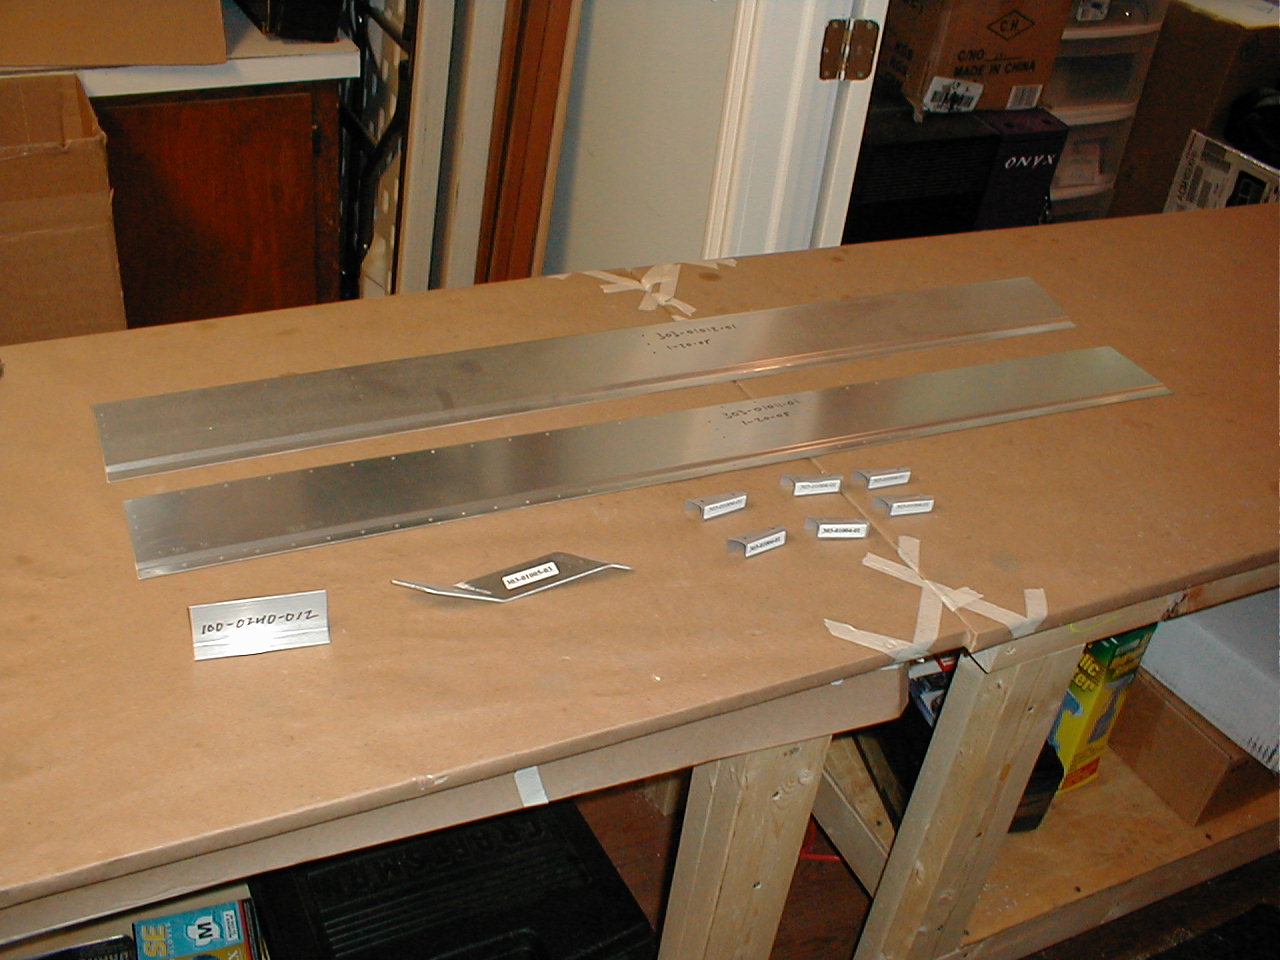
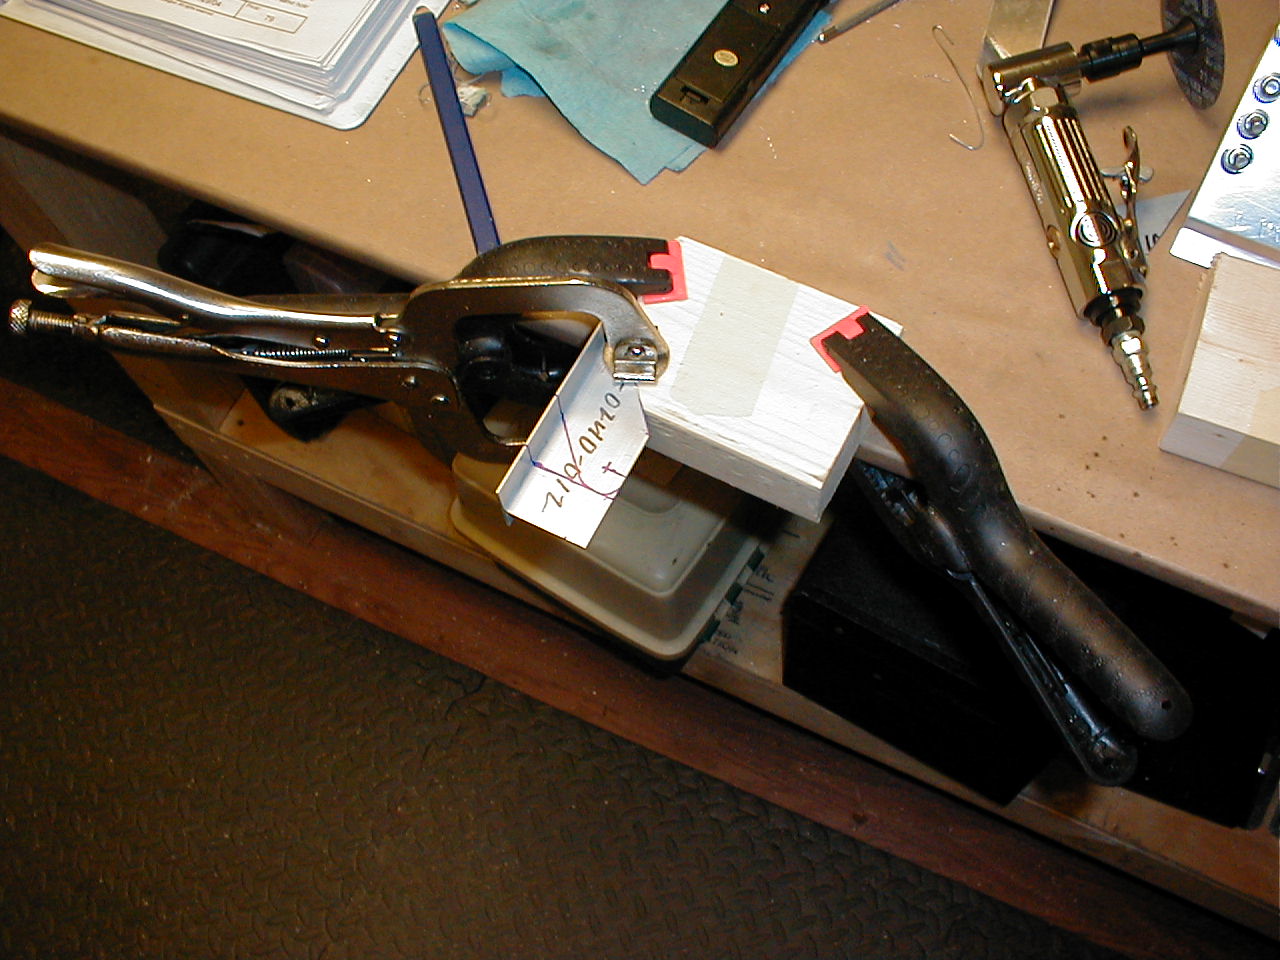
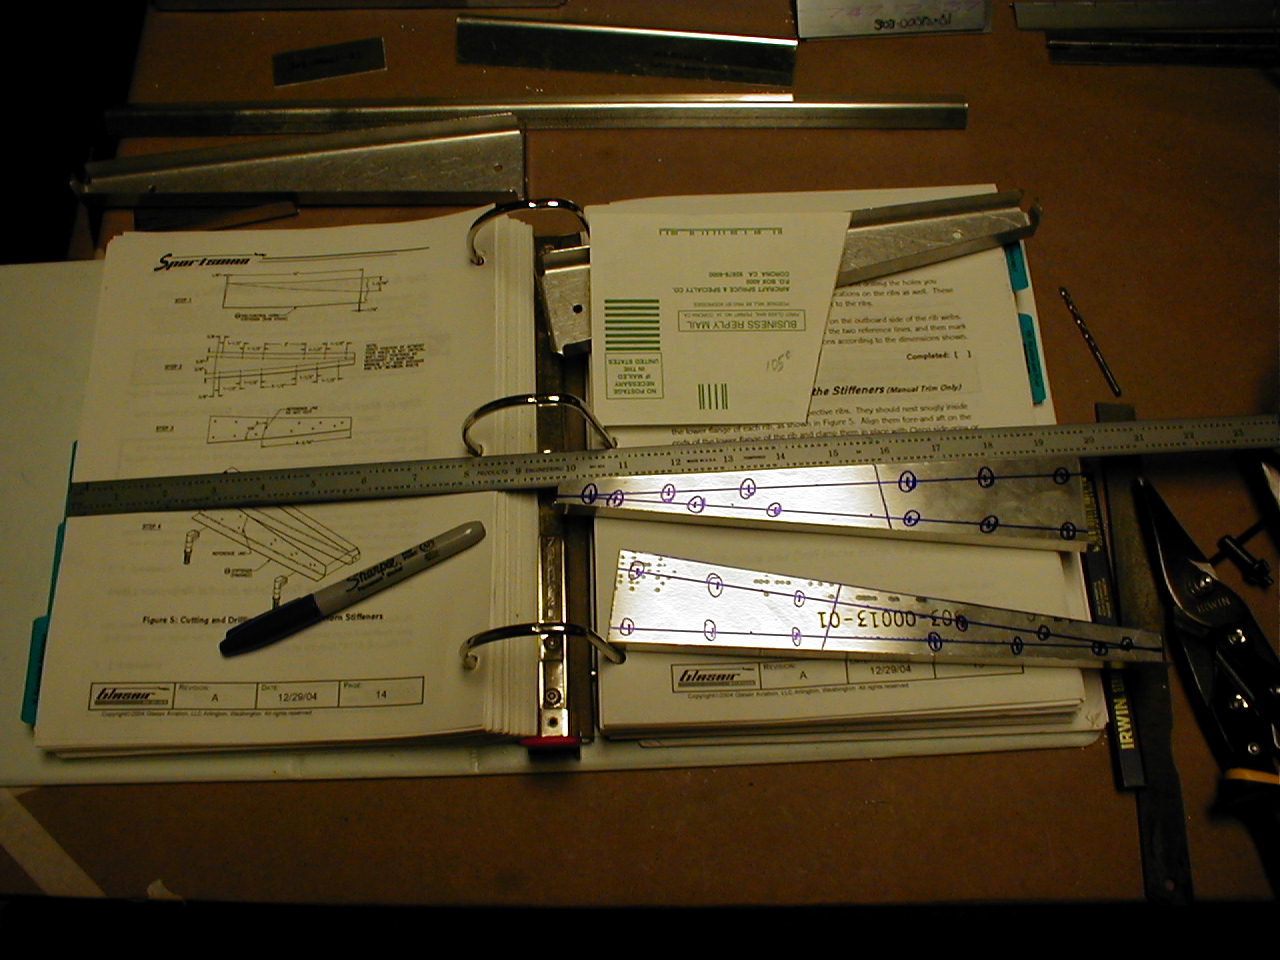
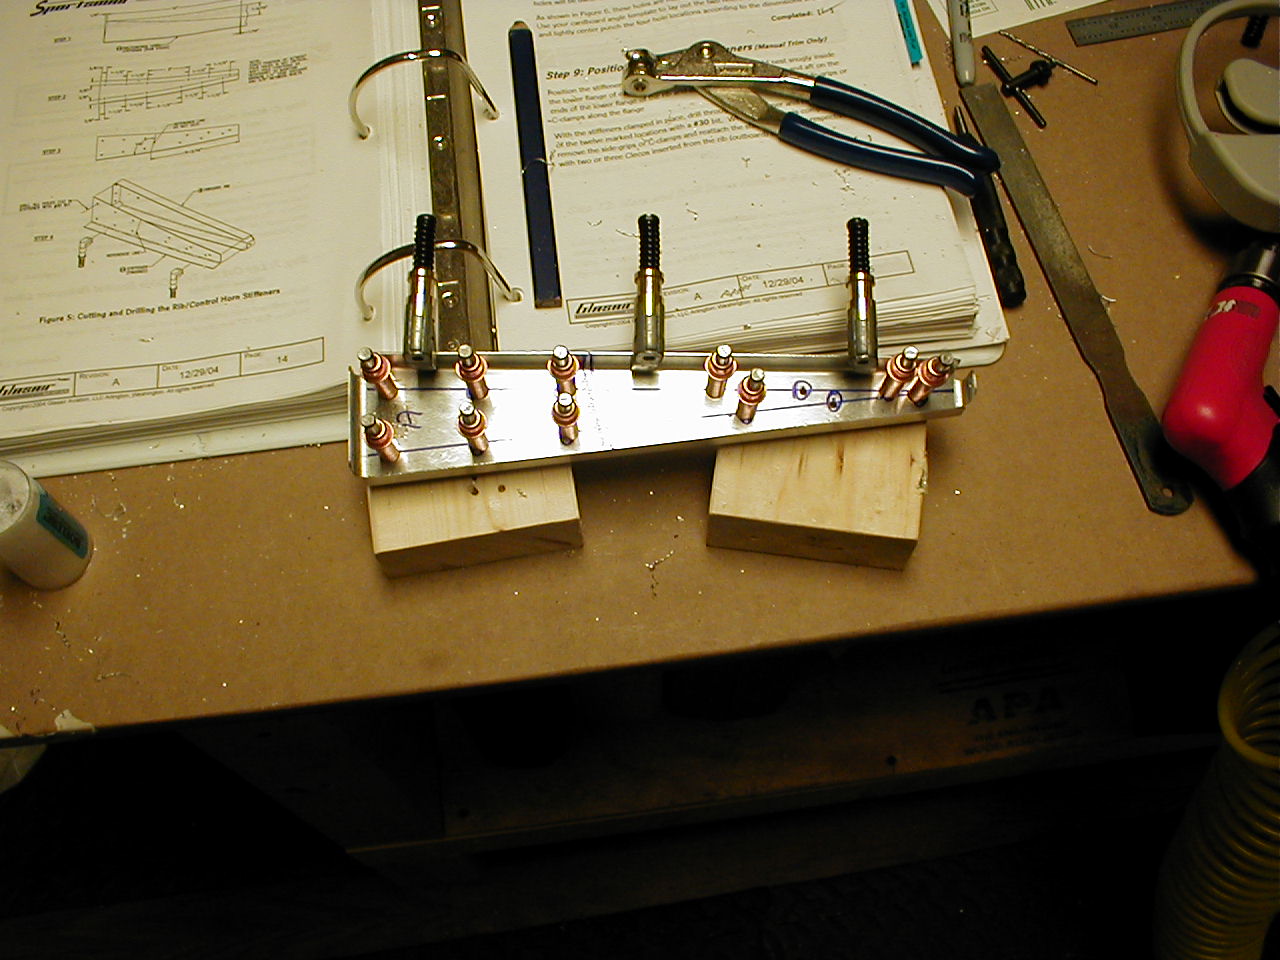
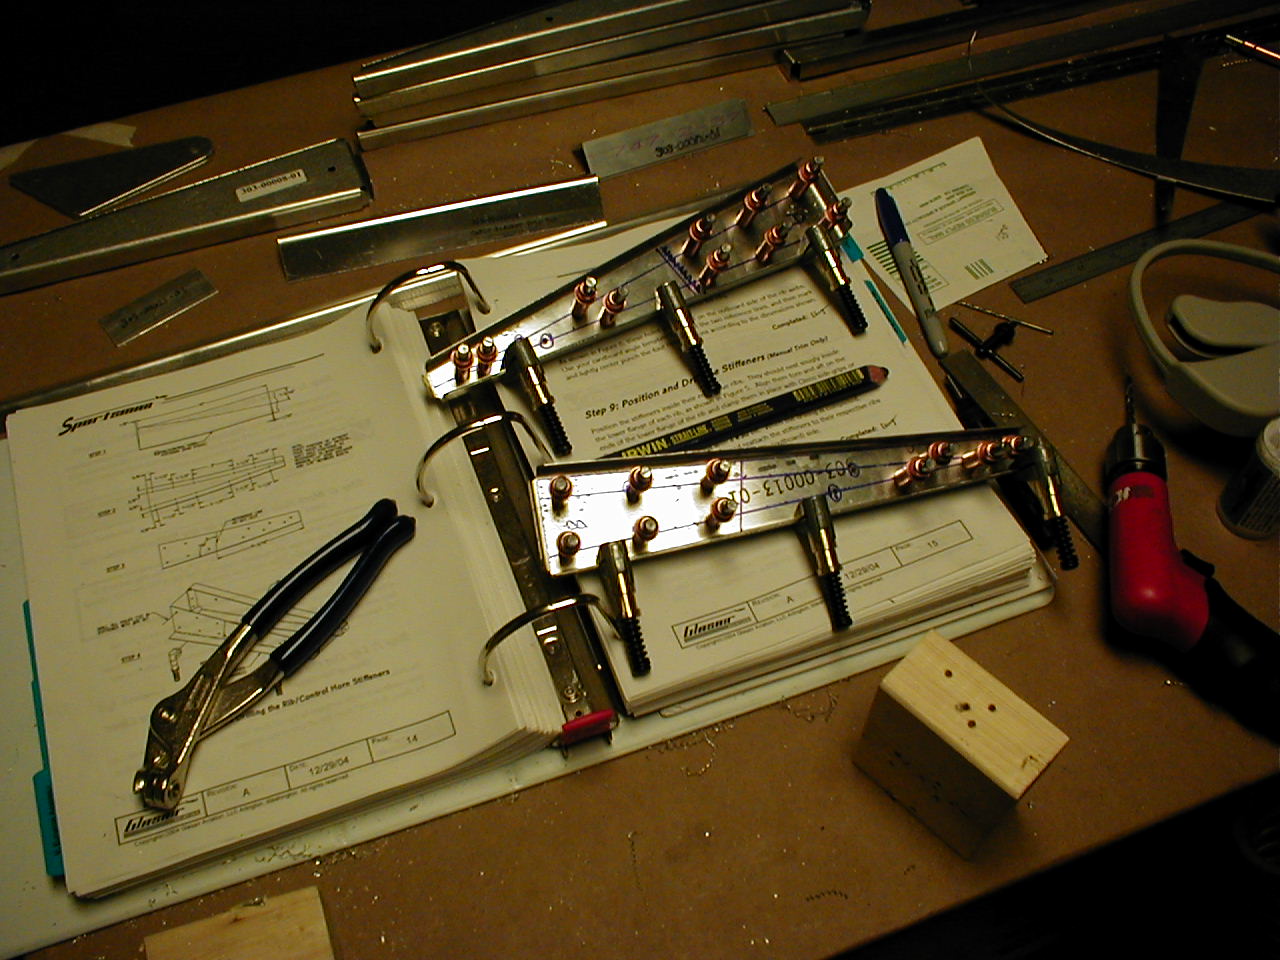
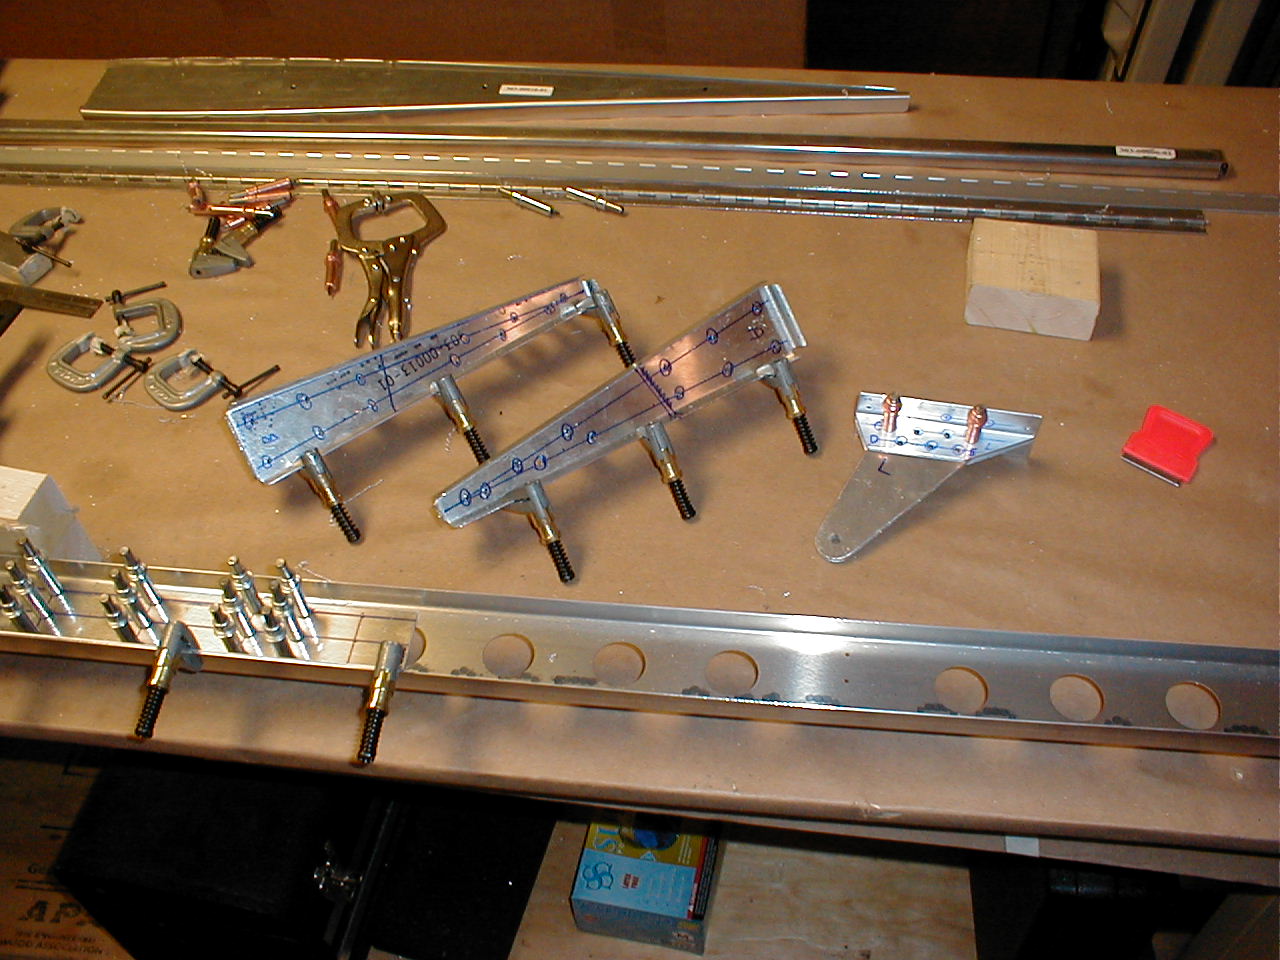
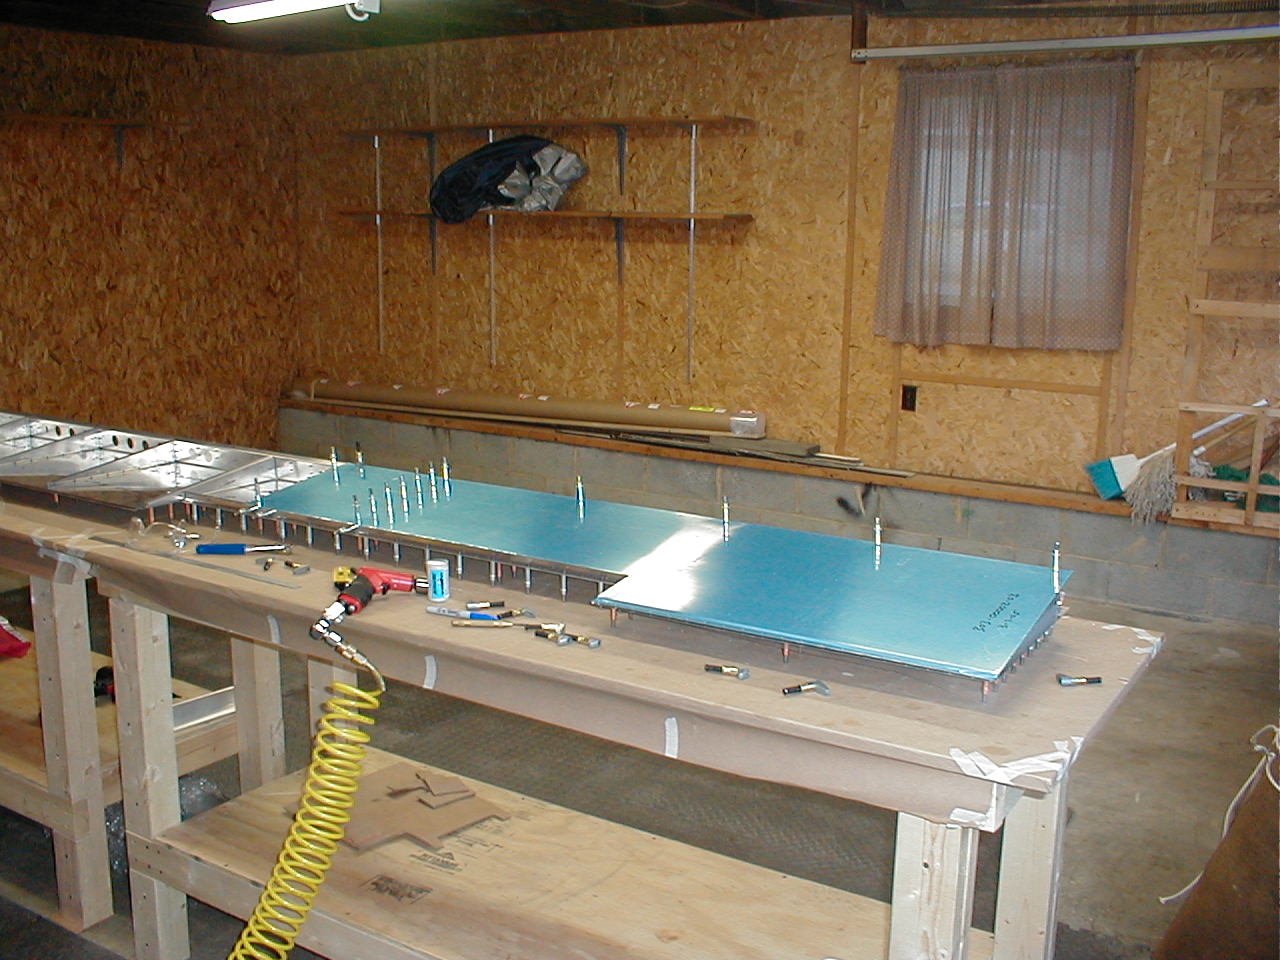
Prepare the spar doublers and cleco to the spar. Fabricate the Rib A and Rib B stiffeners from aluminum stock. Cleco to the ribs.
14 Nov 2005 - 2.5hrs
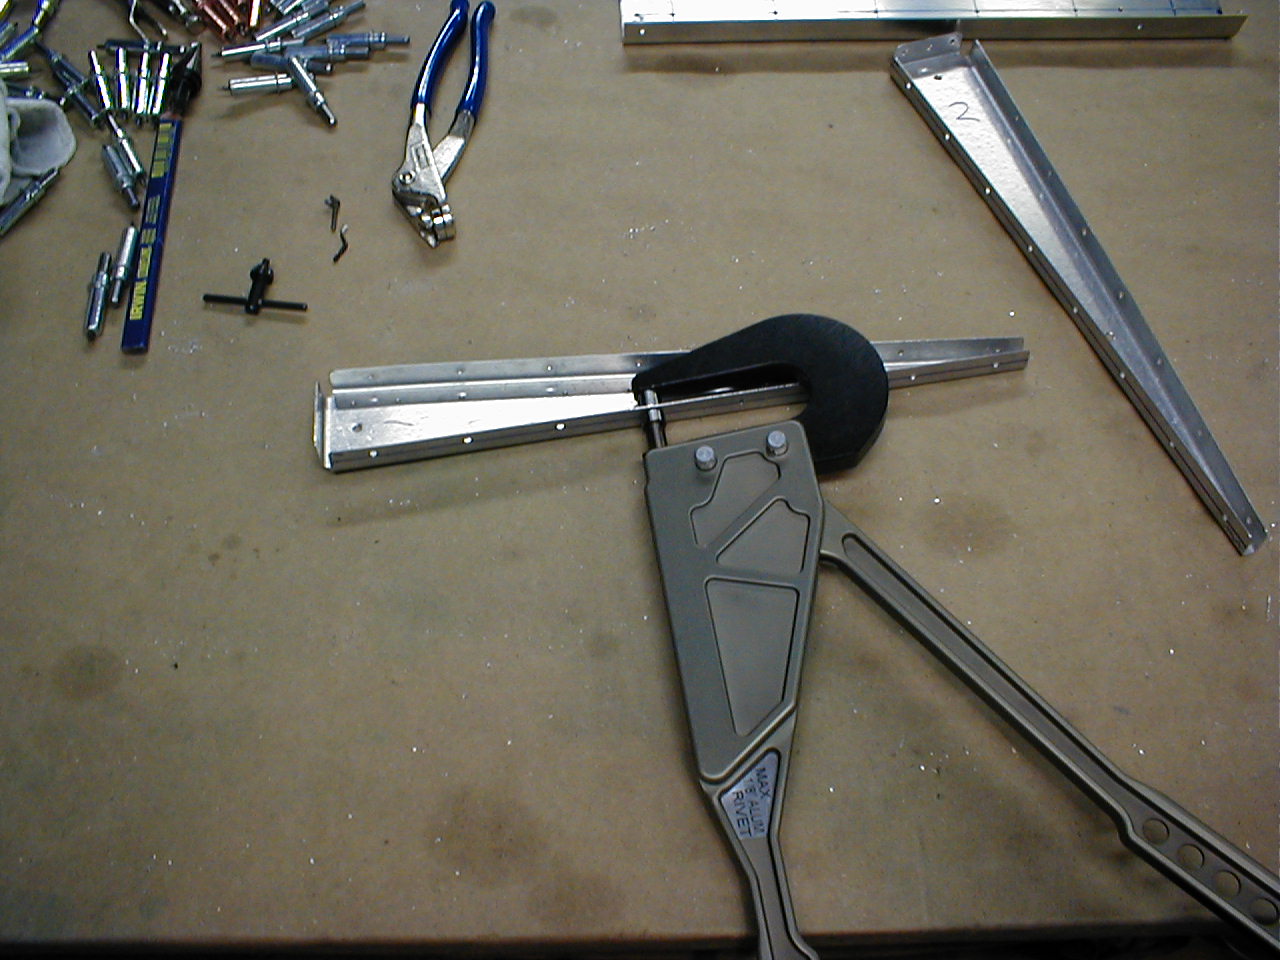
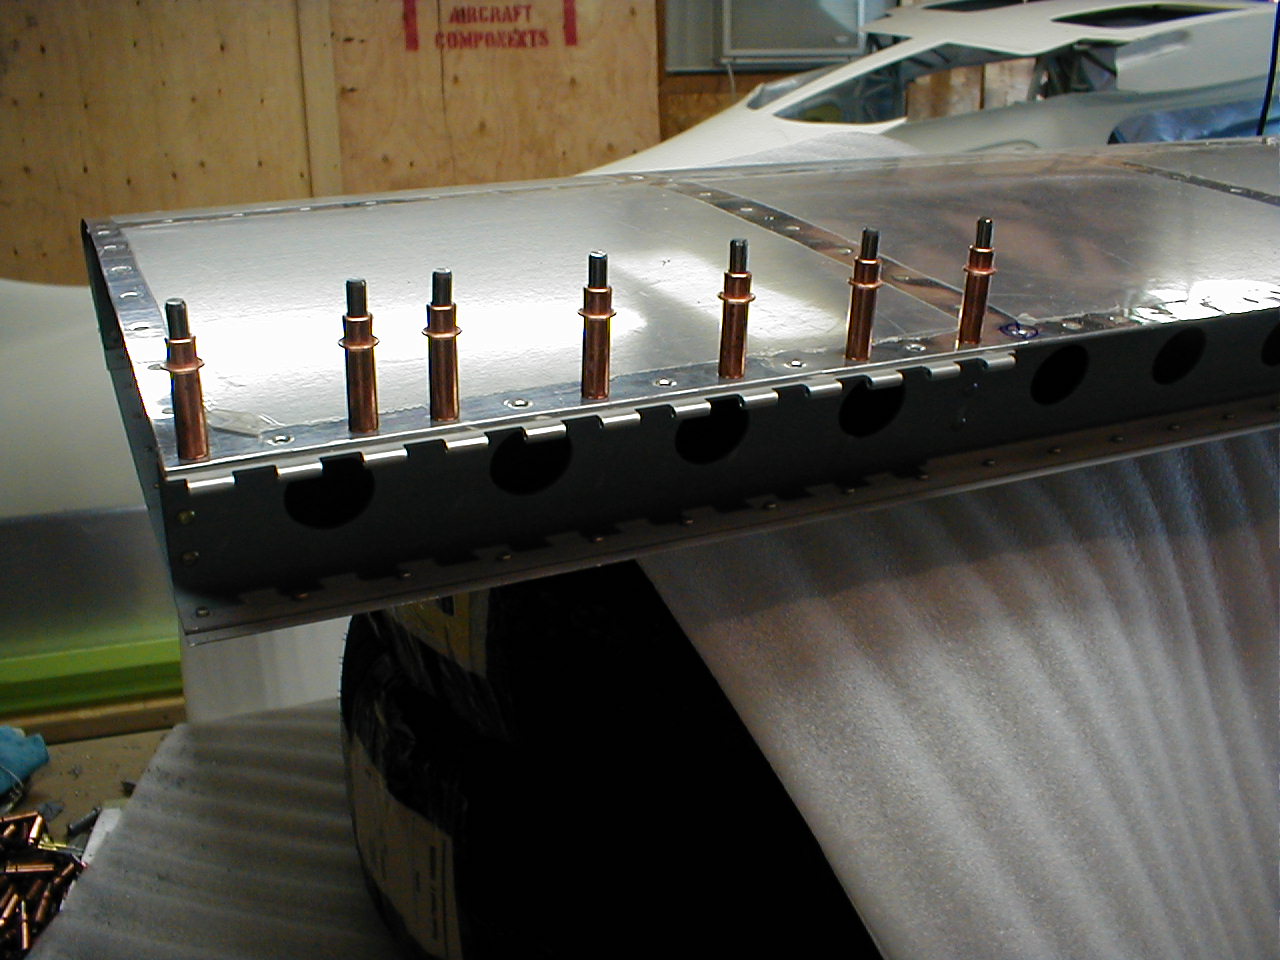
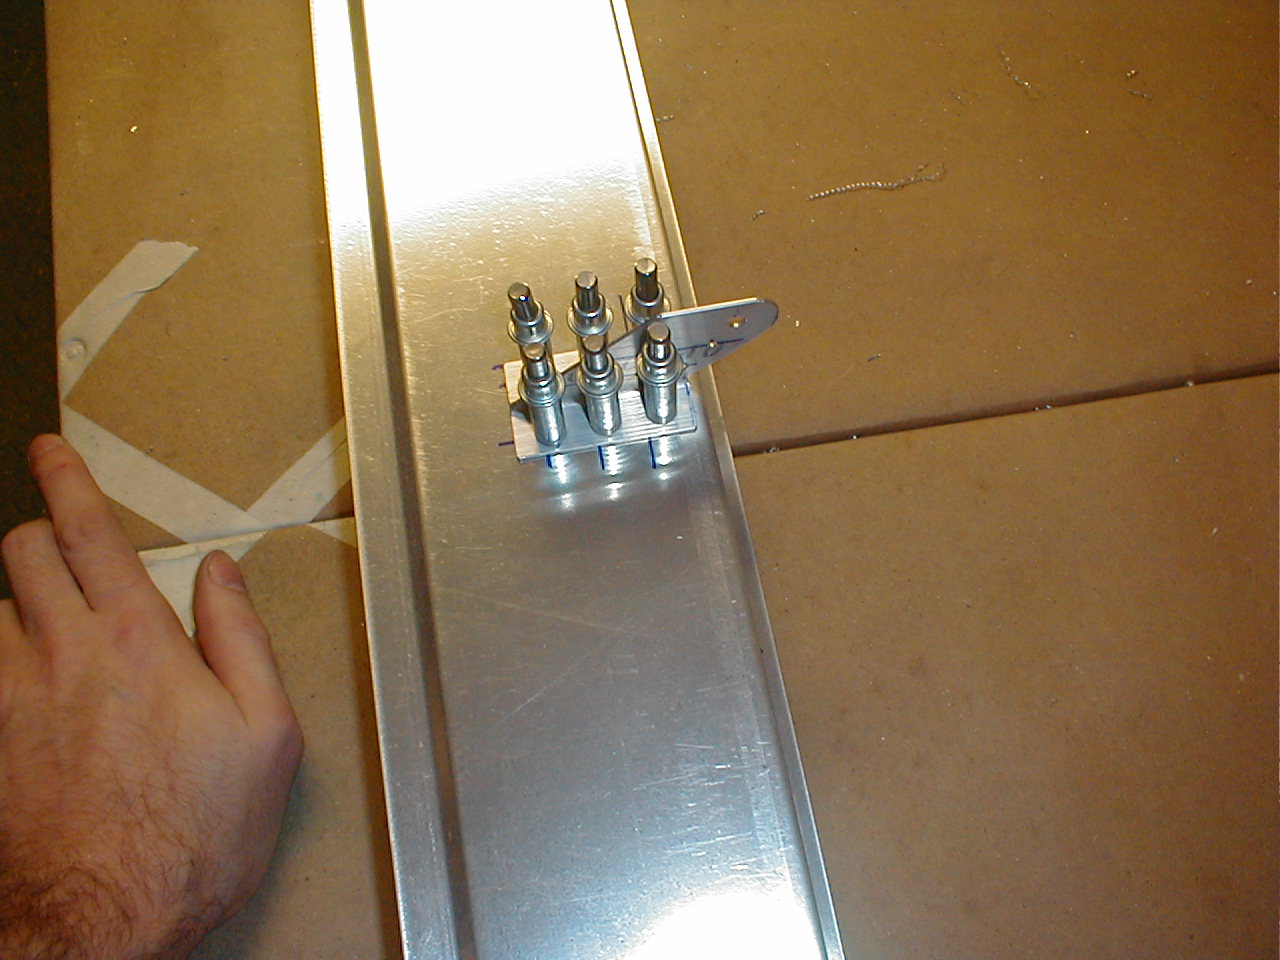
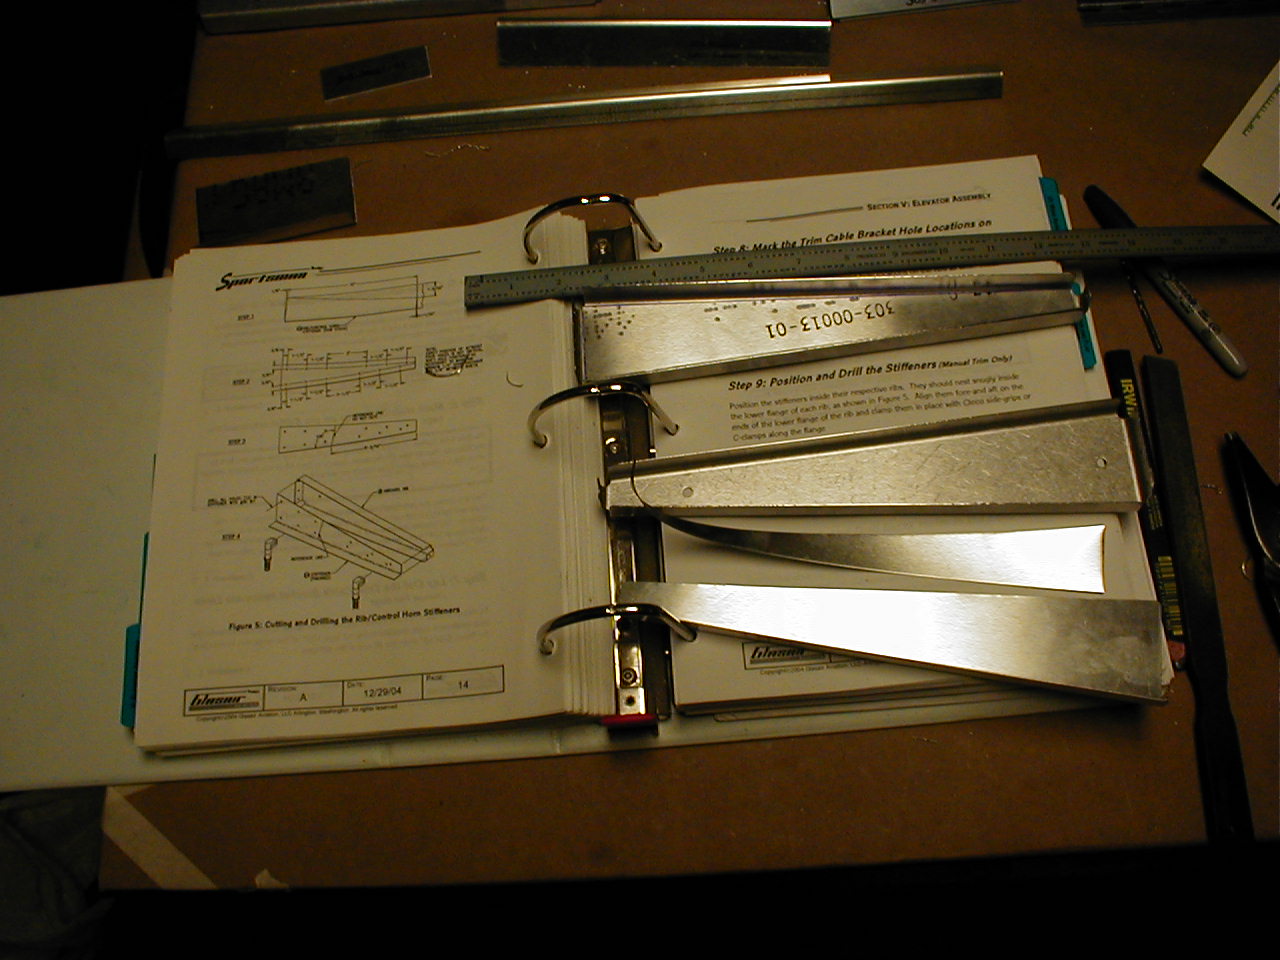
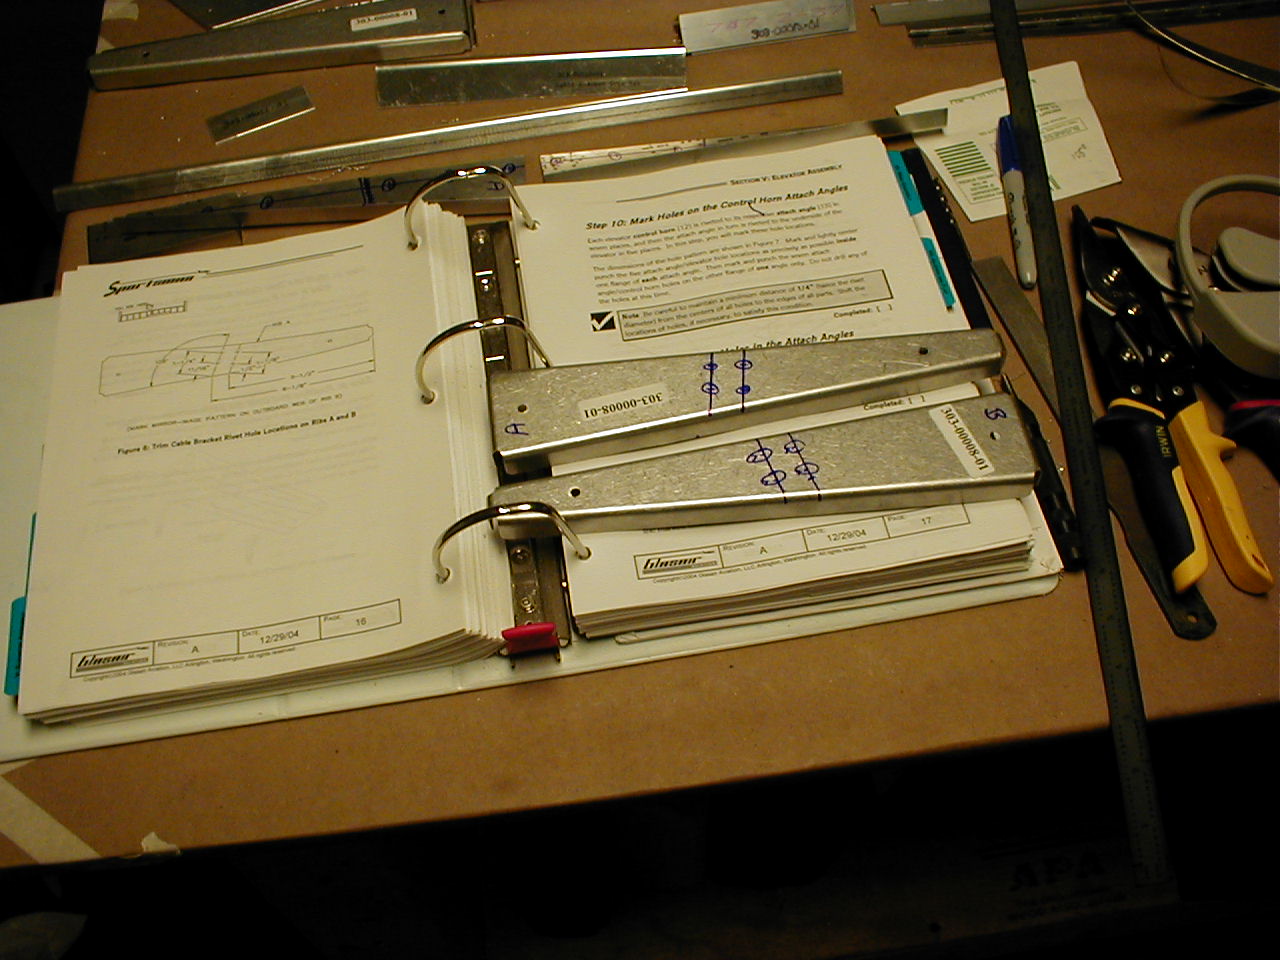
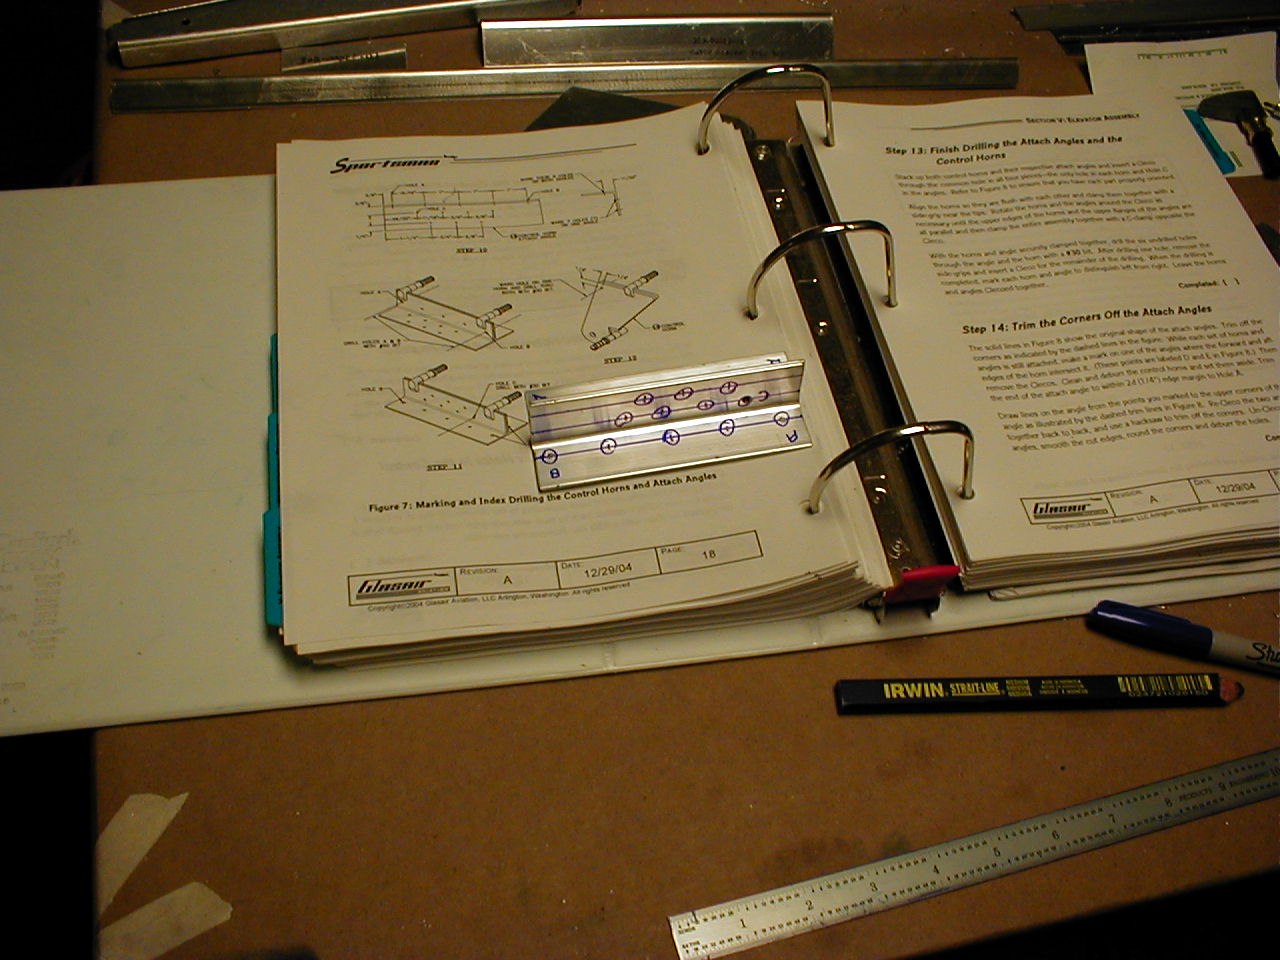
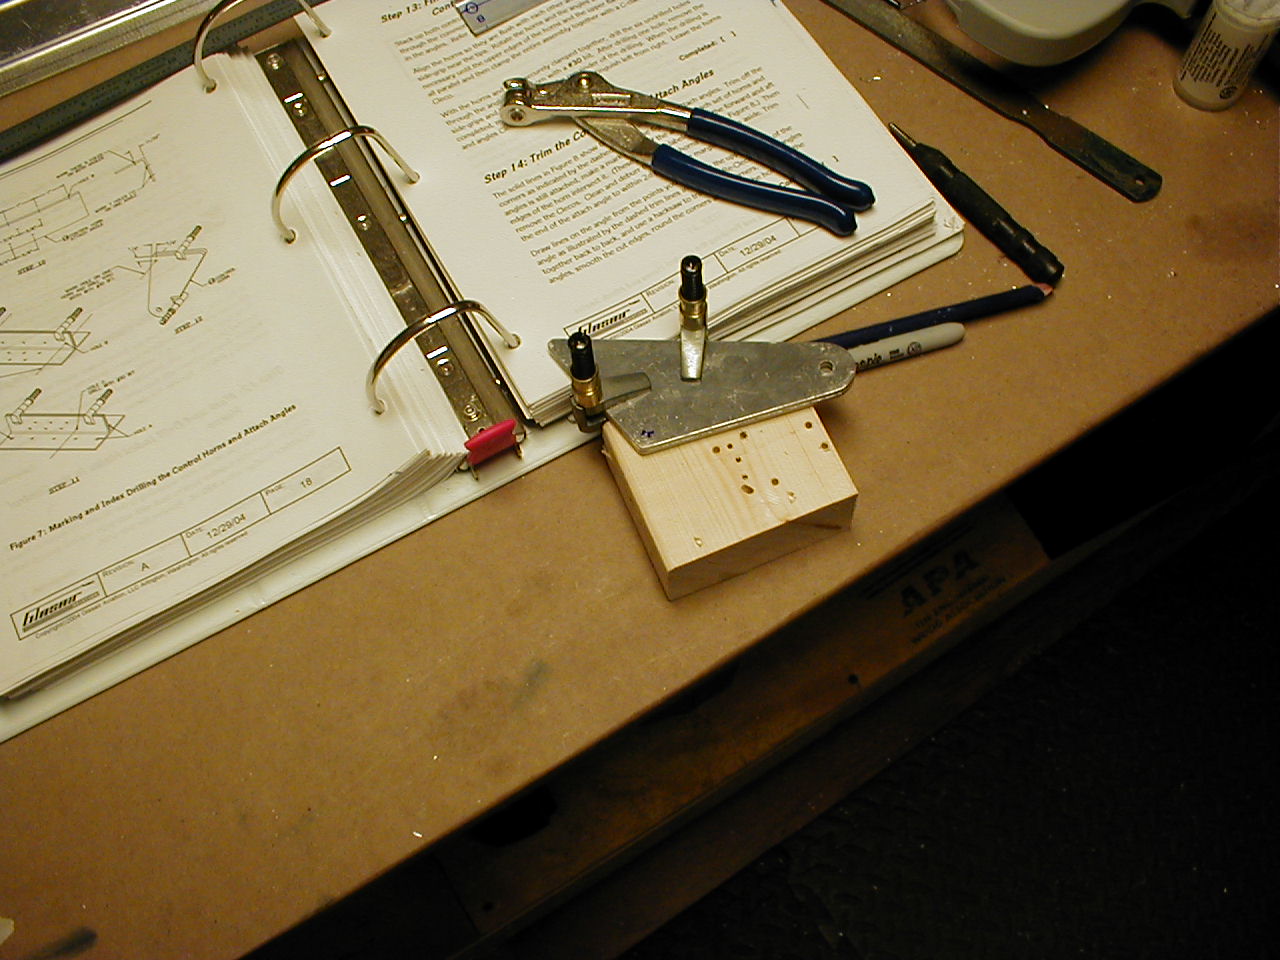
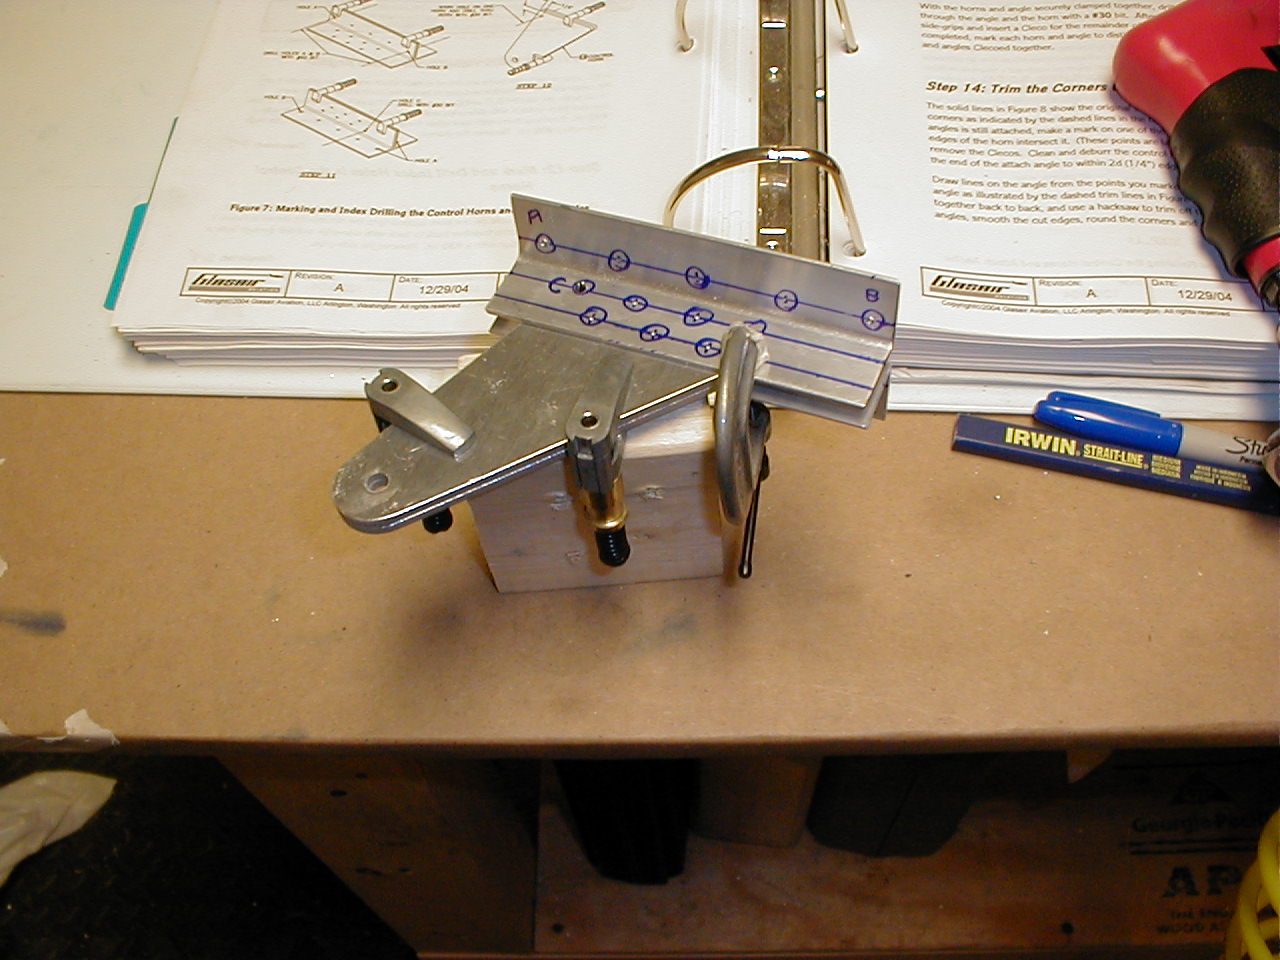
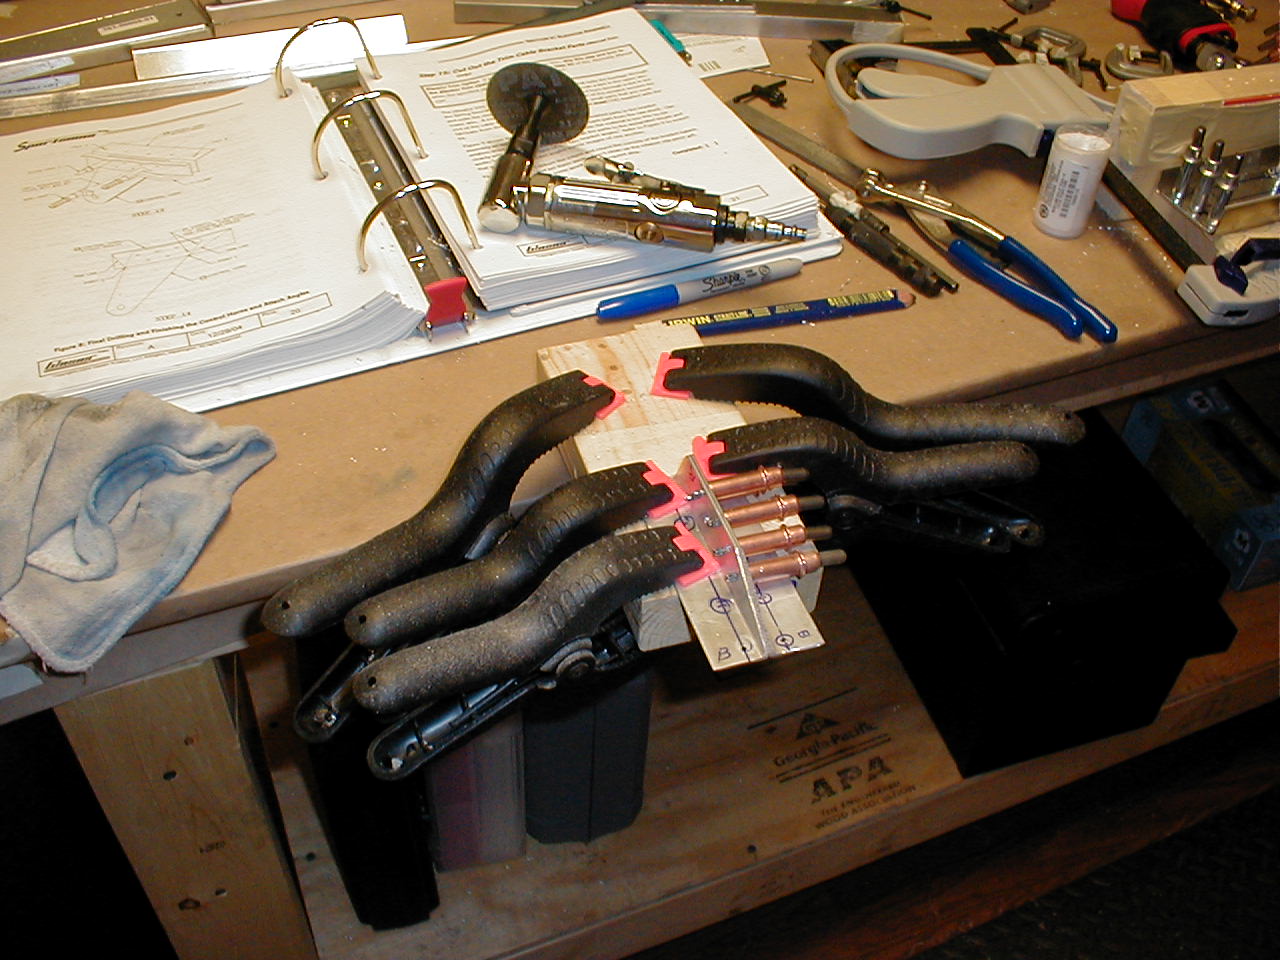
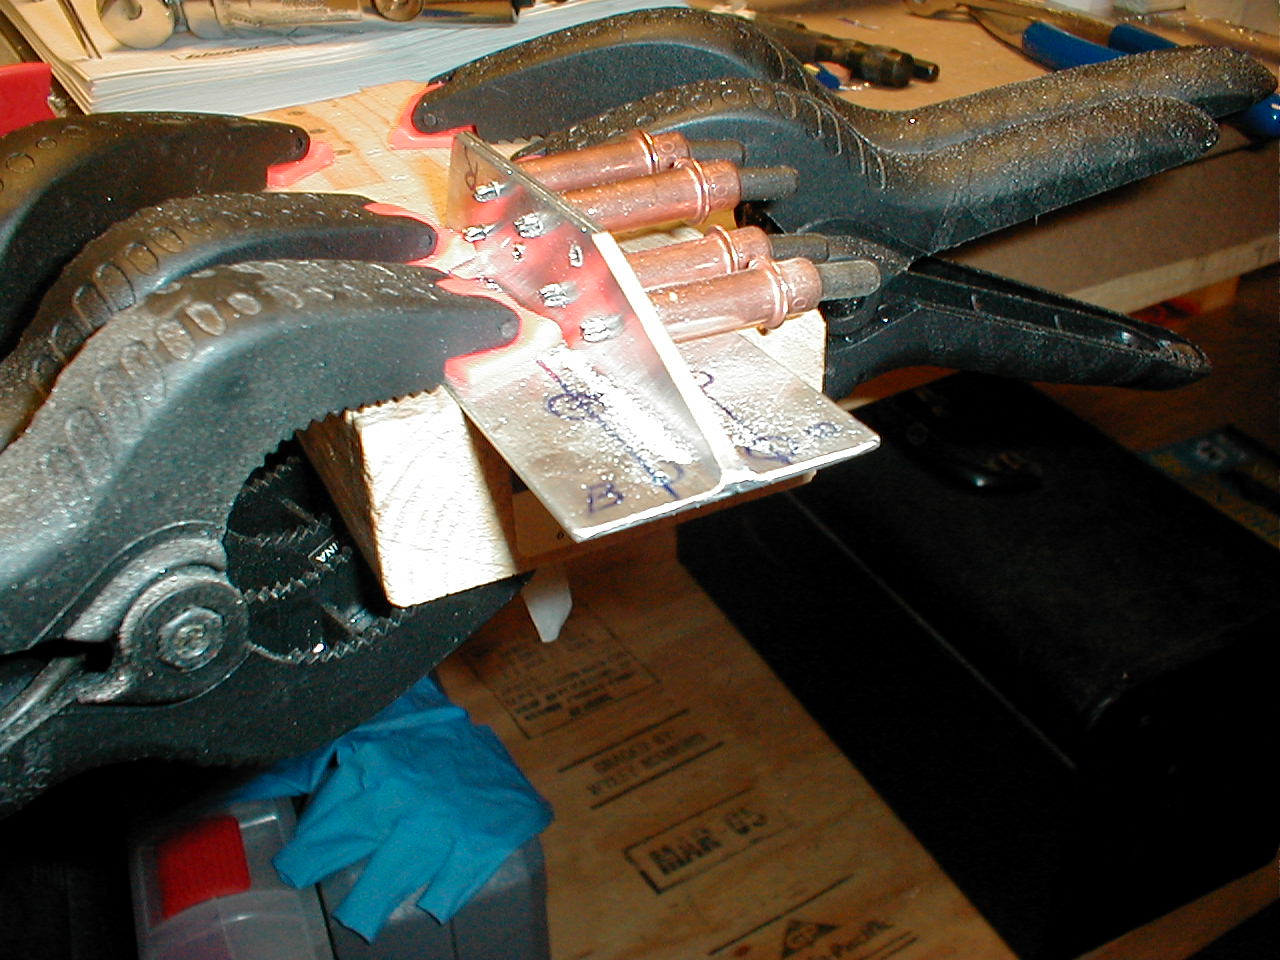
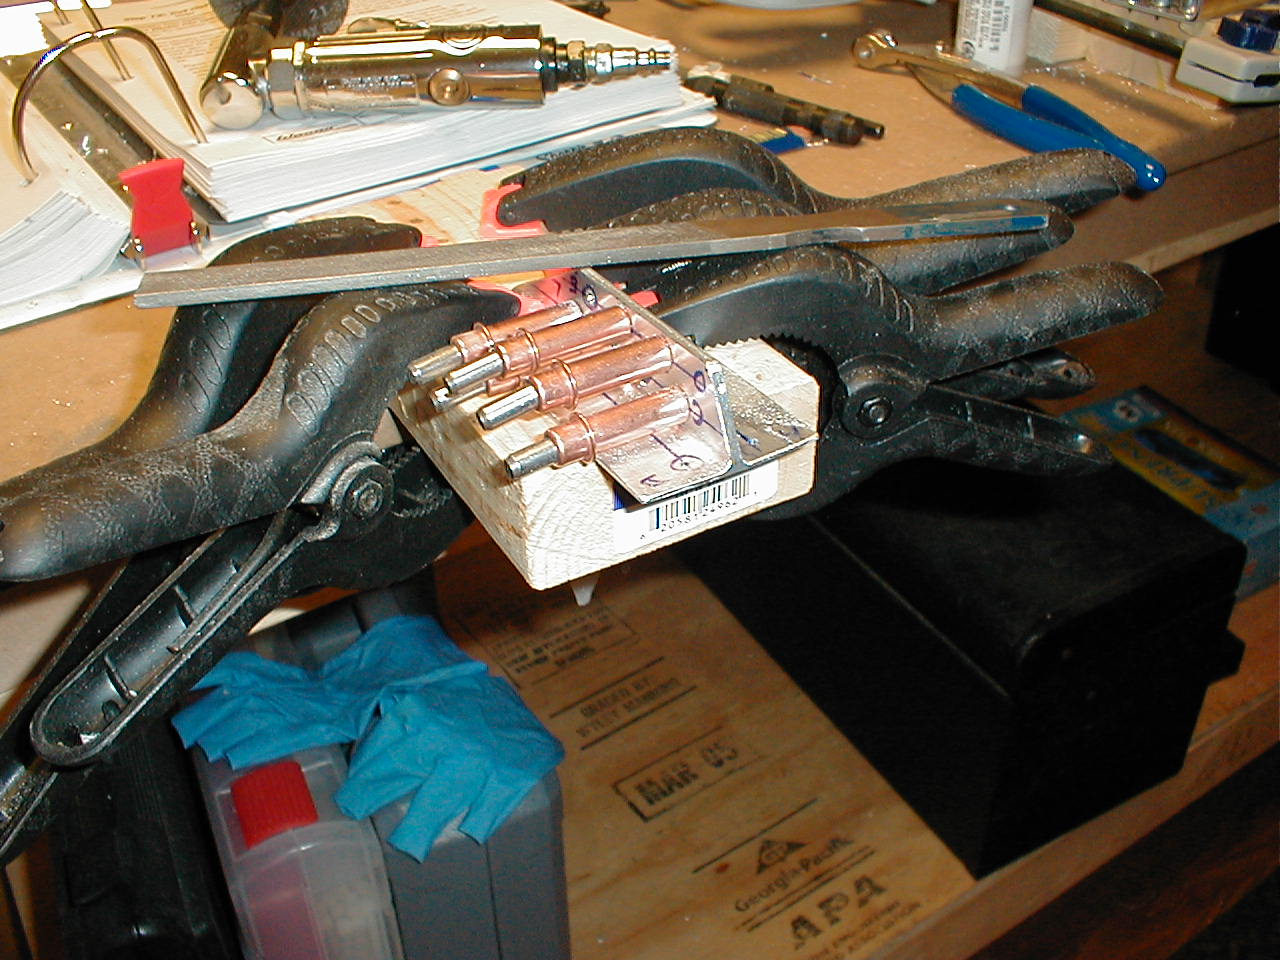
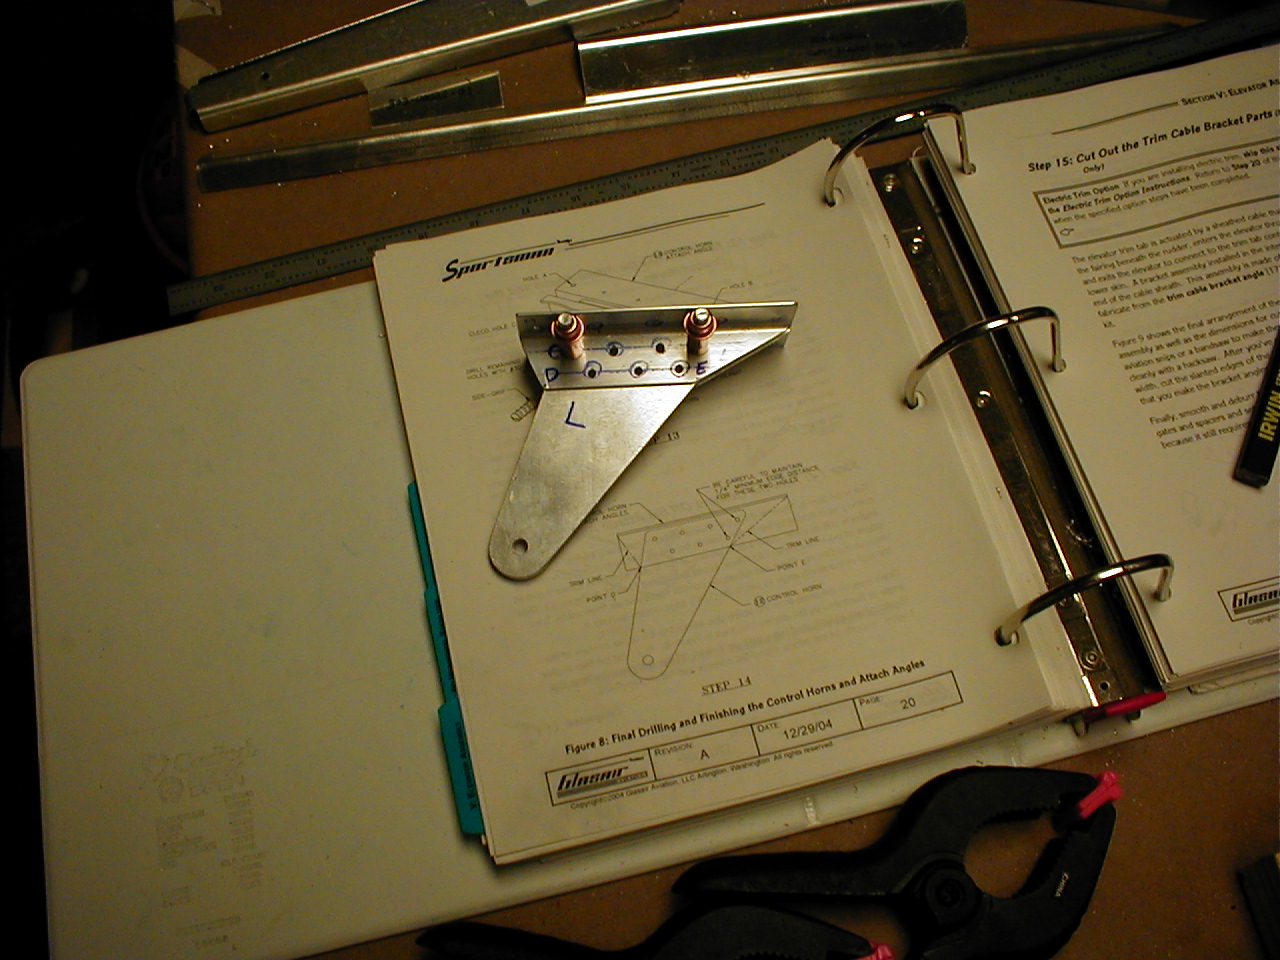
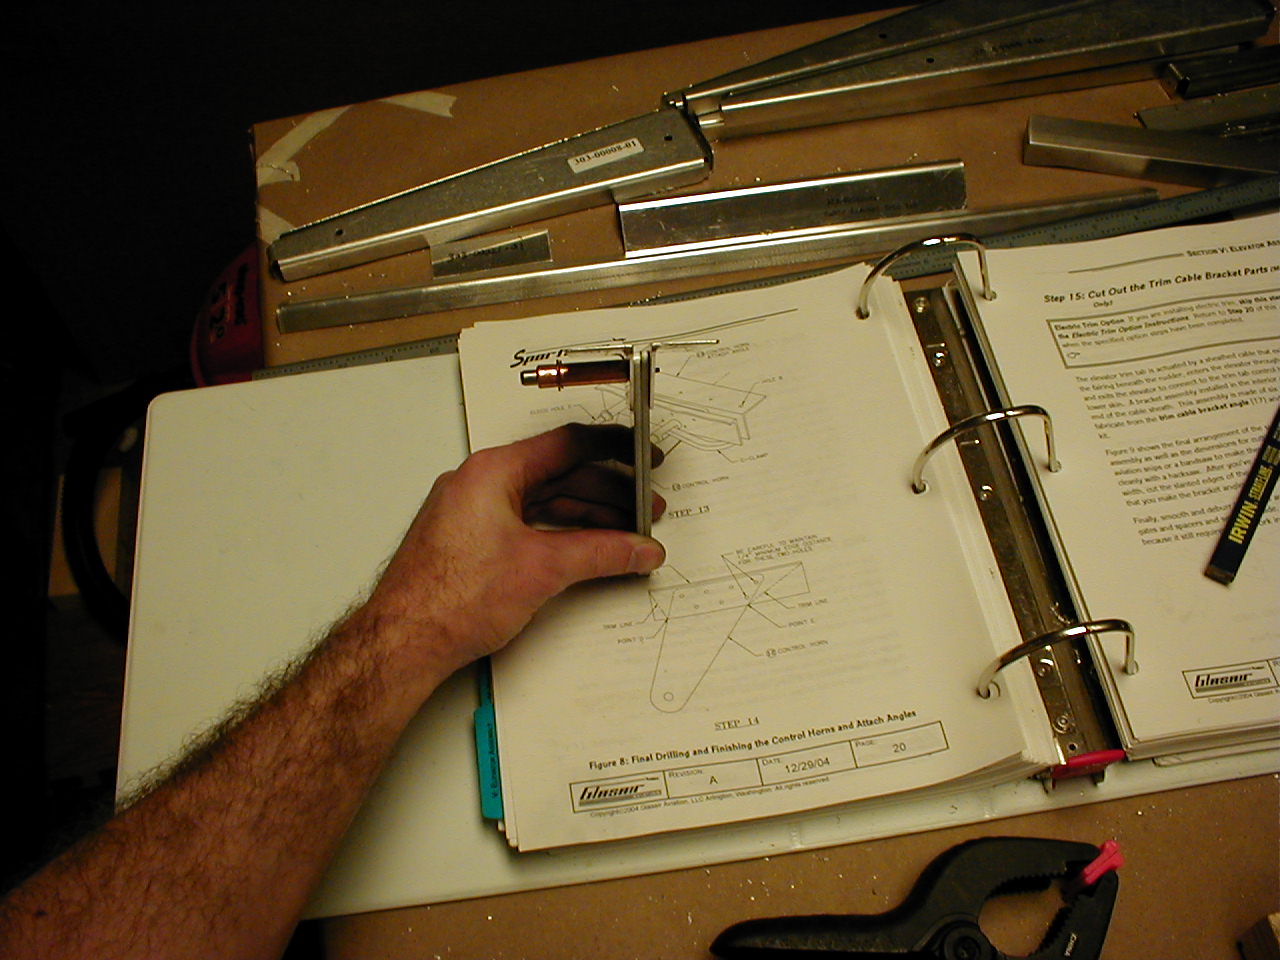
Worked on the elevator control horn.

15 Nov 2005 - 1.5hrs
16 Nov 2005 - 1.75hrs
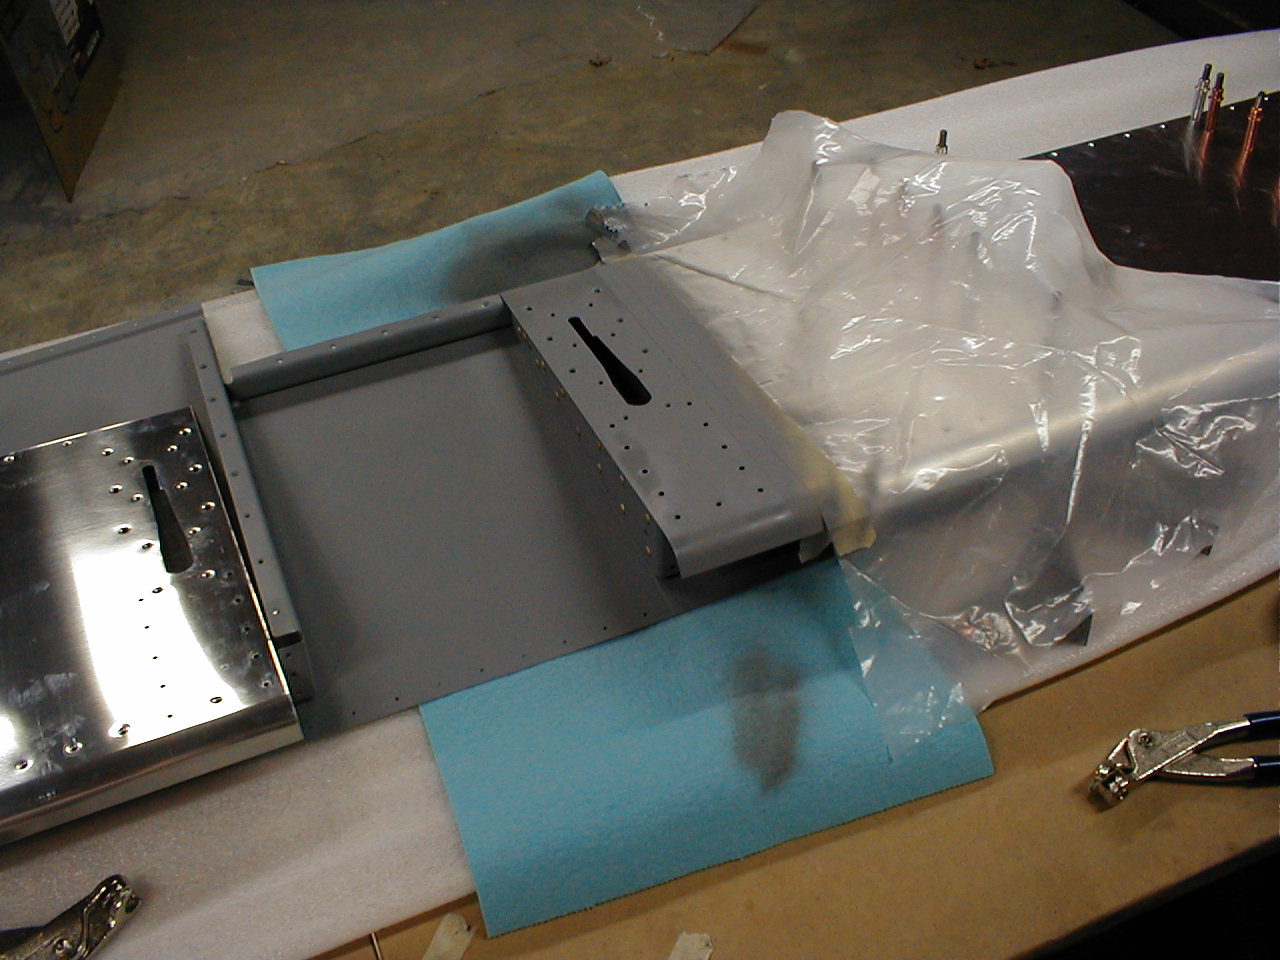
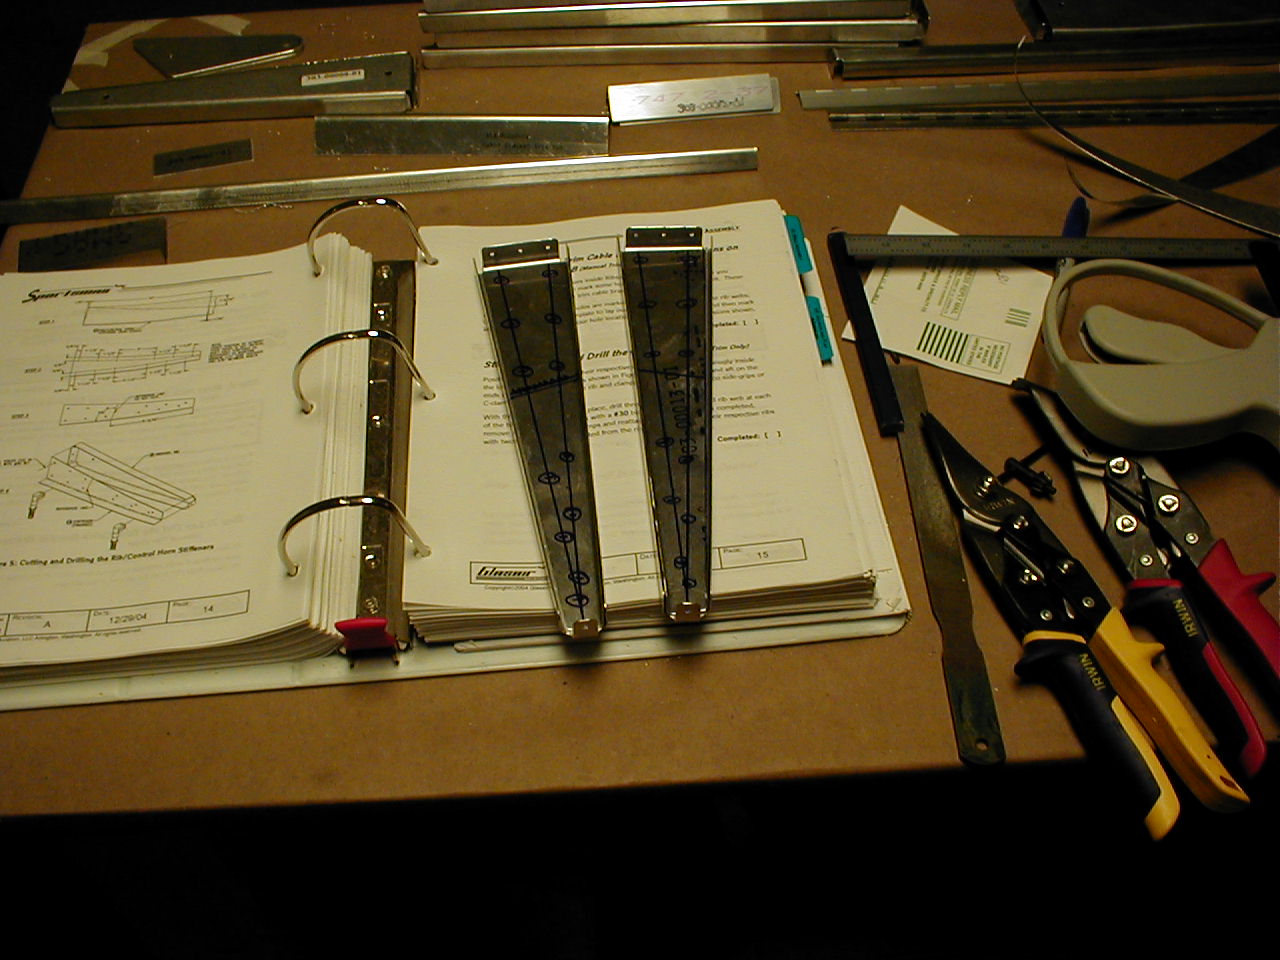
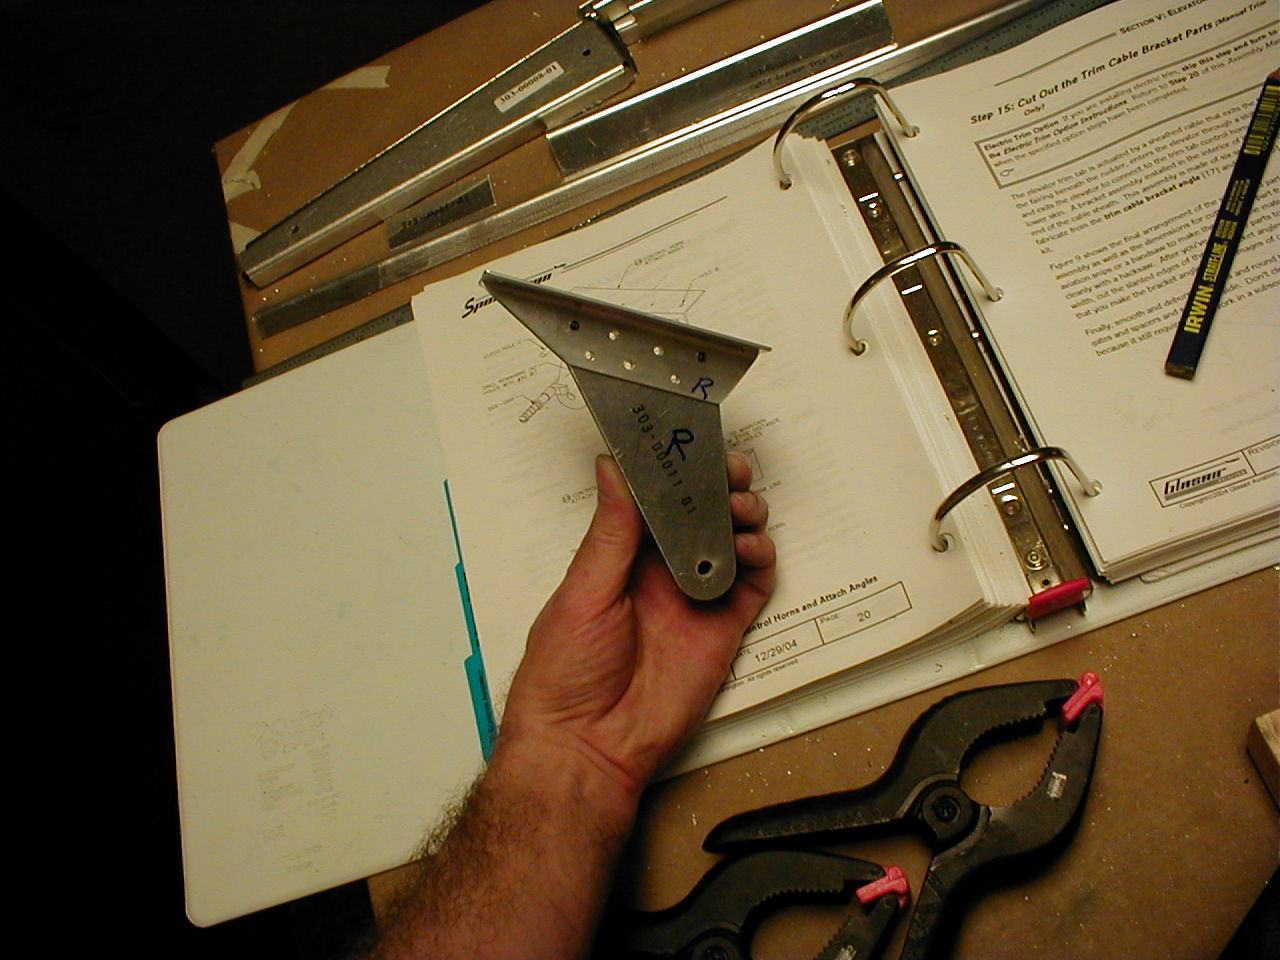
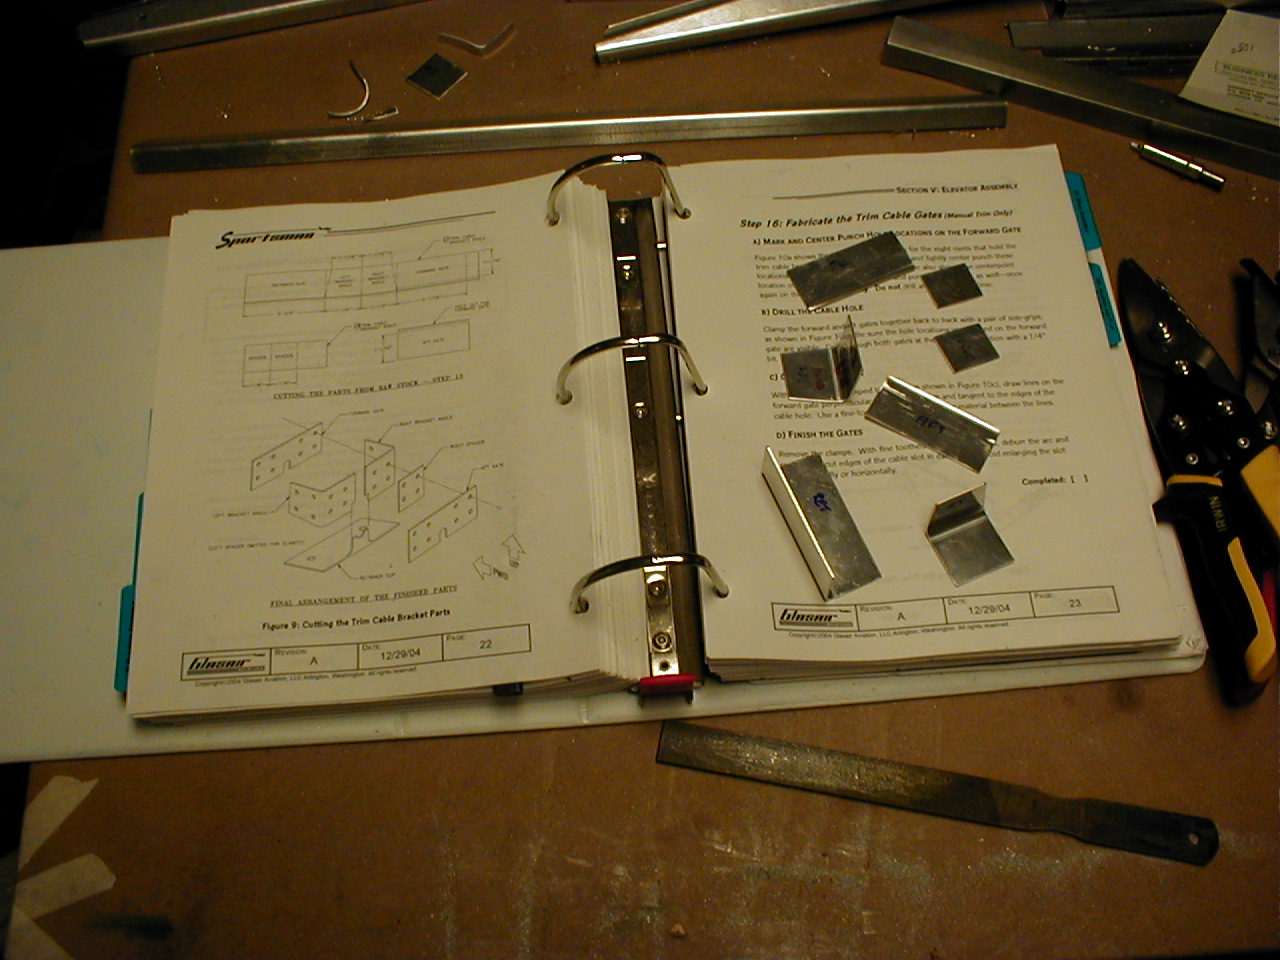
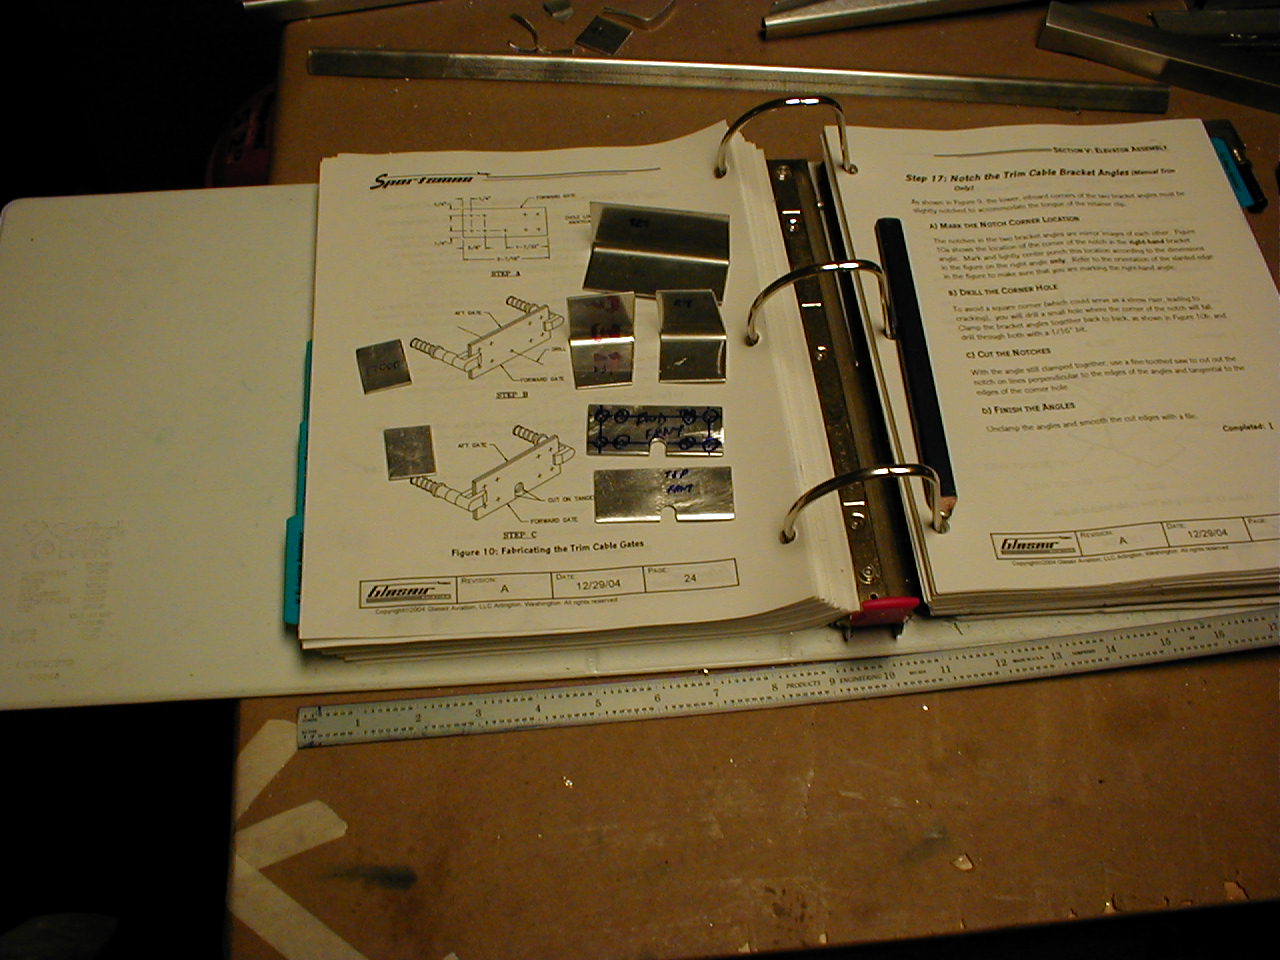
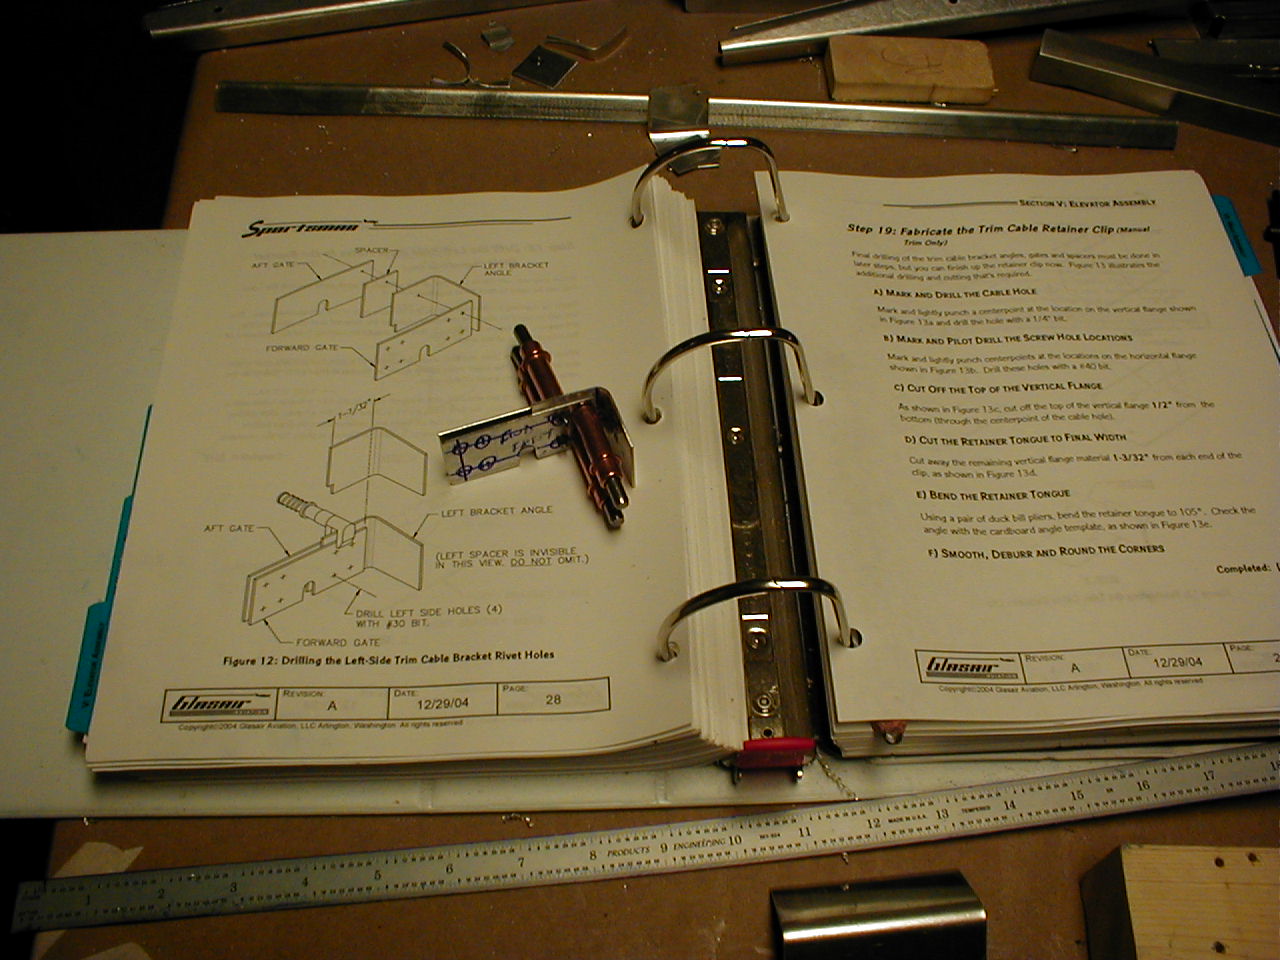
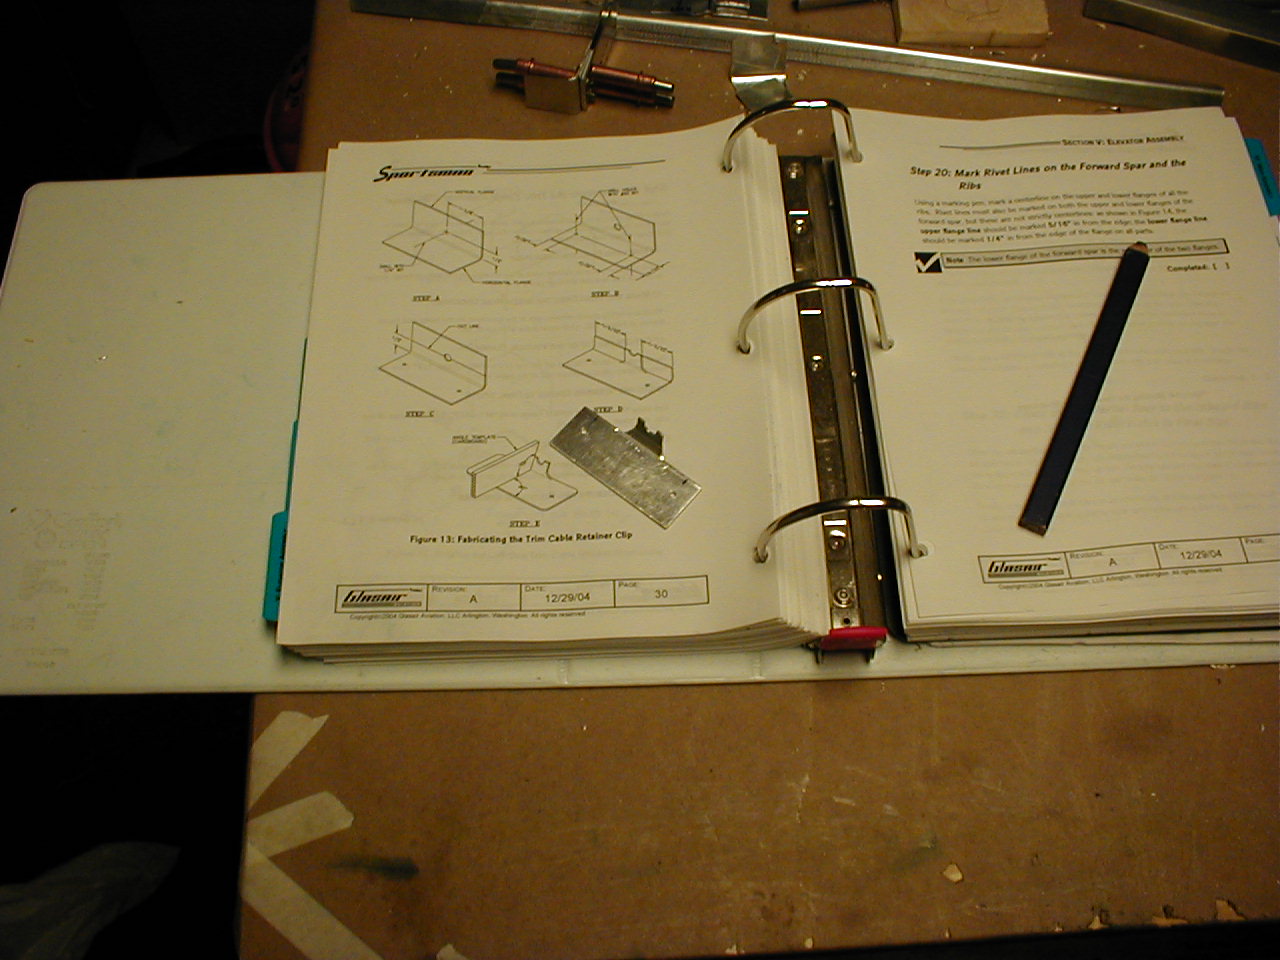
Worked on the trim cable bracket.
23 Nov 2005 - 5hrs
24 Nov 2005 - 3hrs
26 Nov 2005 - 2.5hrs
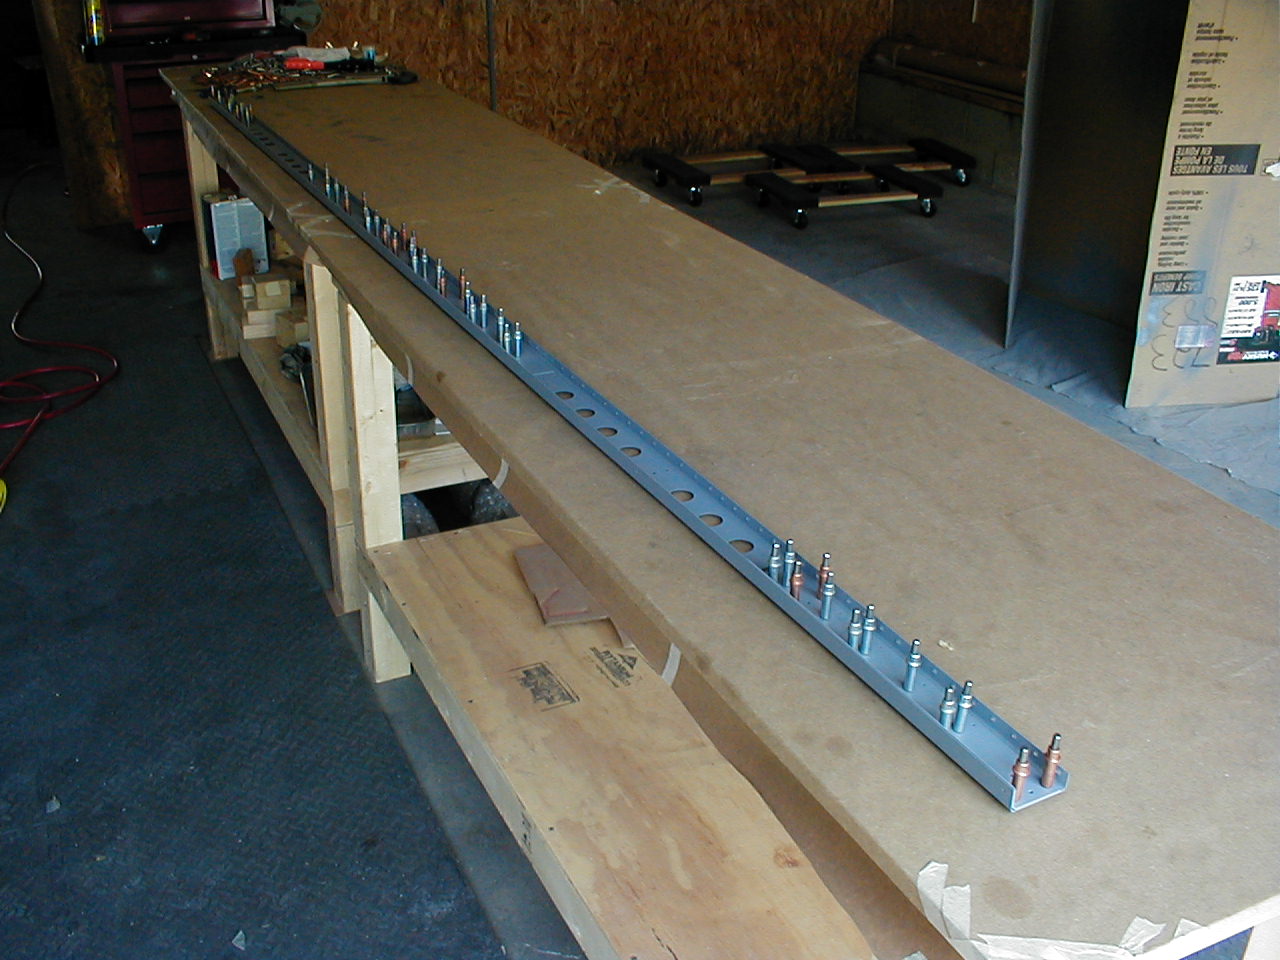
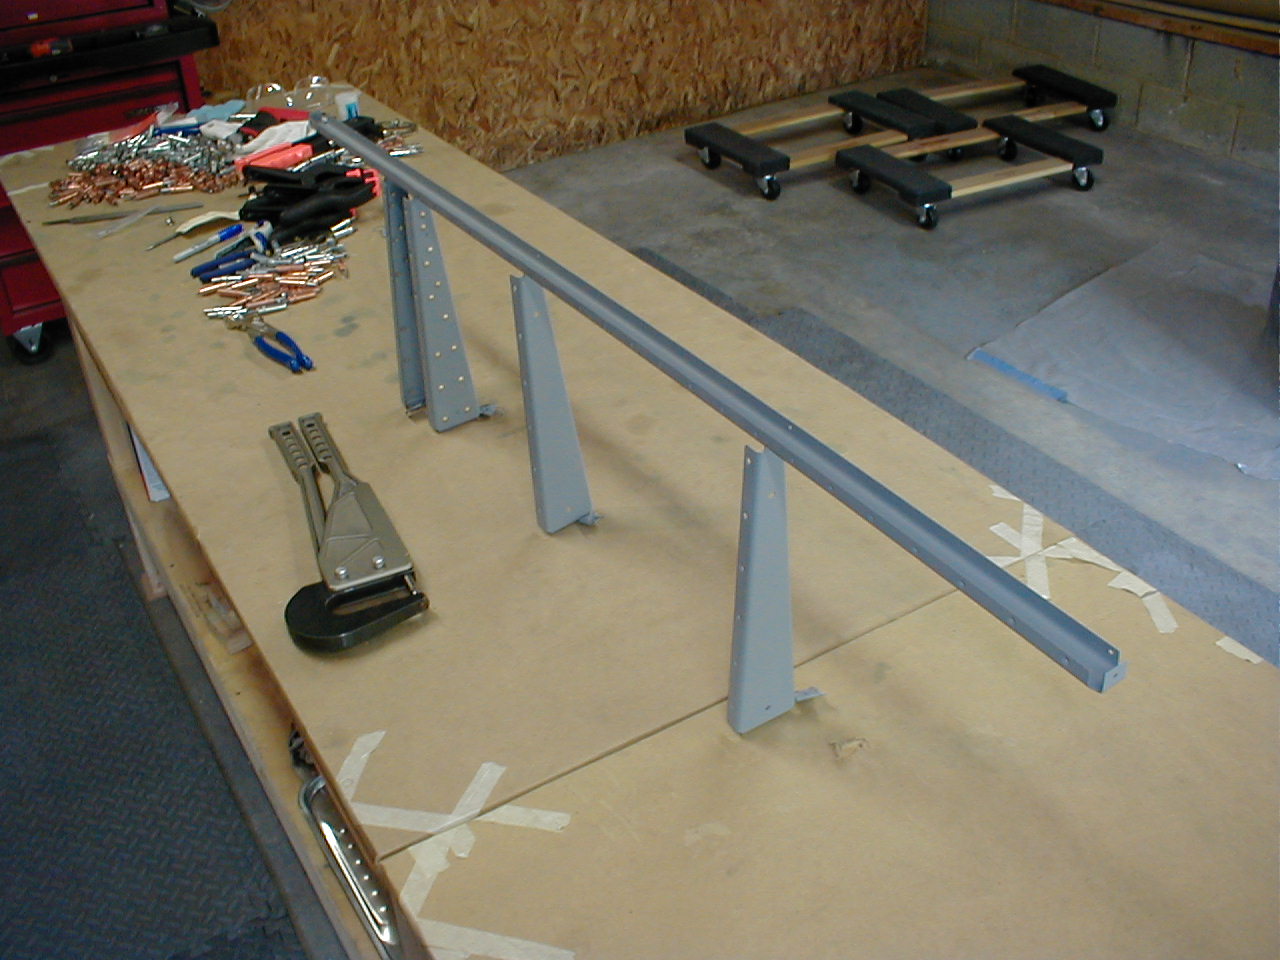
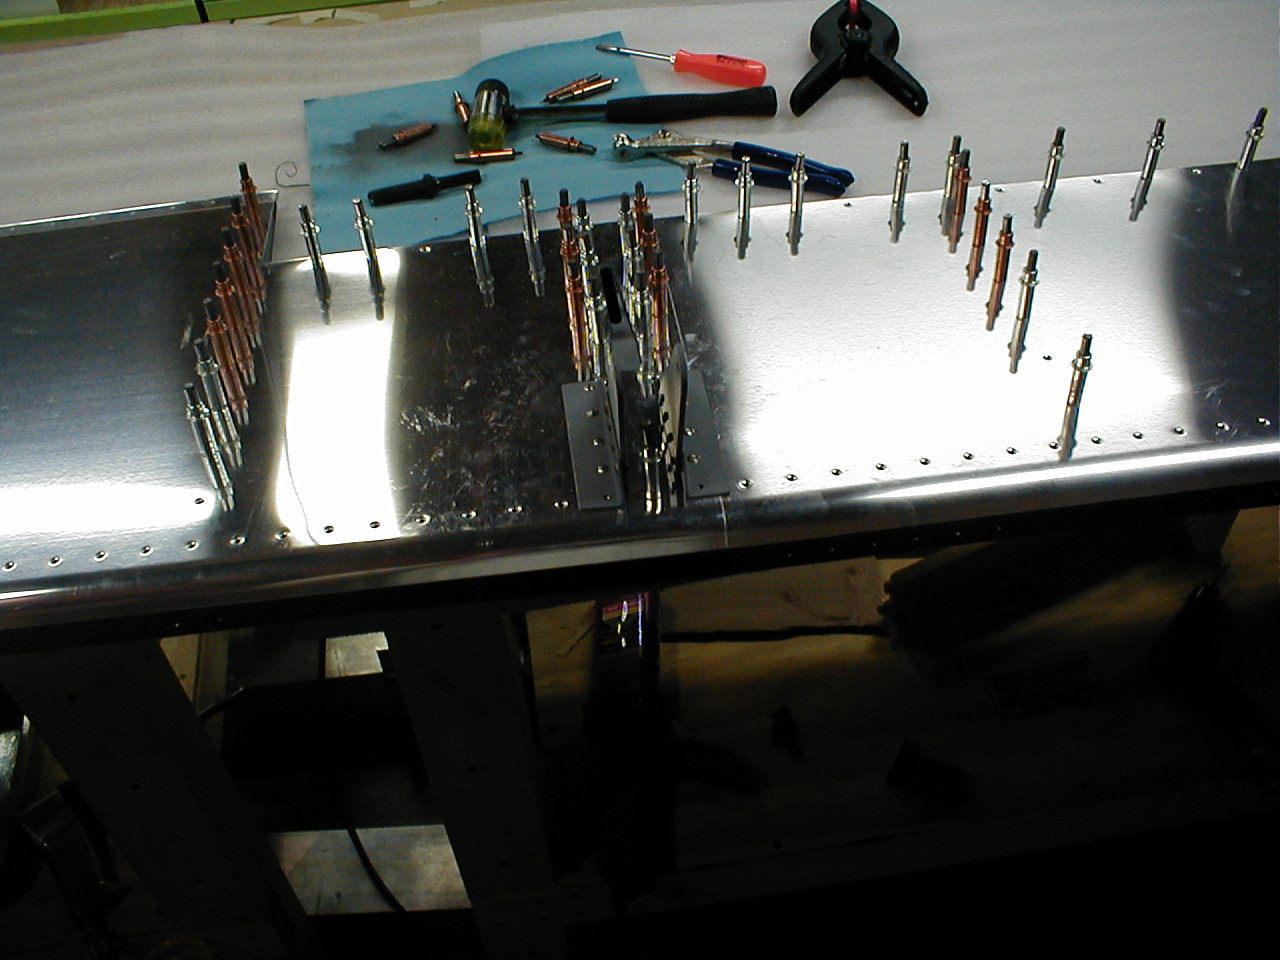
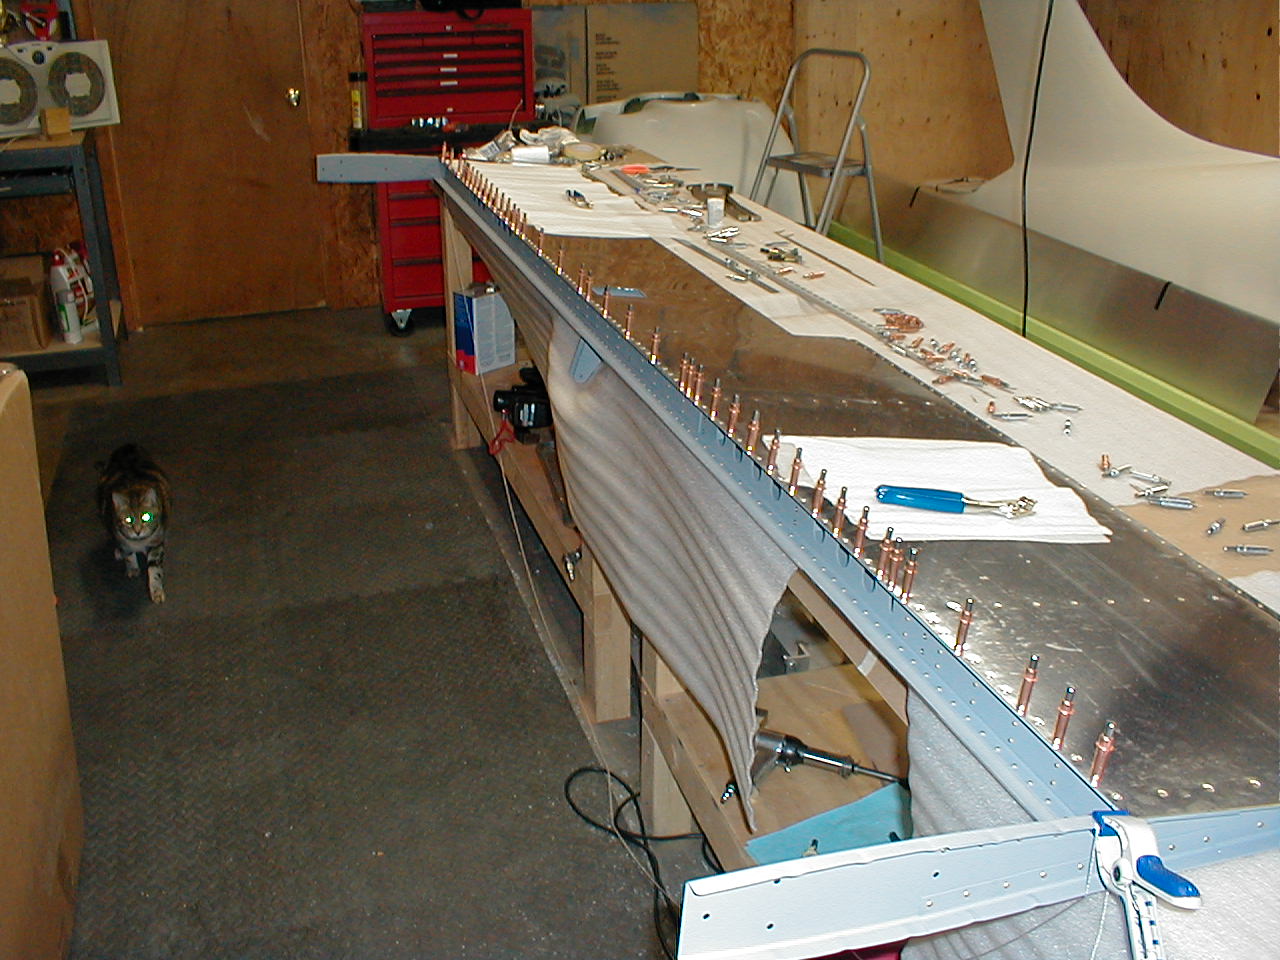
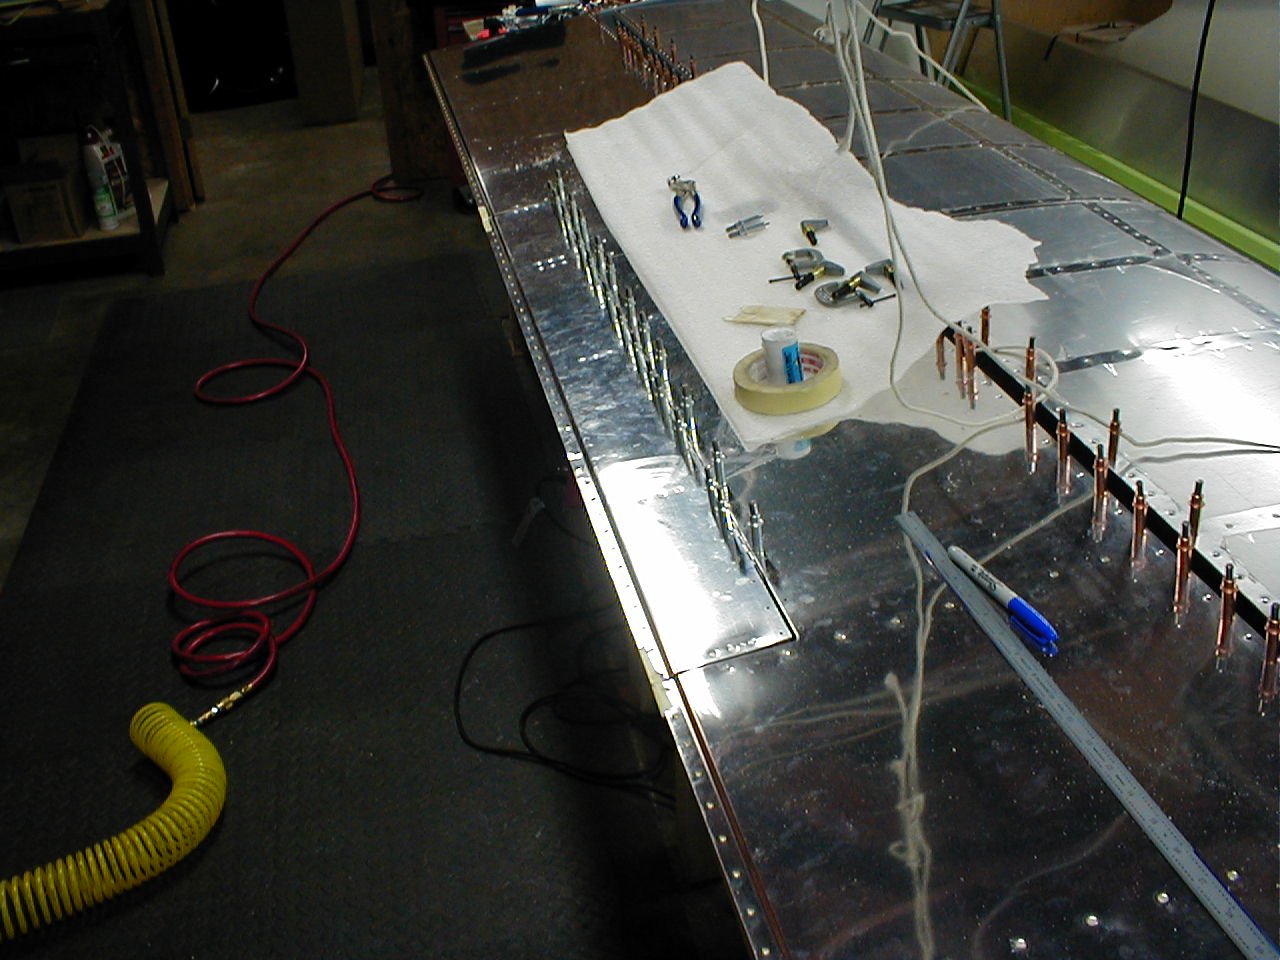
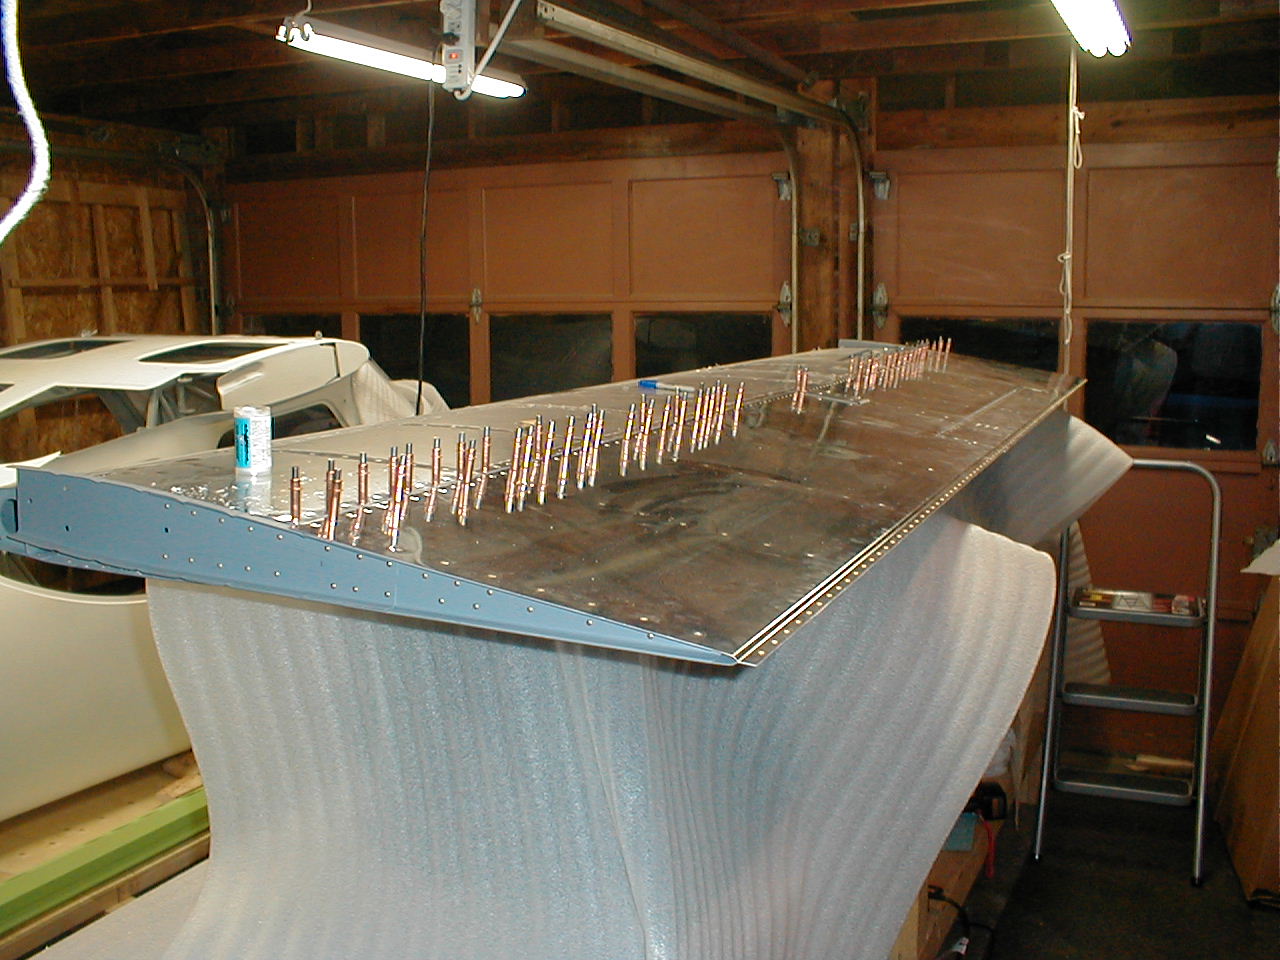
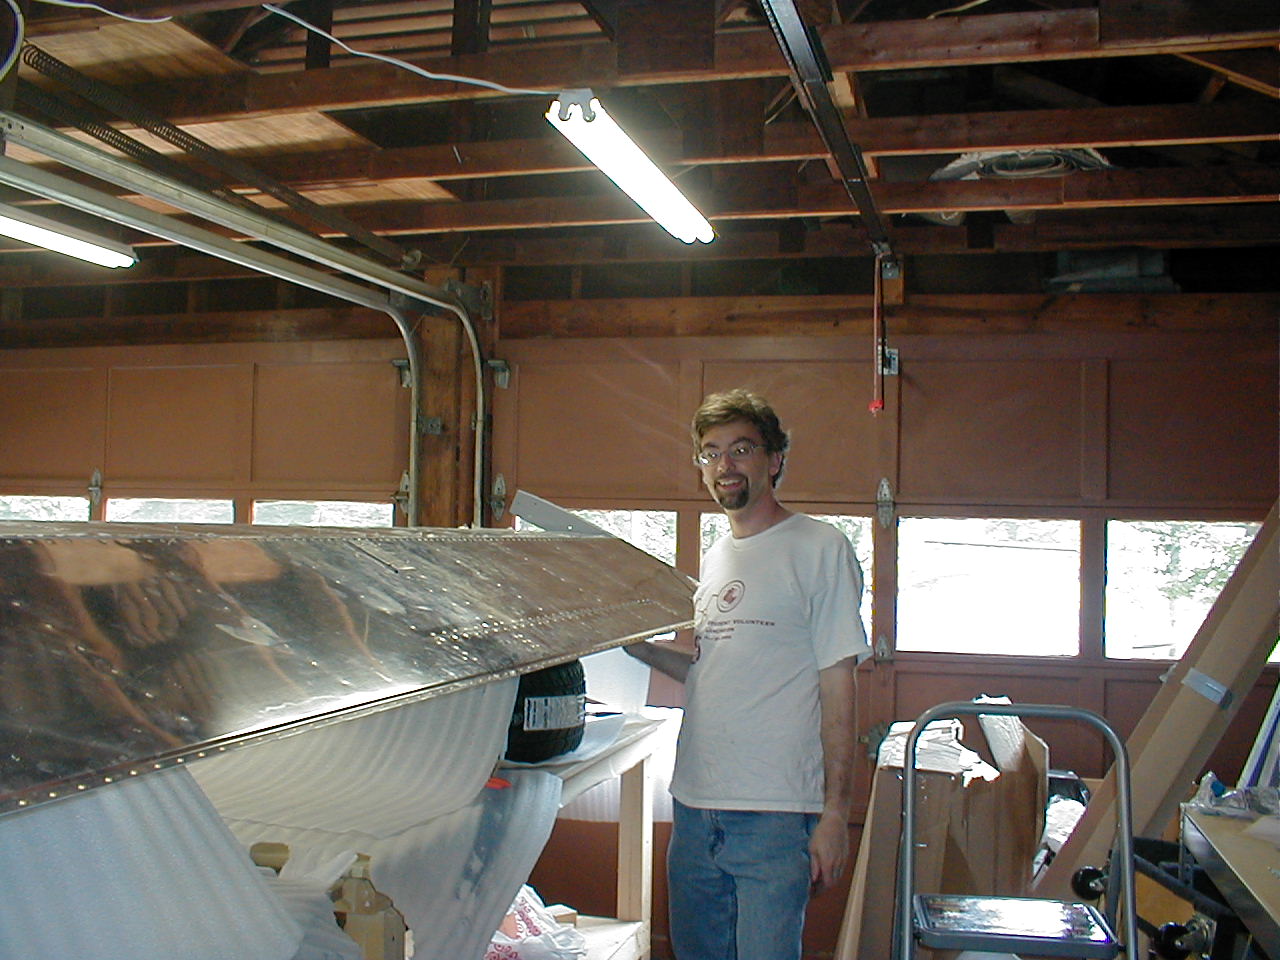
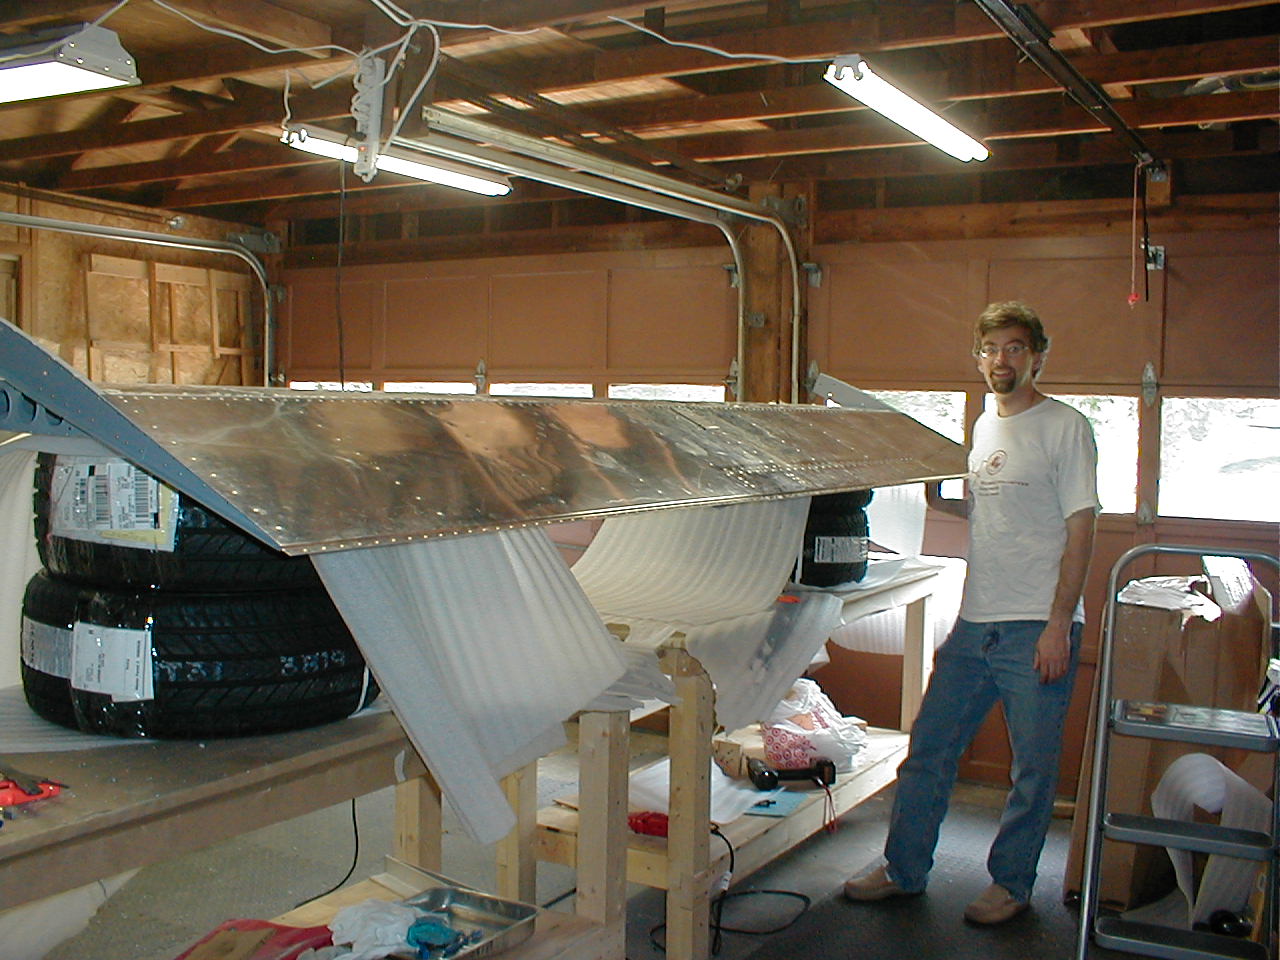
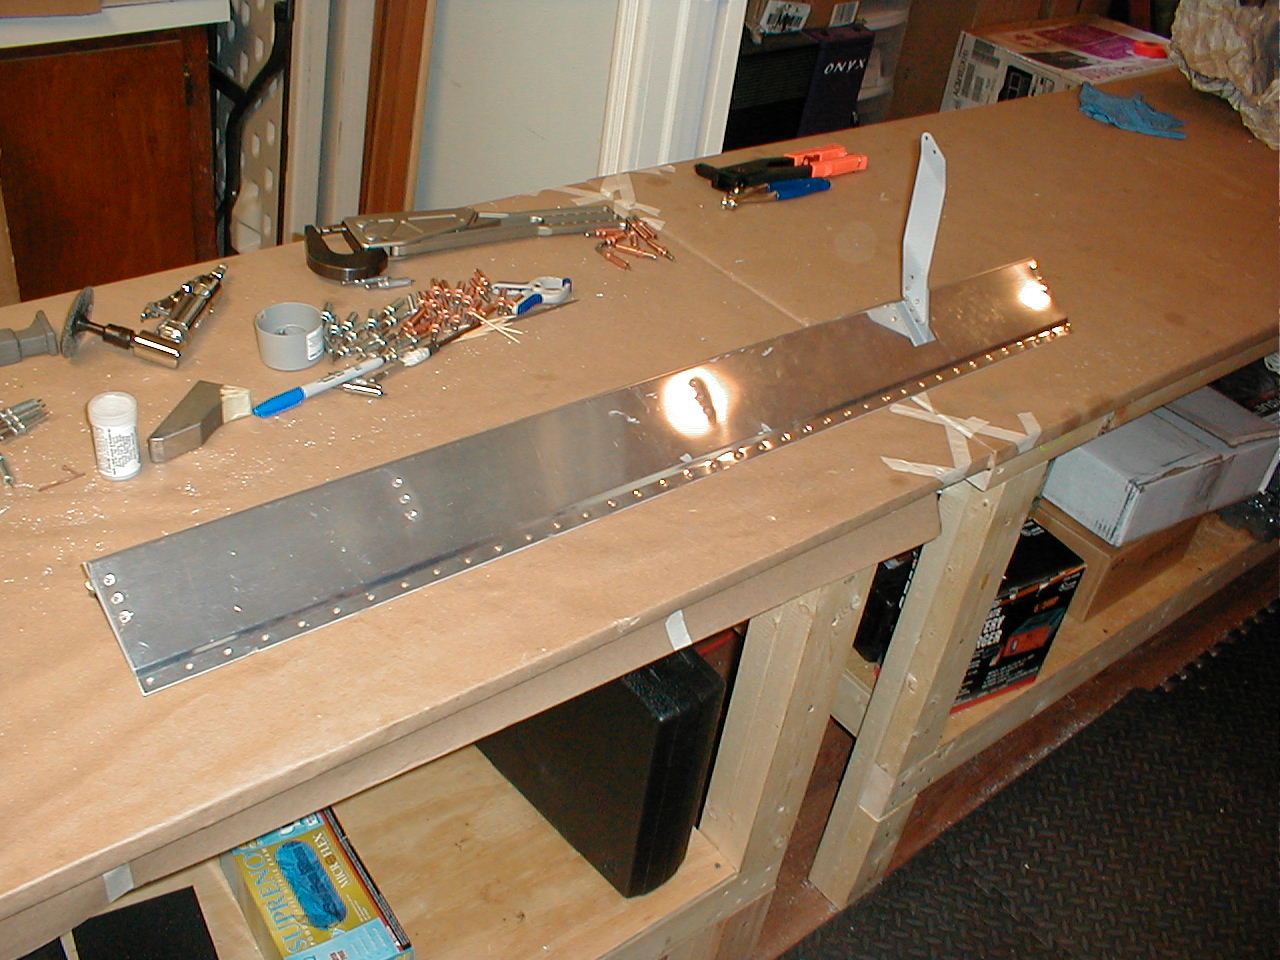
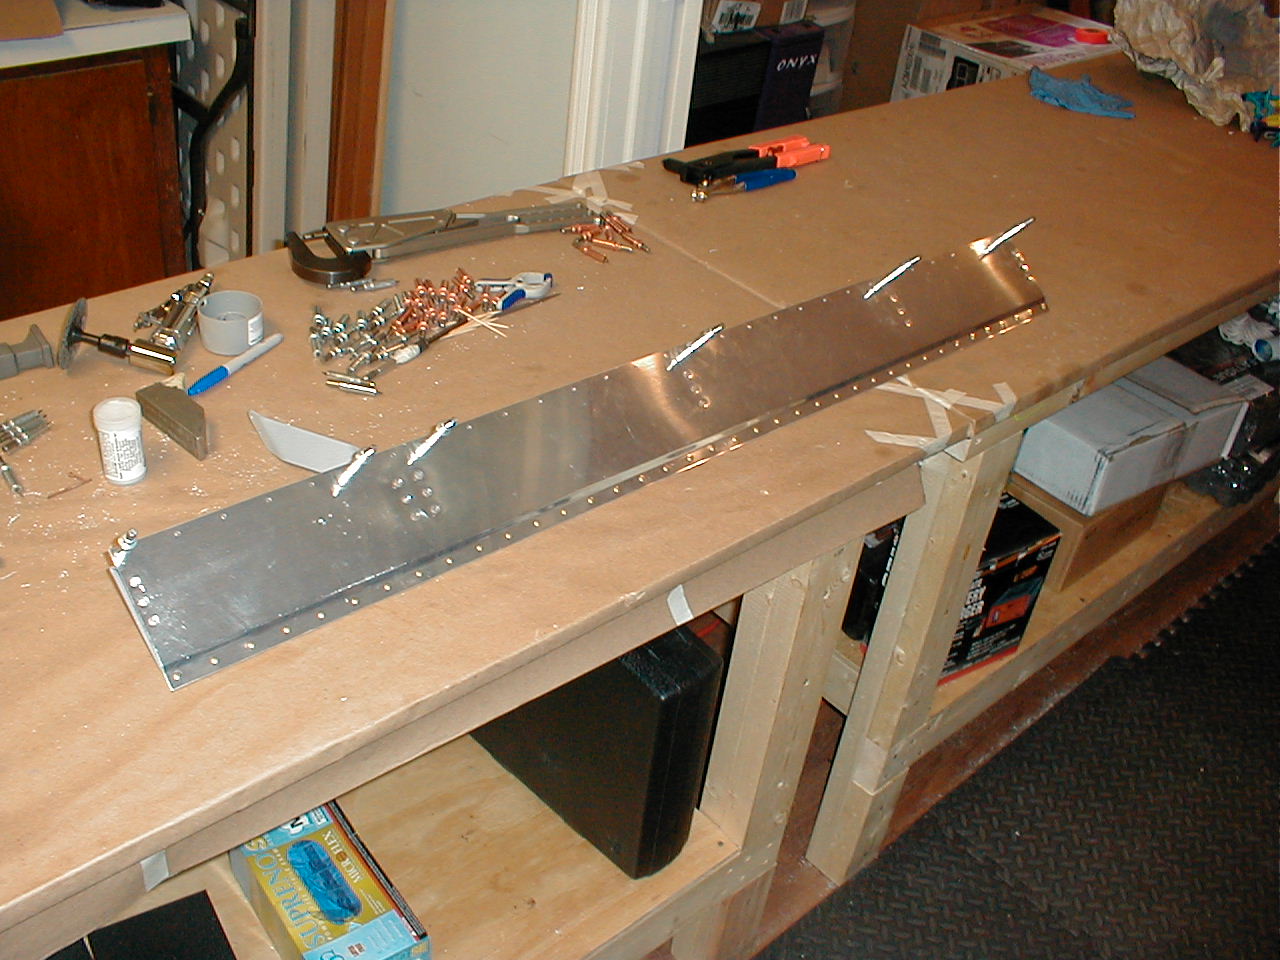
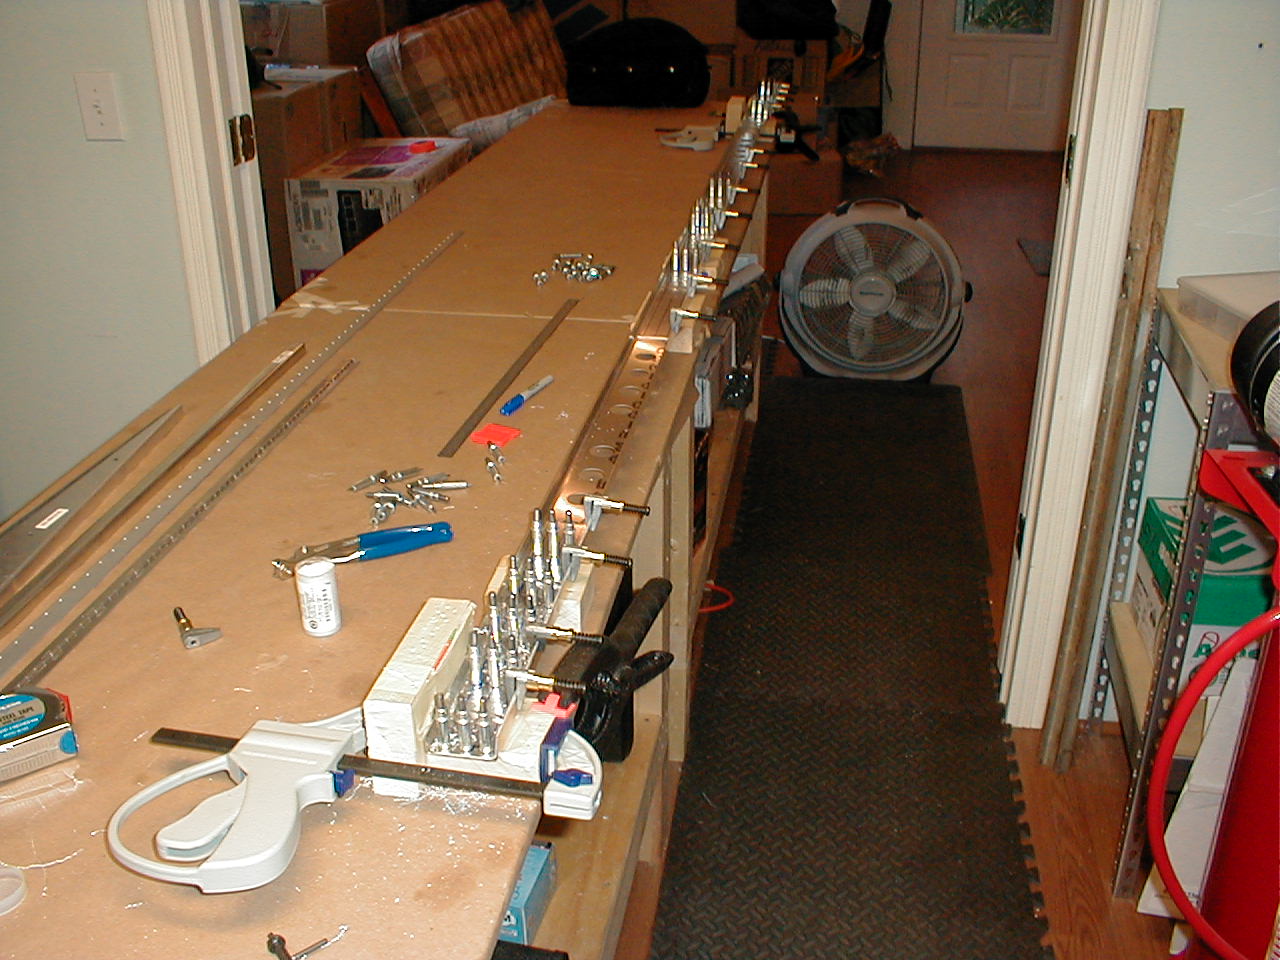
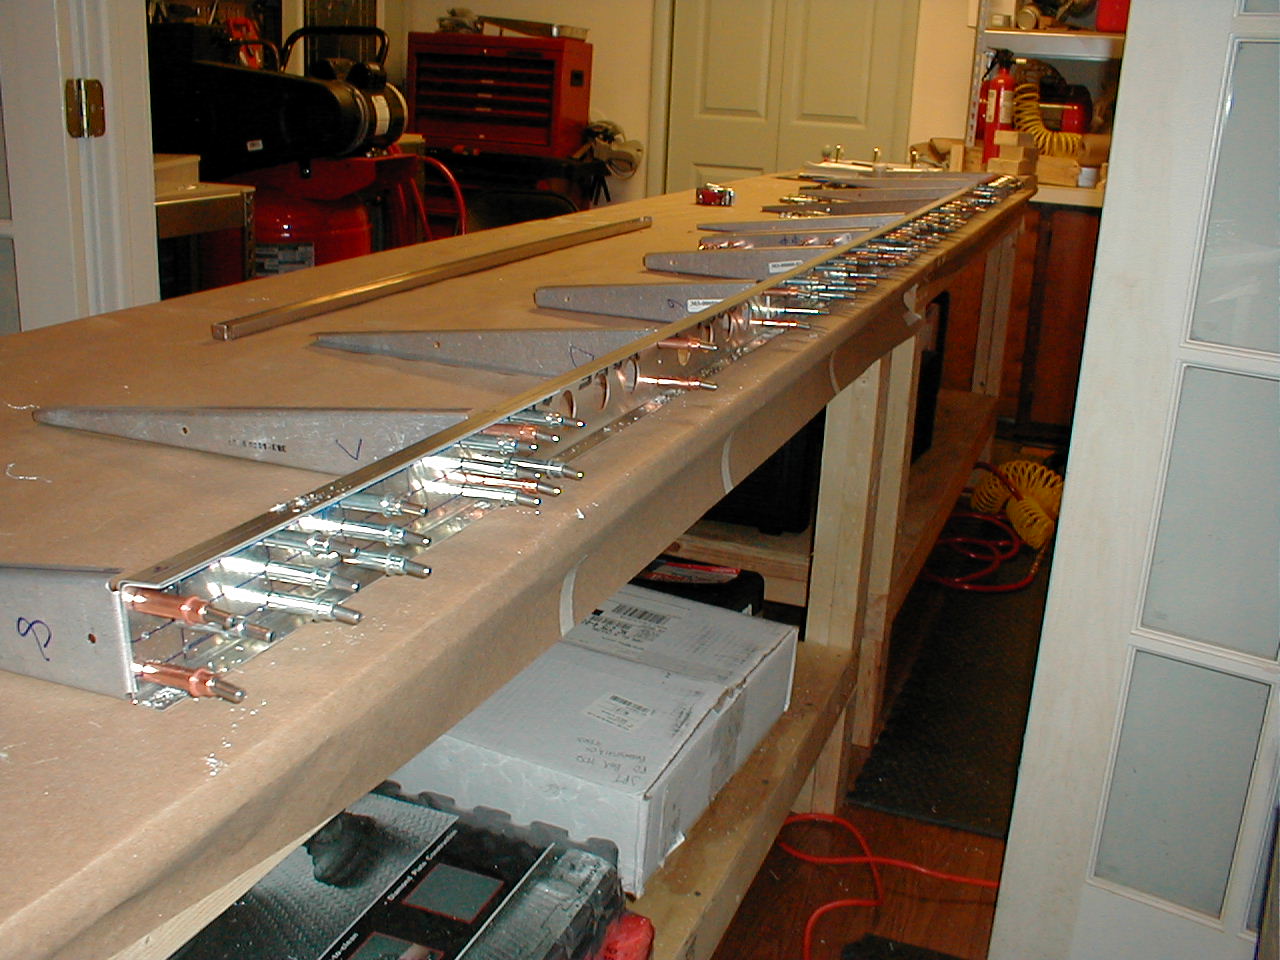
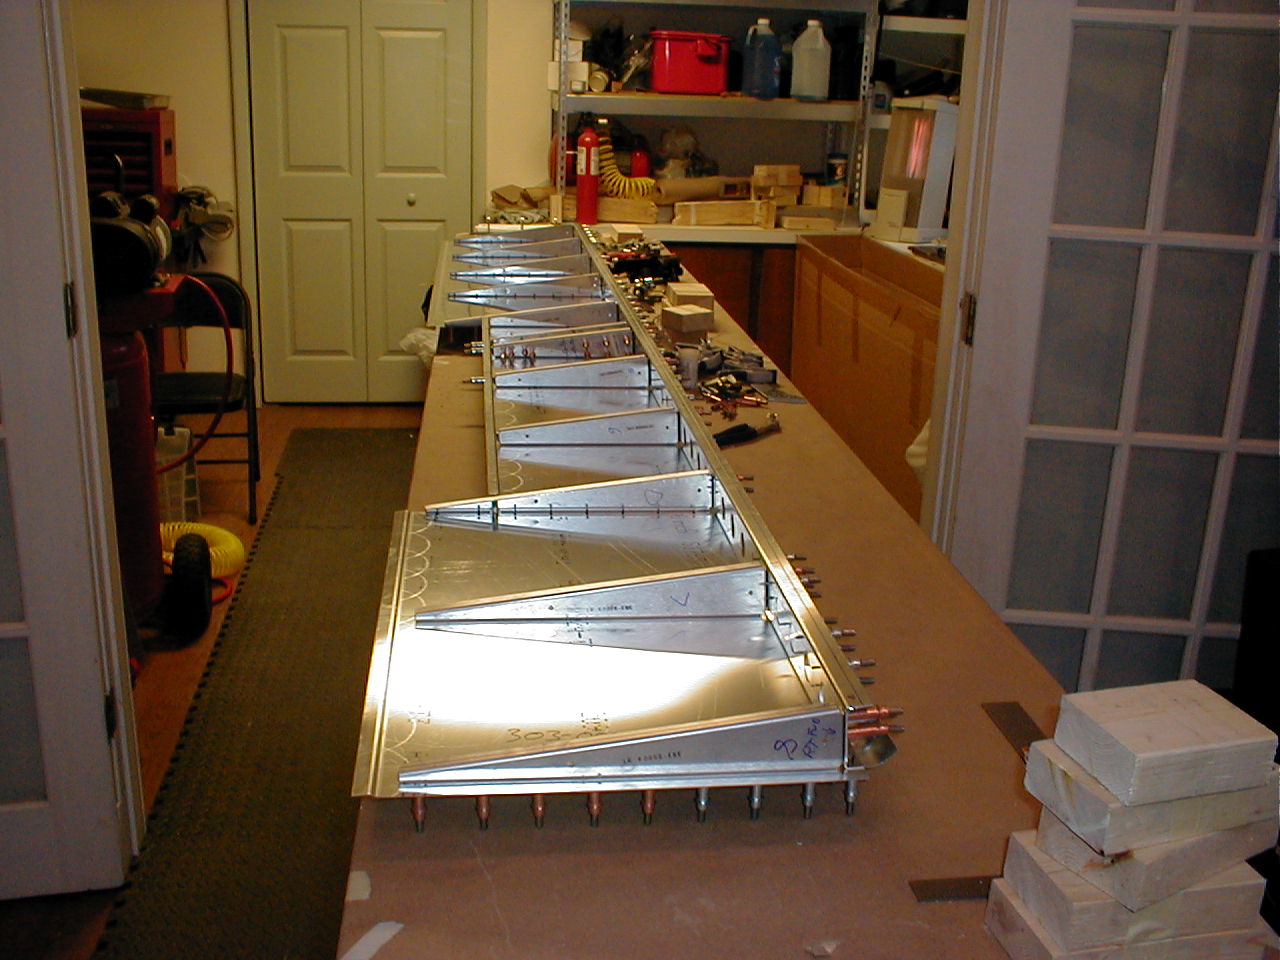
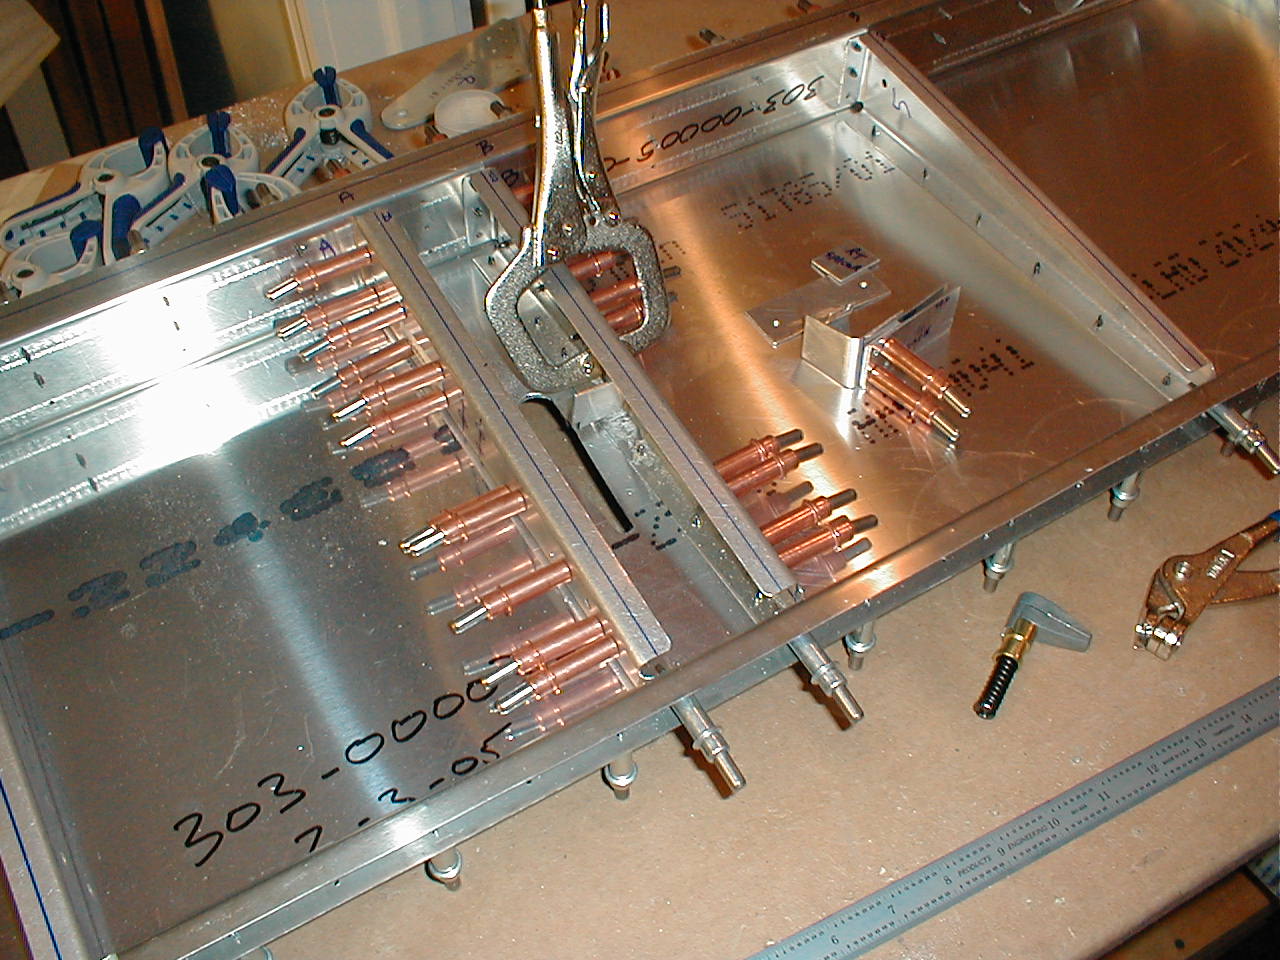
Elevator Assembly.
26 Mar 2006
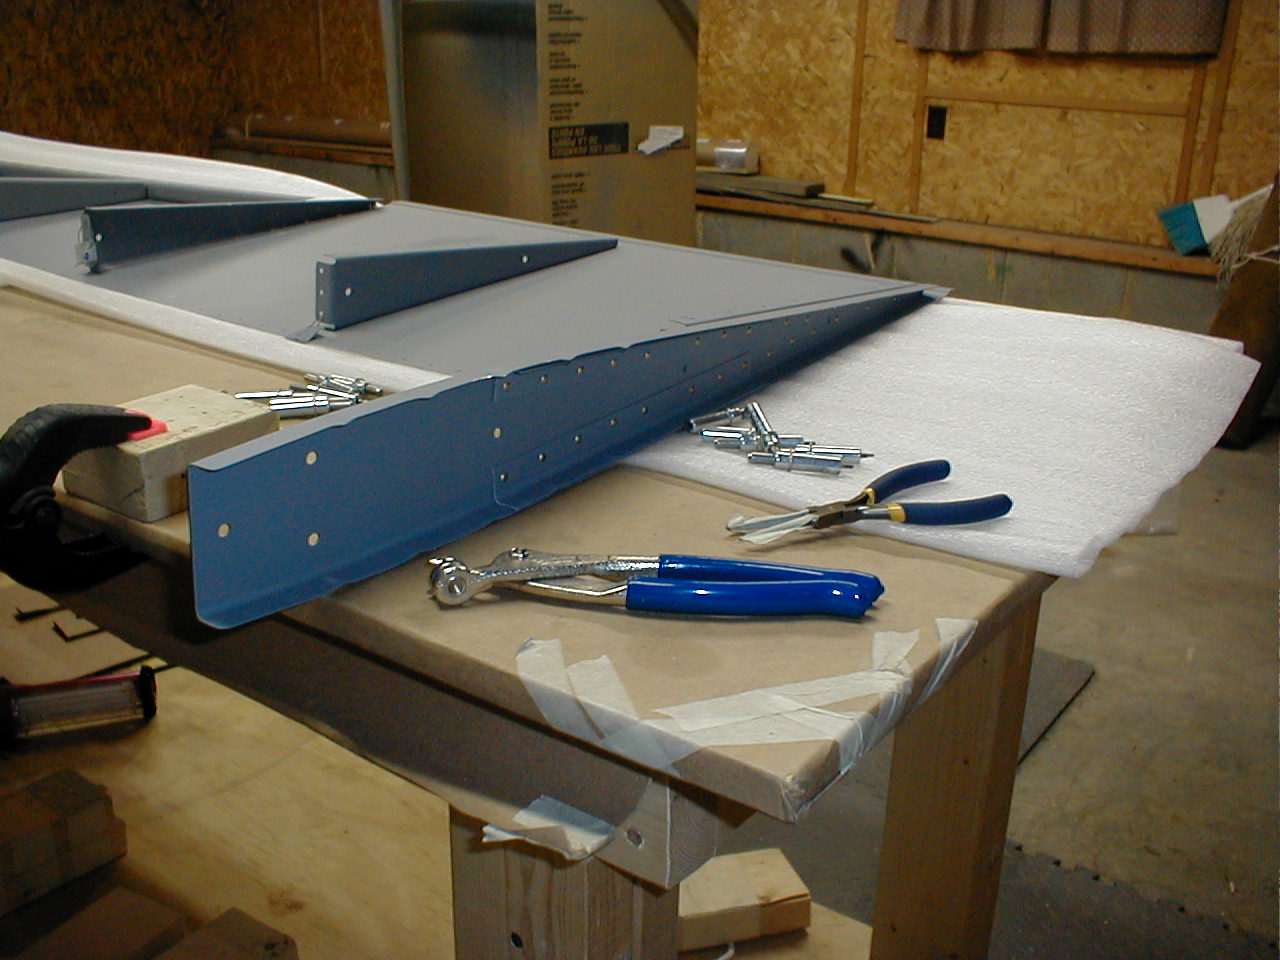
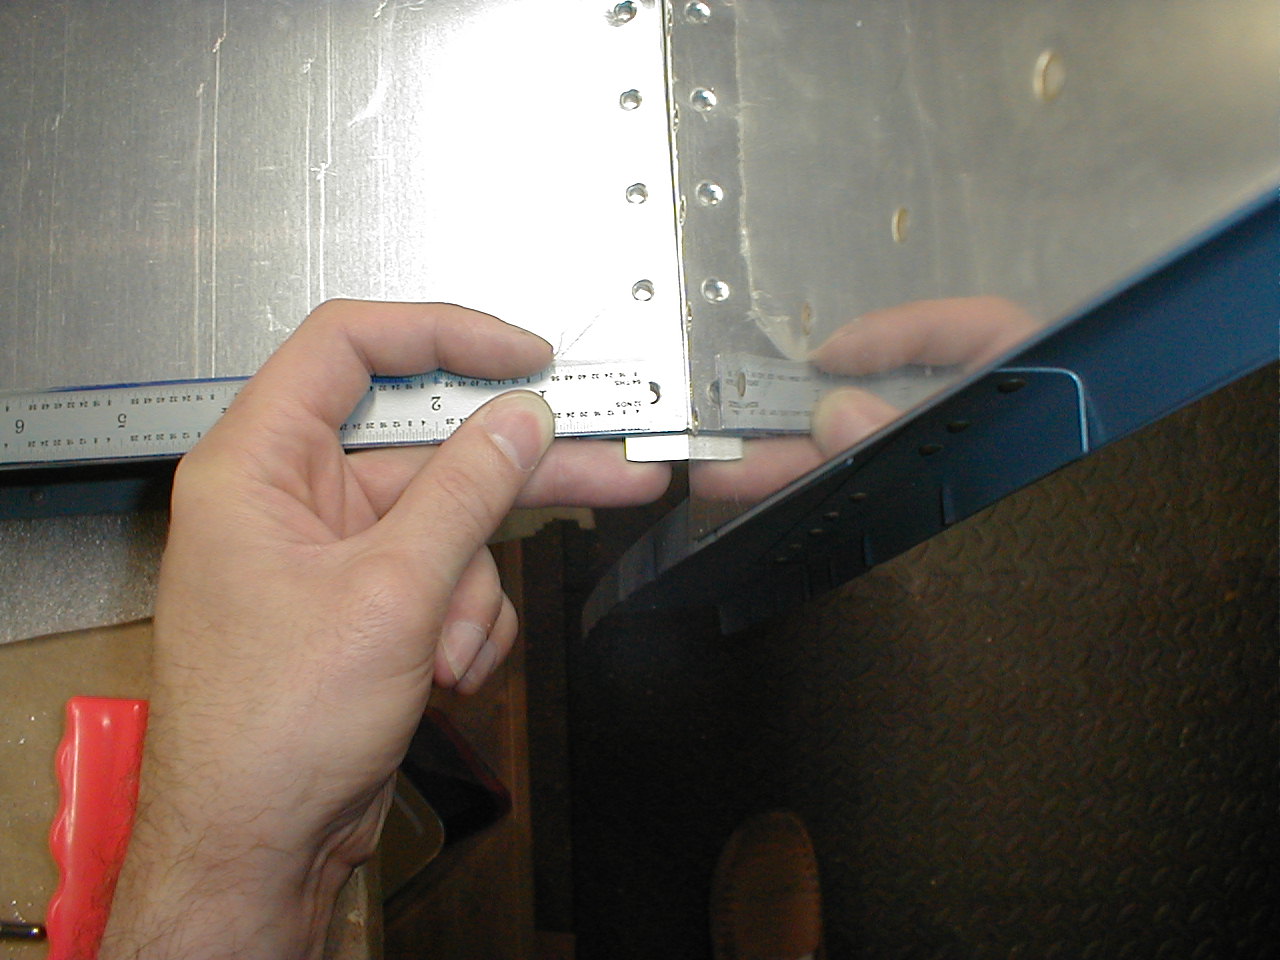
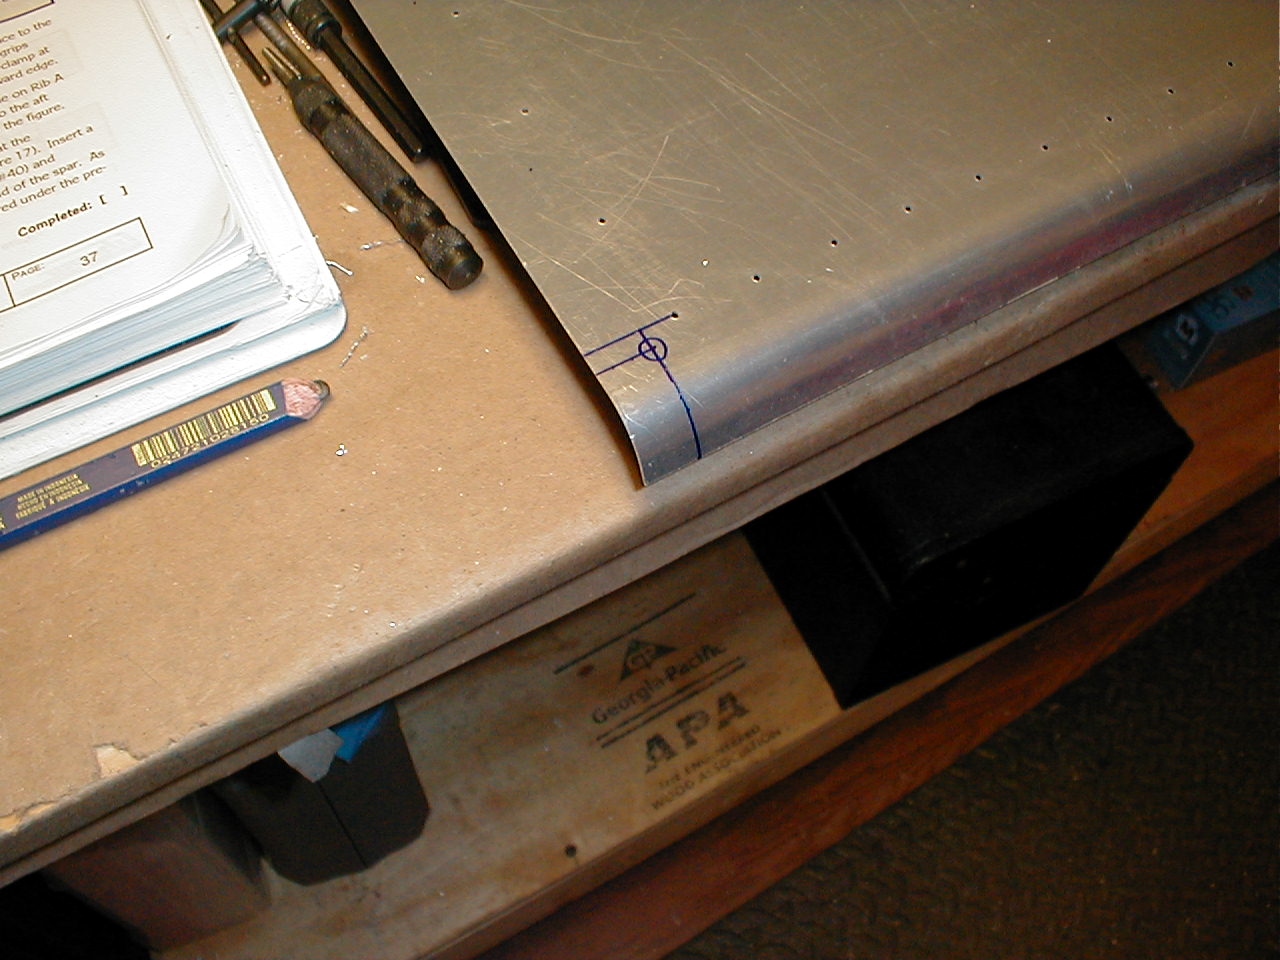
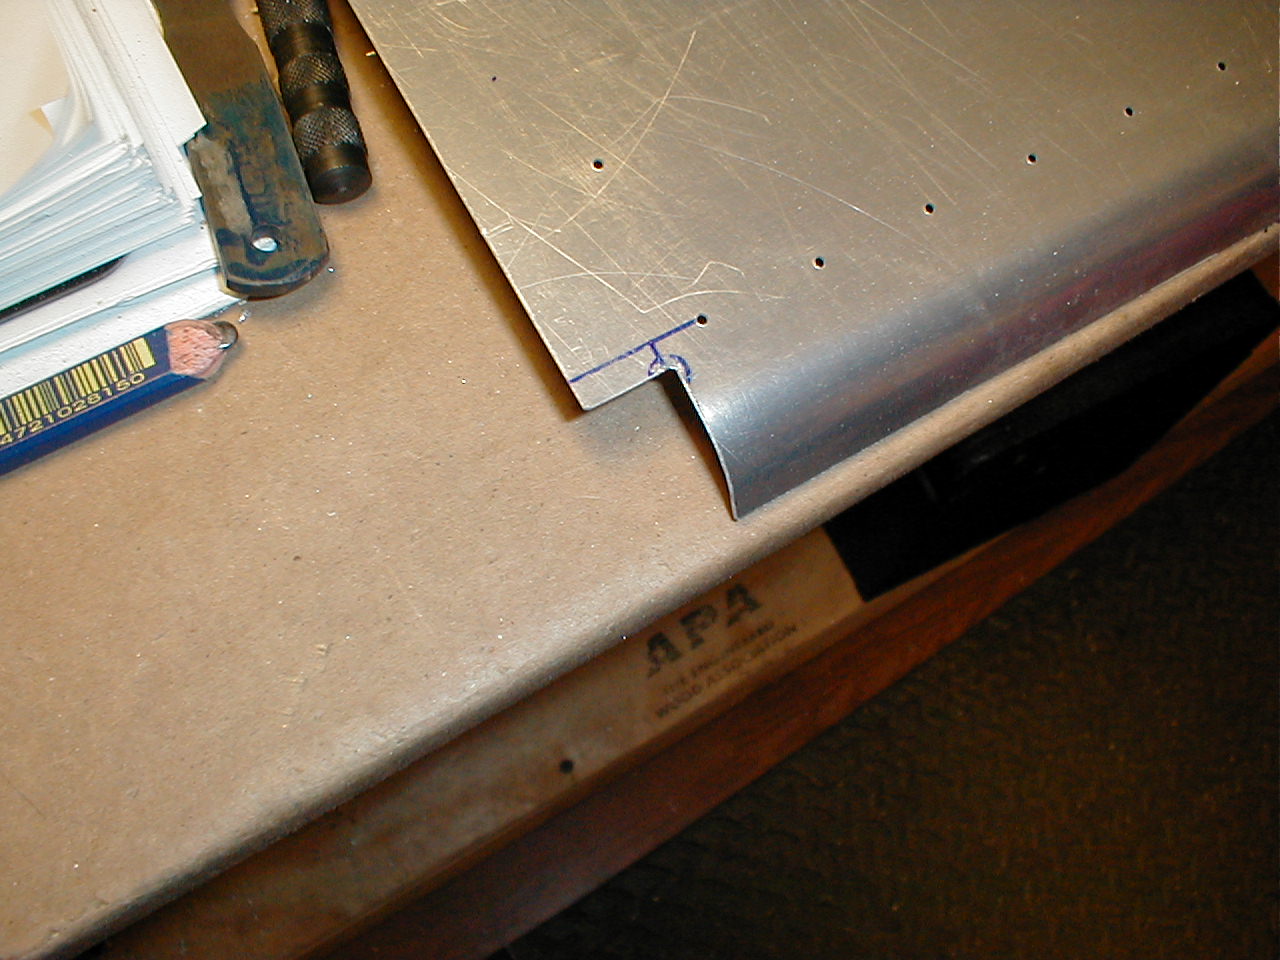
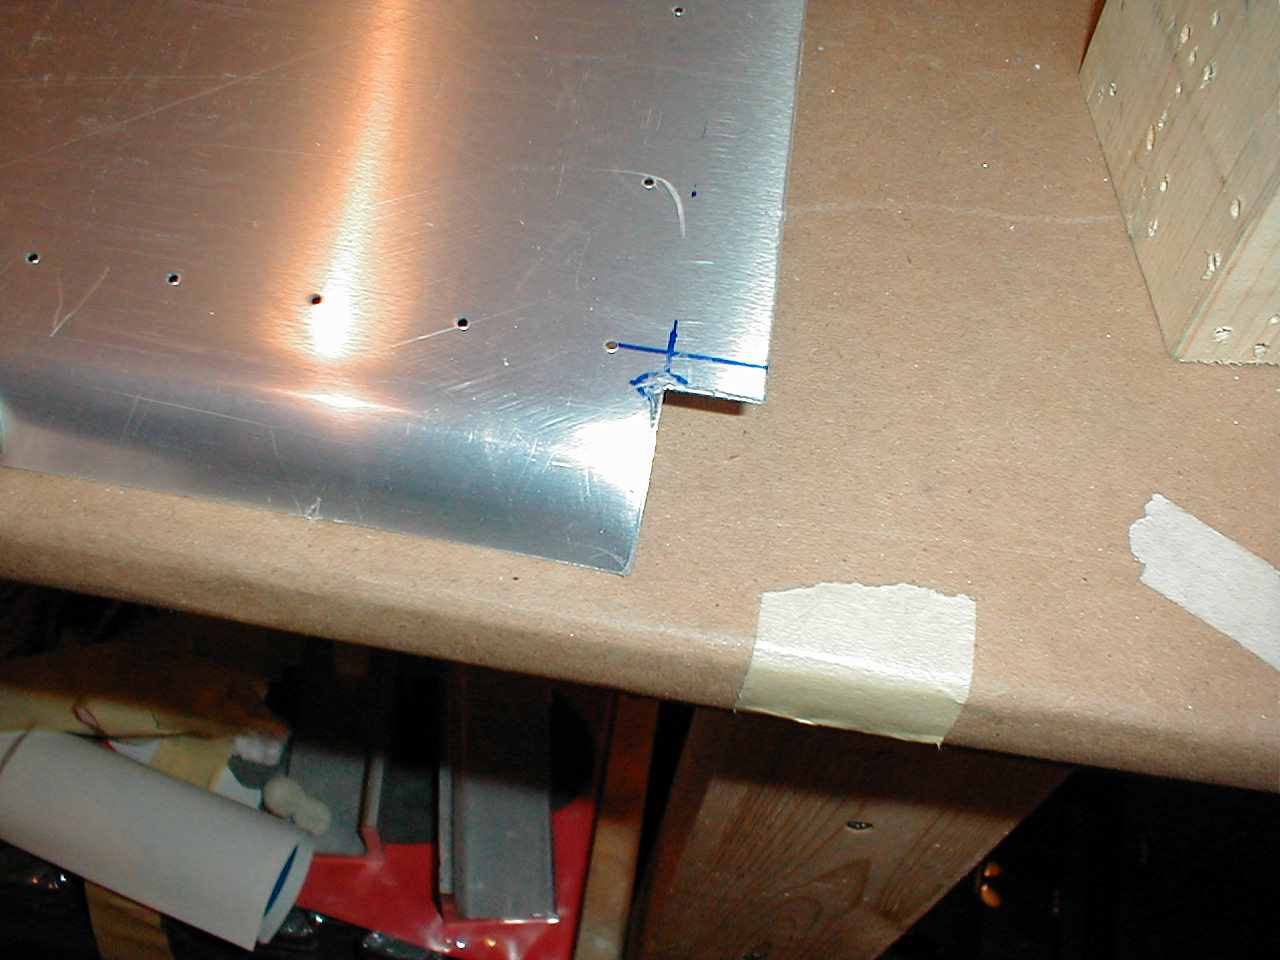
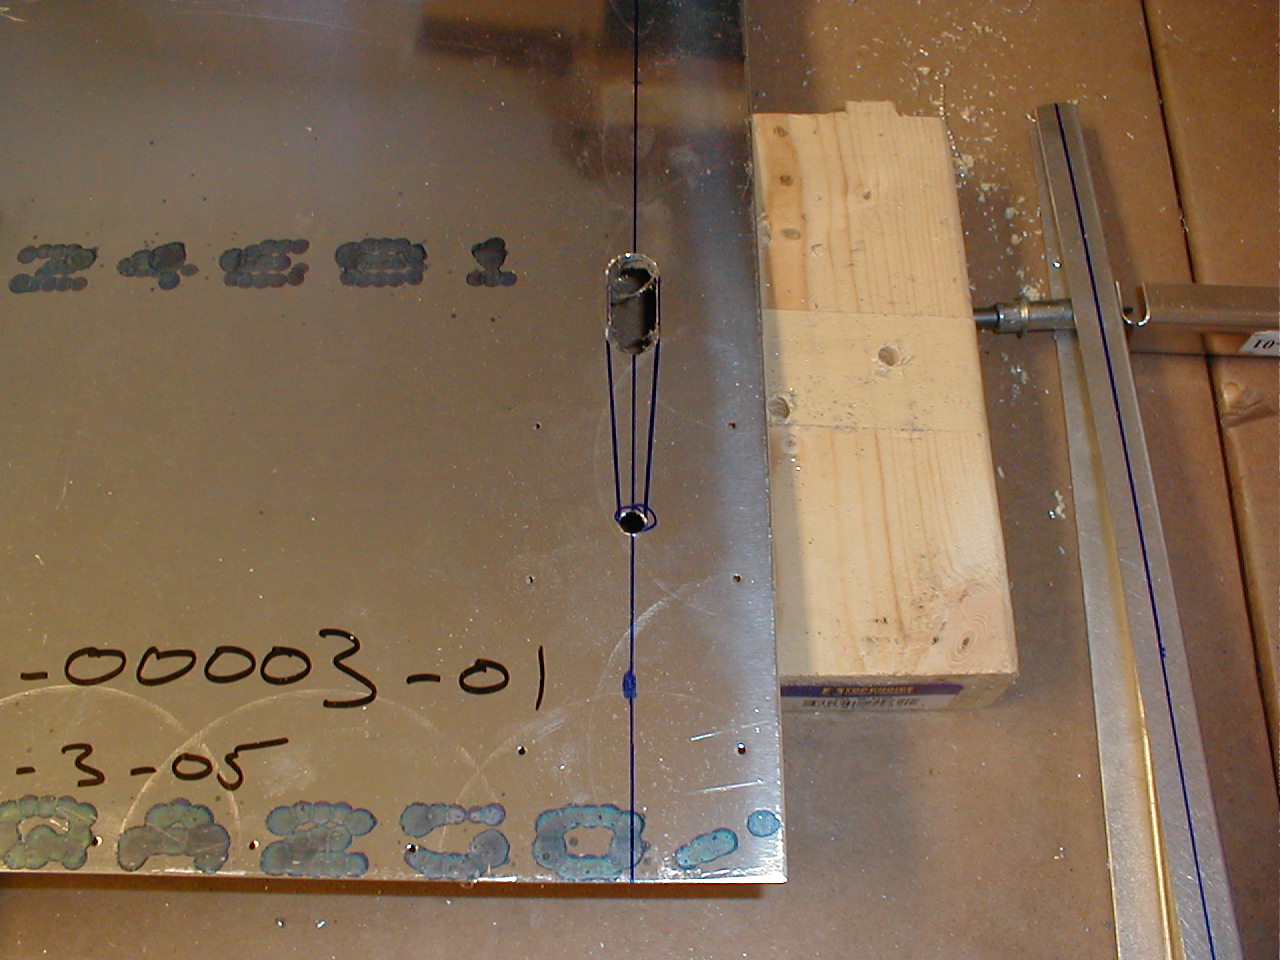
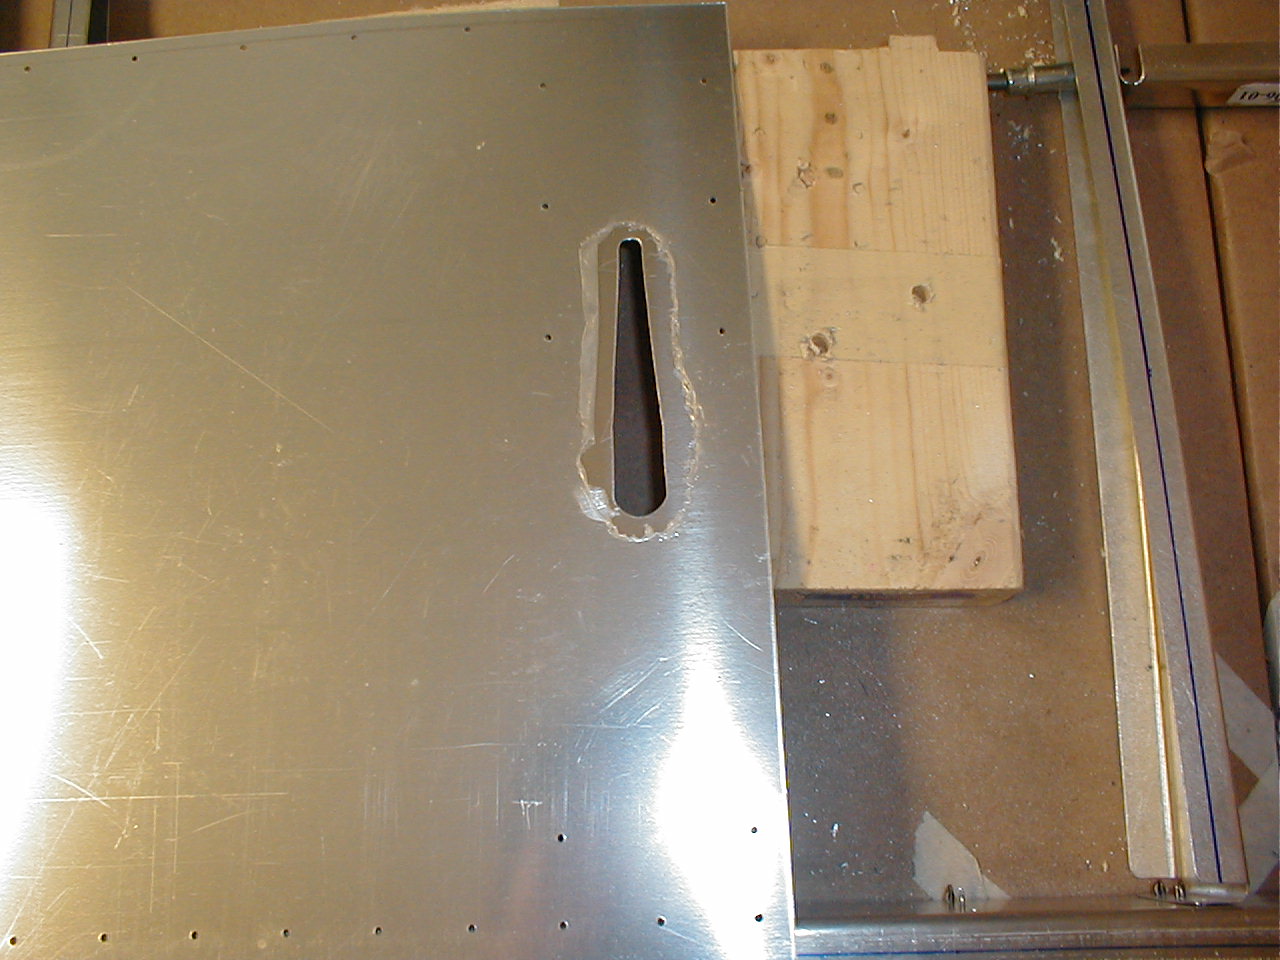
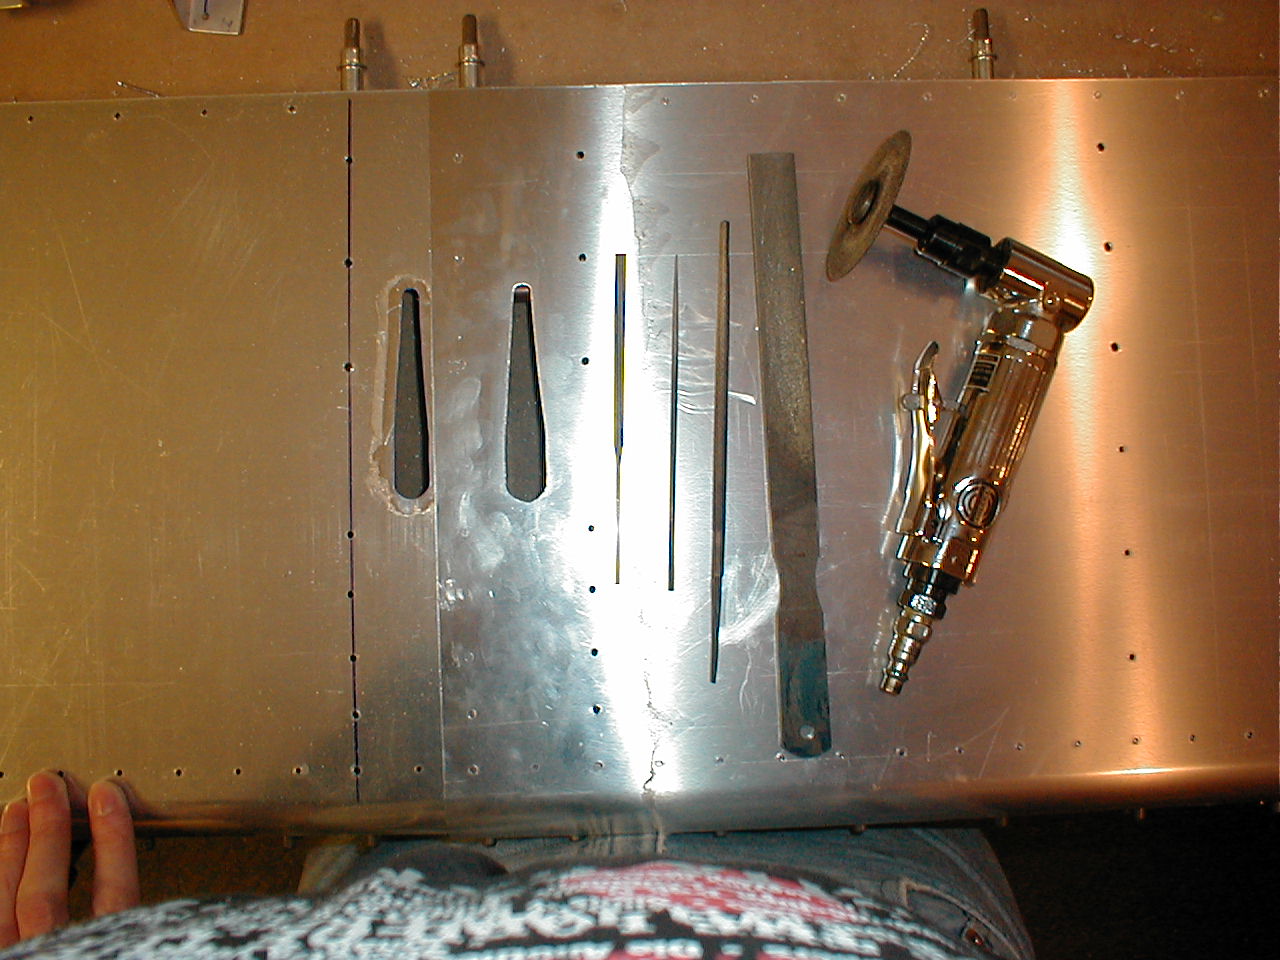
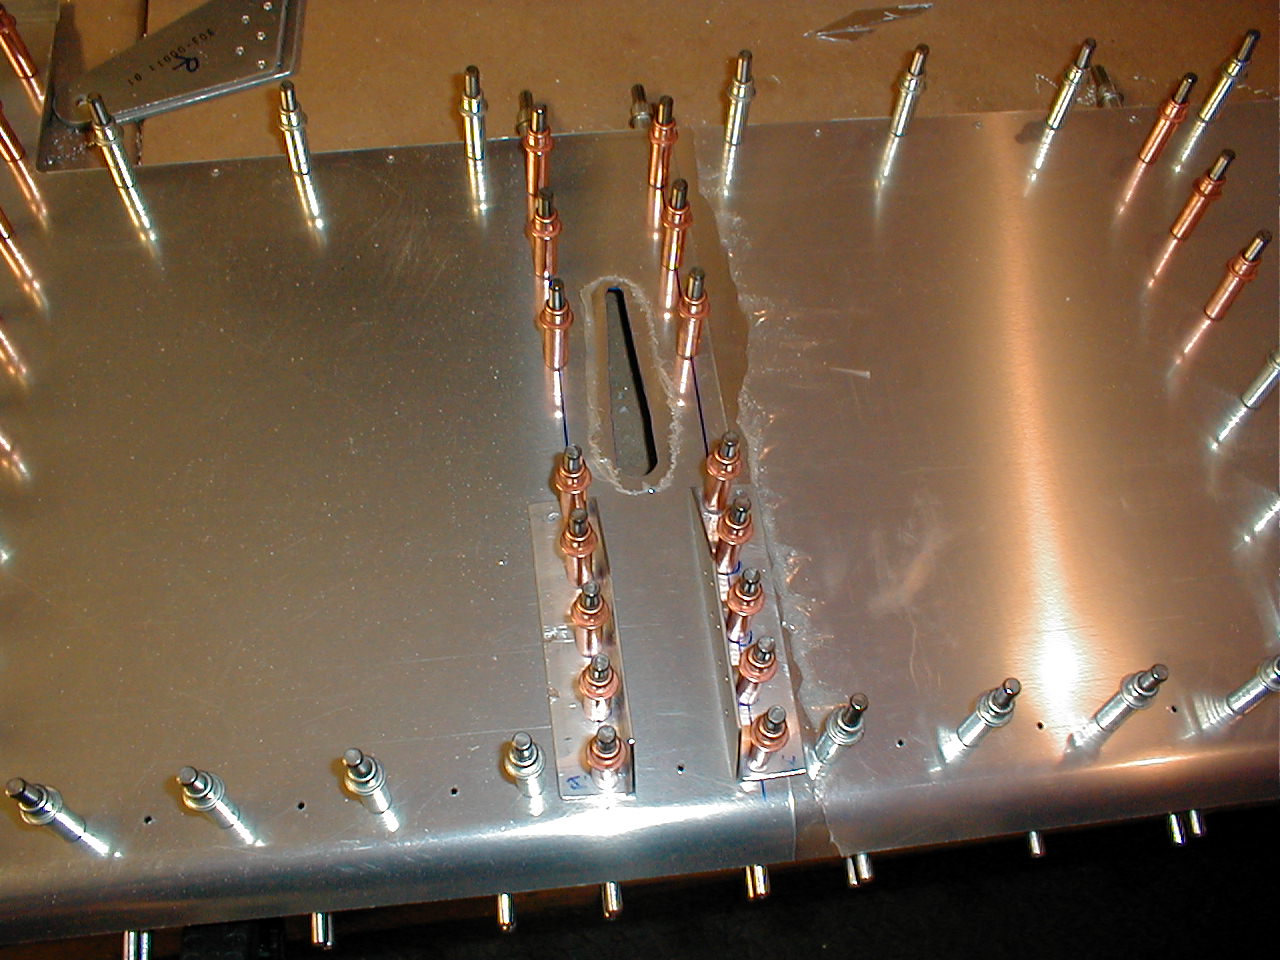
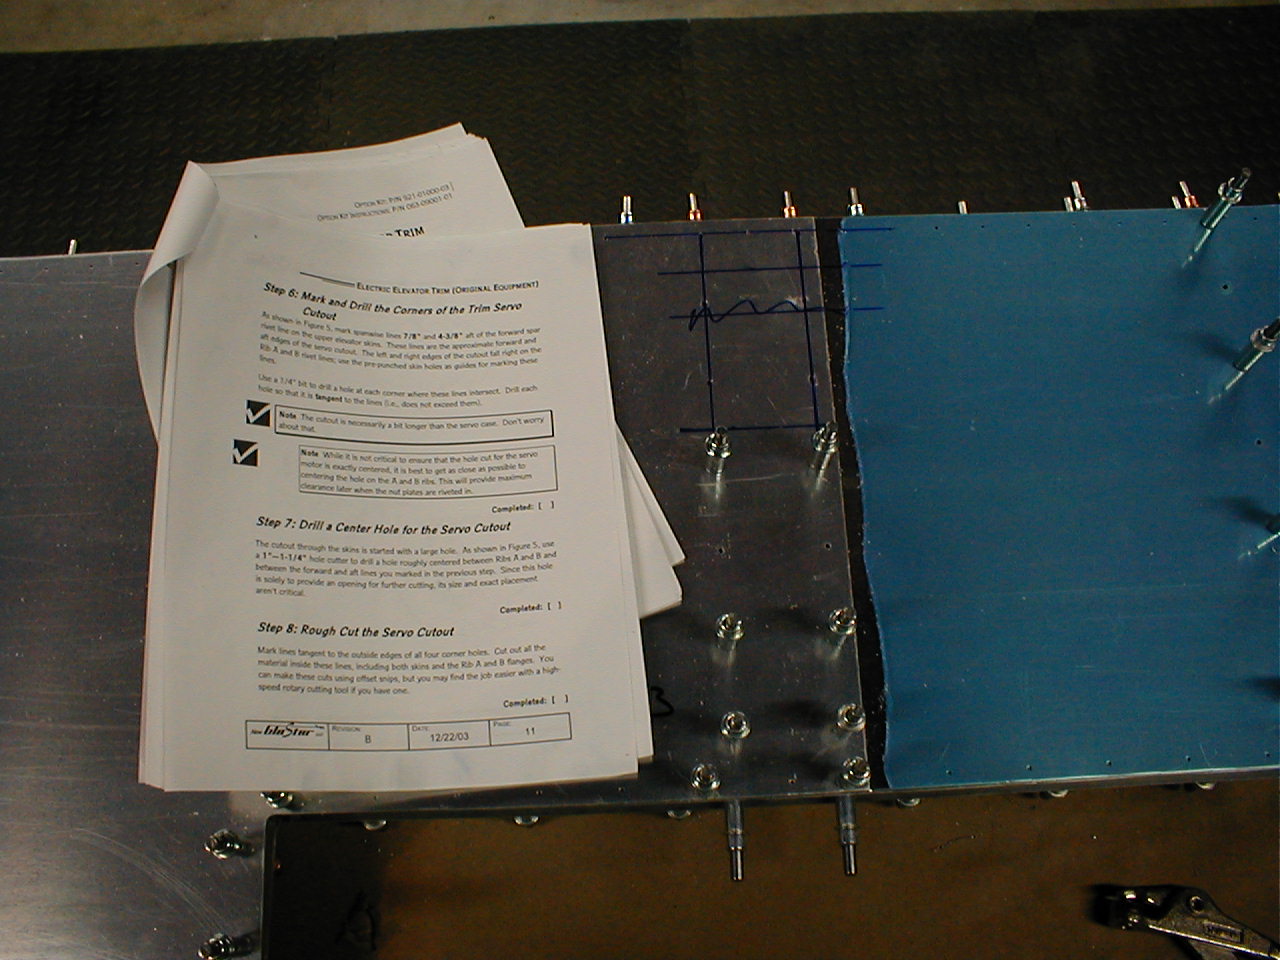
I've decided to go with the electric trim option. Fortunately the only thing I had to re-do was the cutout for the trim cable since the electric trim control arm is in a different spot. I'll probably build a small cover to close up the hole in the skin where the manual trim cable was supposed to pass through the bottom of the elevator.
26 Mar 2006 - 5.5hrs
28 Mar 2006 - 2hrs
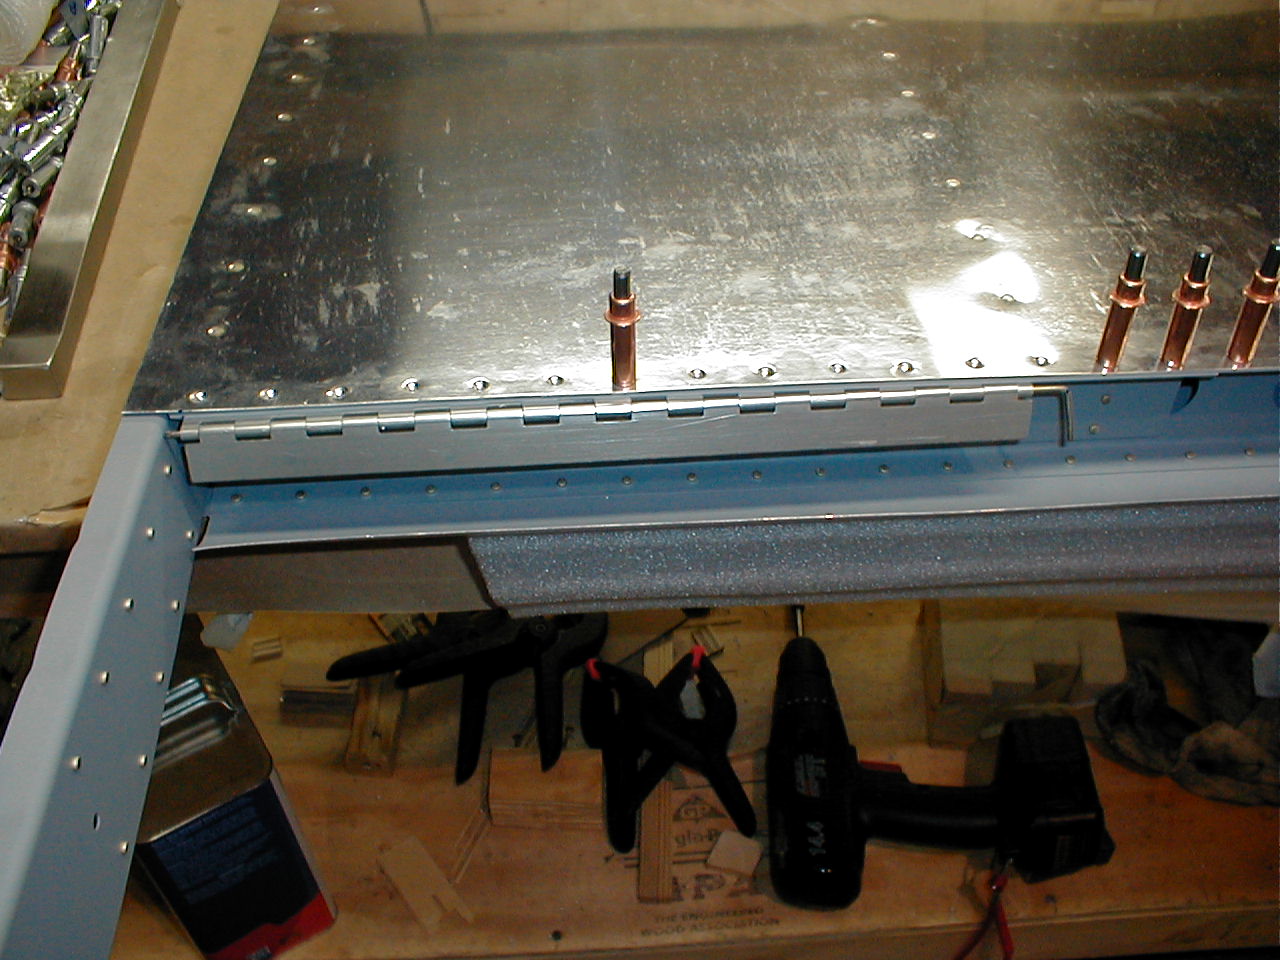
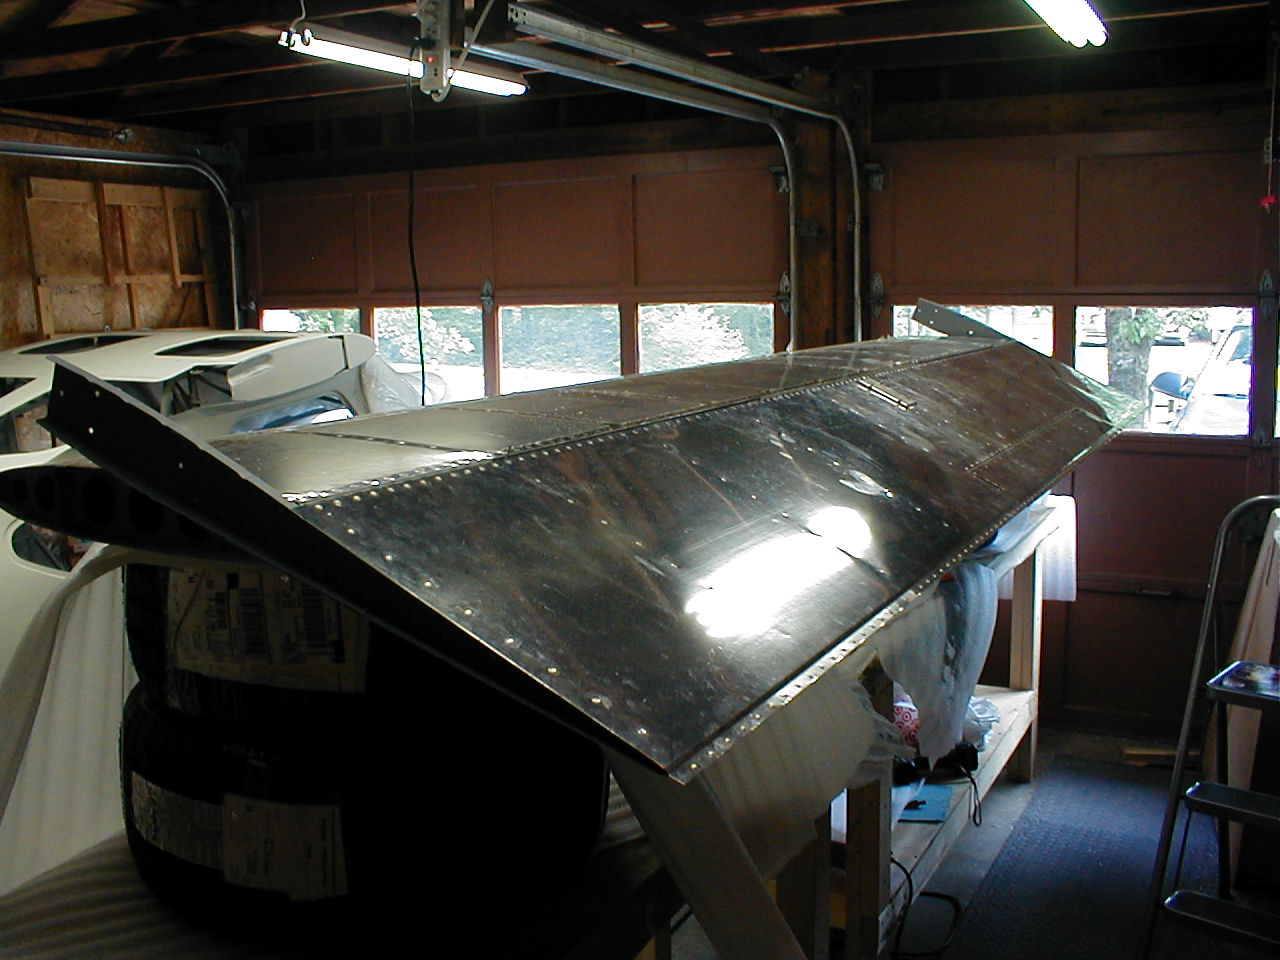
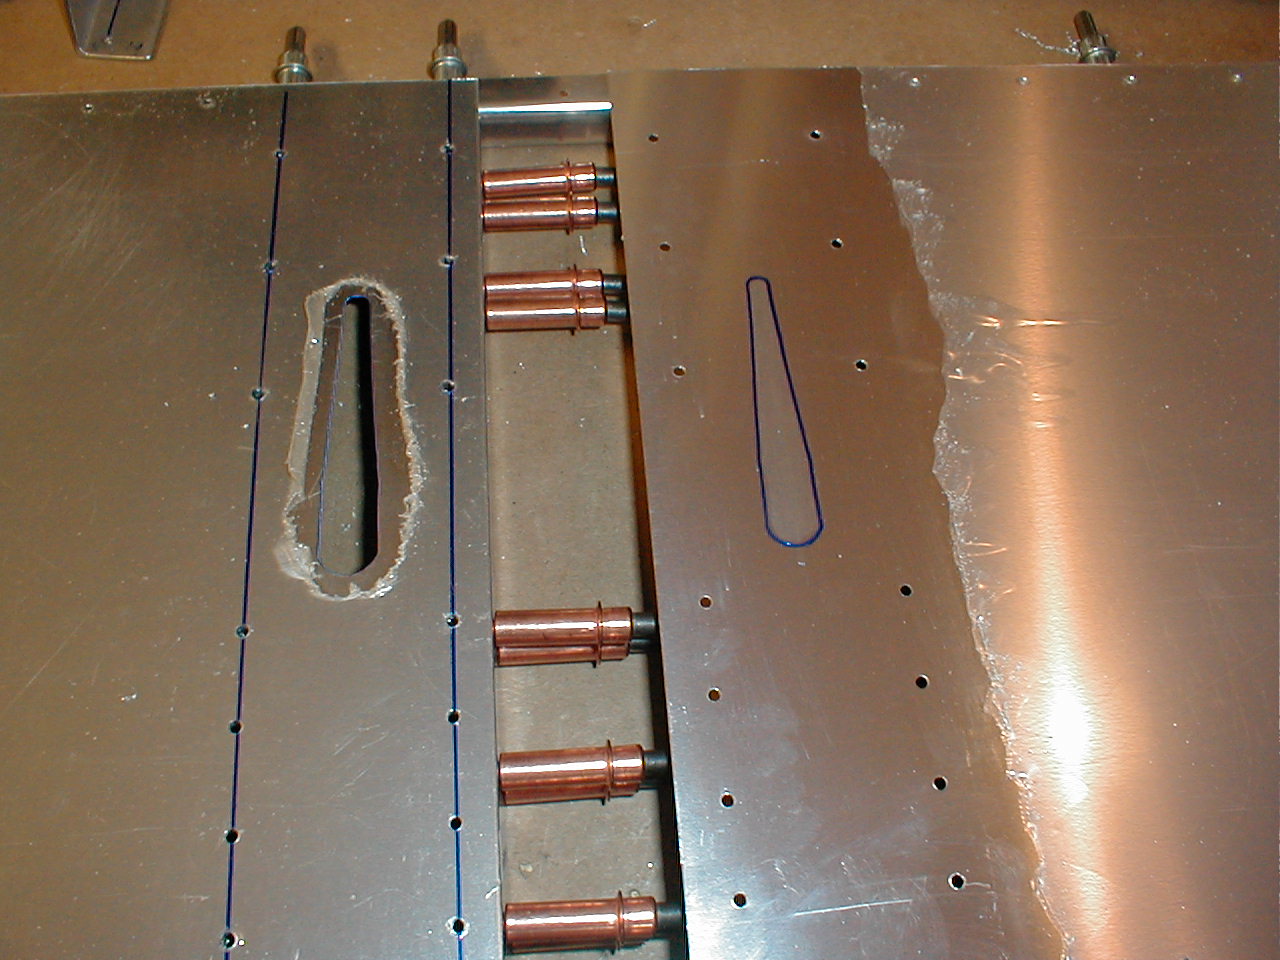
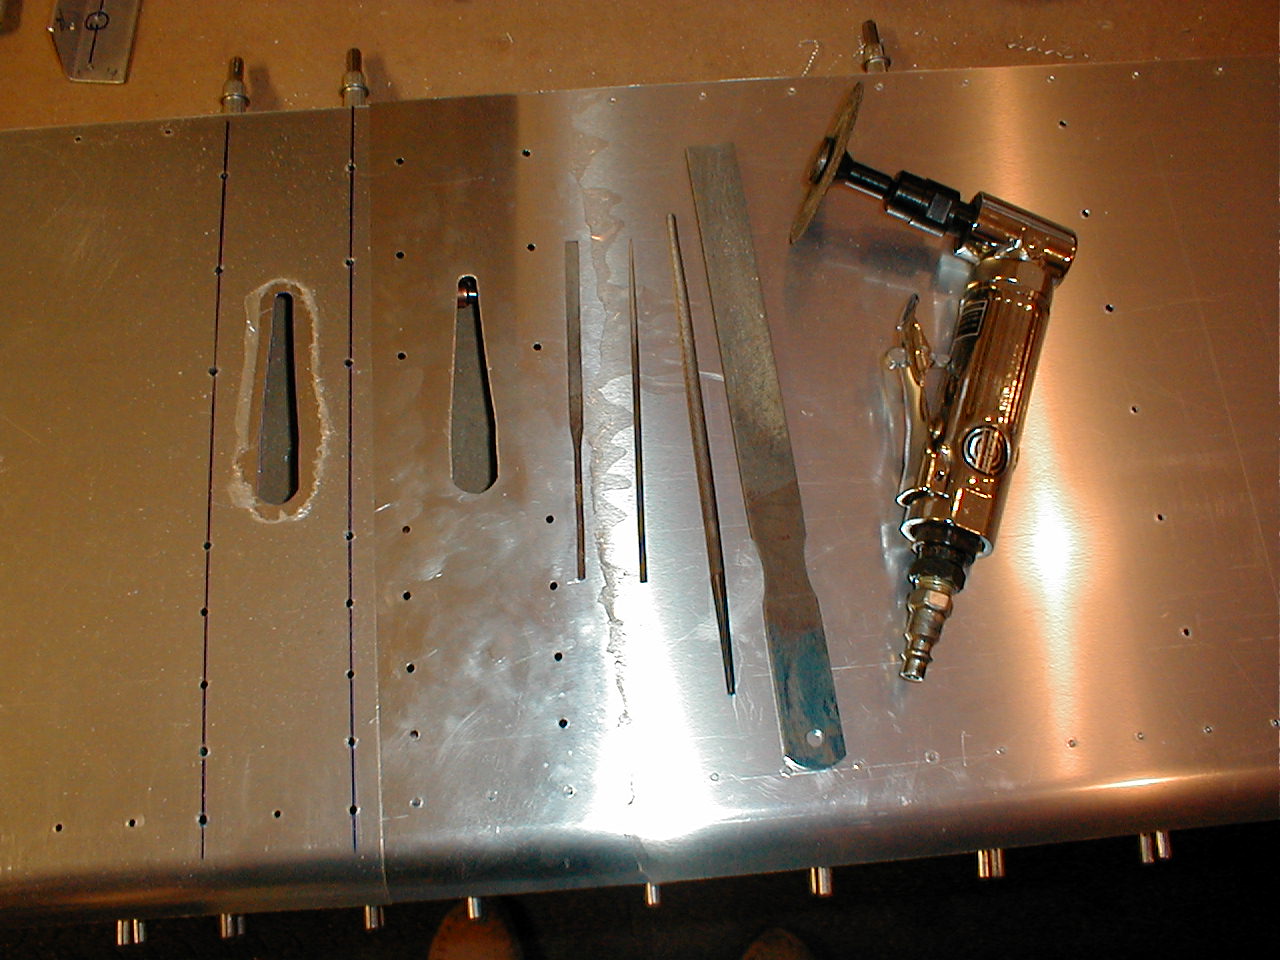
Cut-out for electric trim option. Top skins on the elevator. Finished up the tip ribs, and marked the cutout in the top skin for the electric trim servo.
29 Mar 2006 - 3.25hrs
31 Mar 2006 - 2hrs
14 Apr 2006 - 0.75hrs
15 Apr 2006 - 6.25hrs
16 Apr 2006 - 8hrs
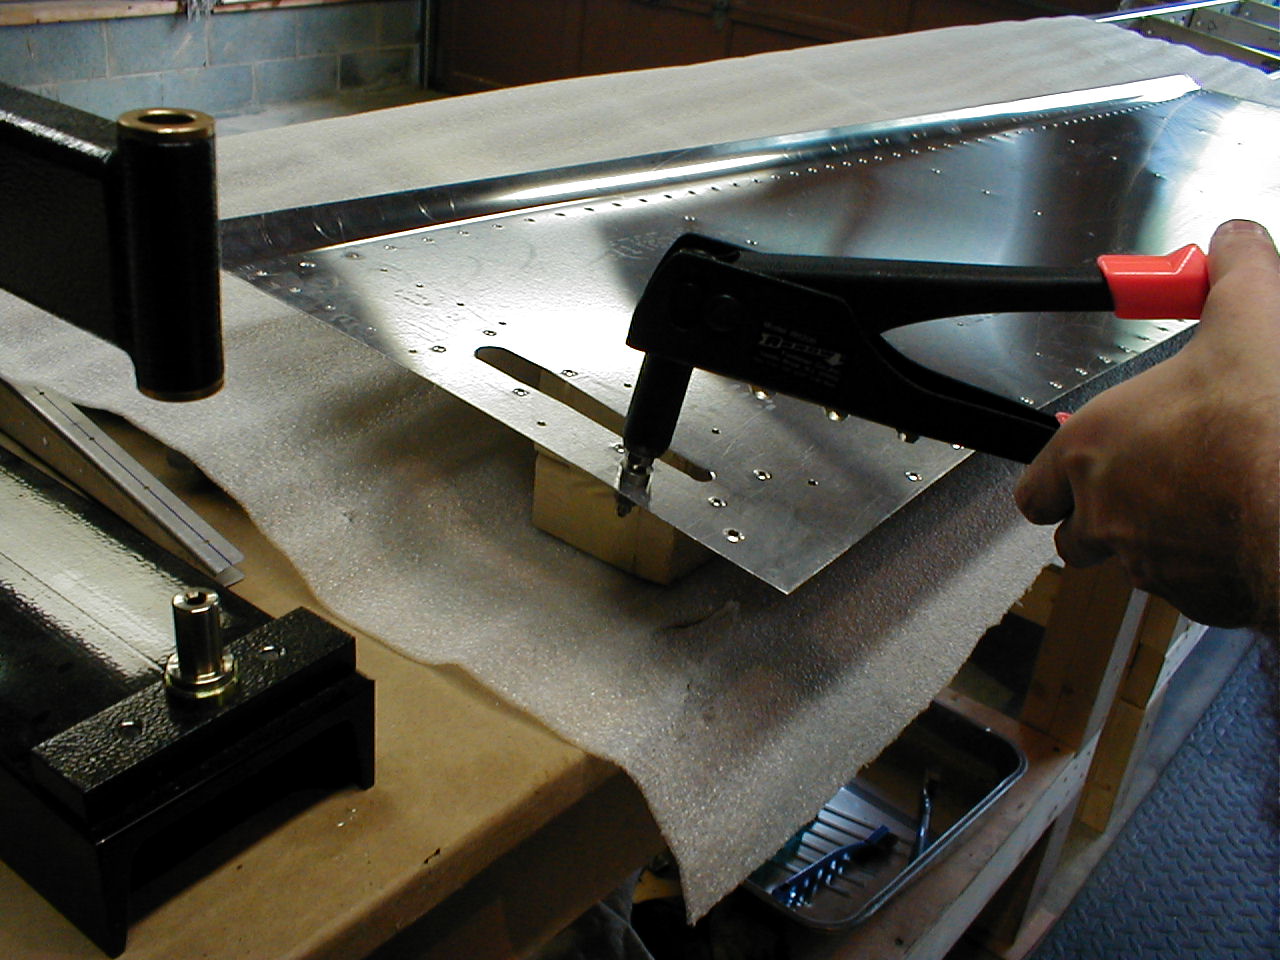
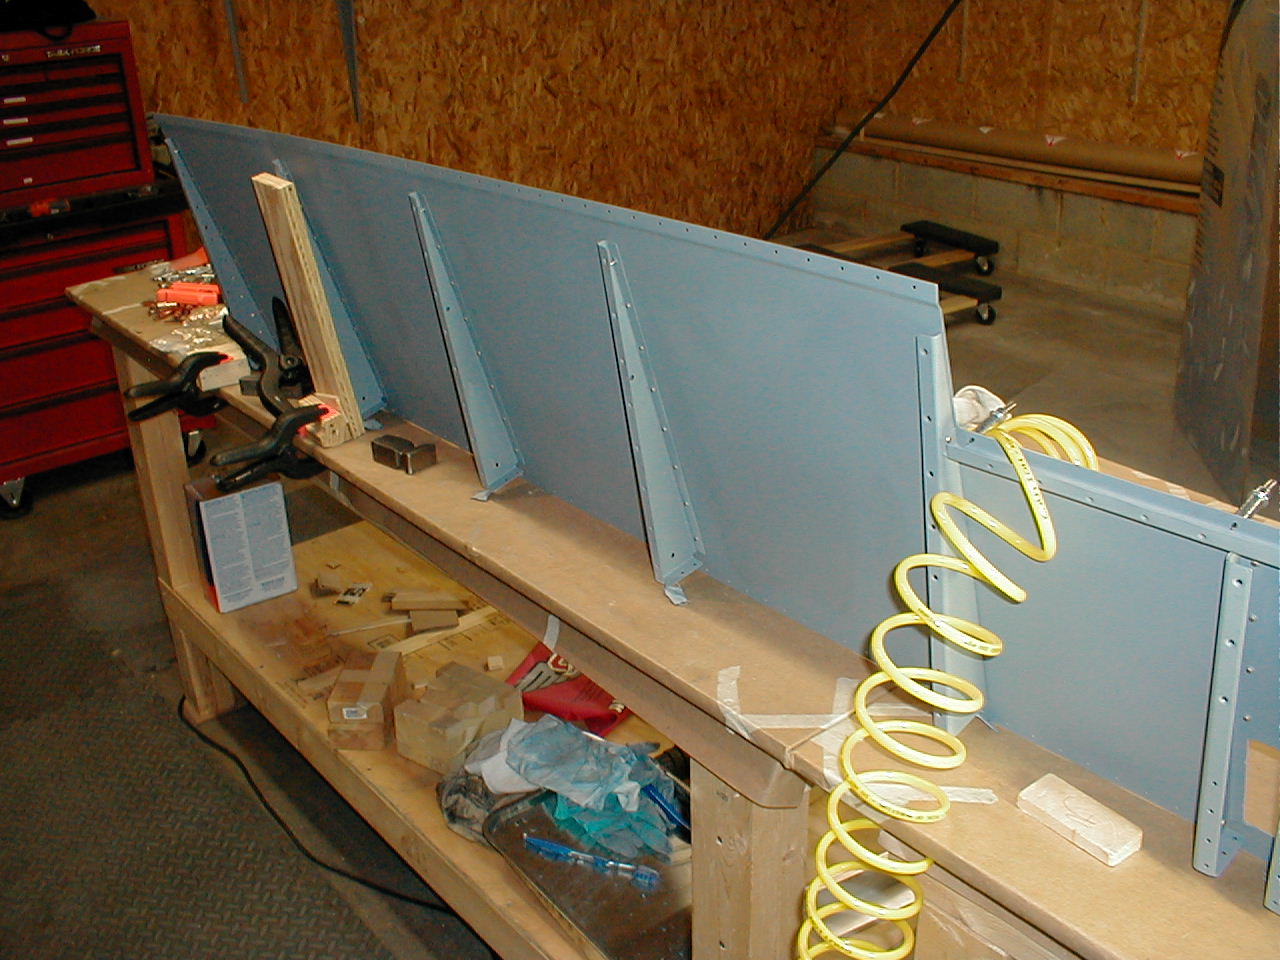
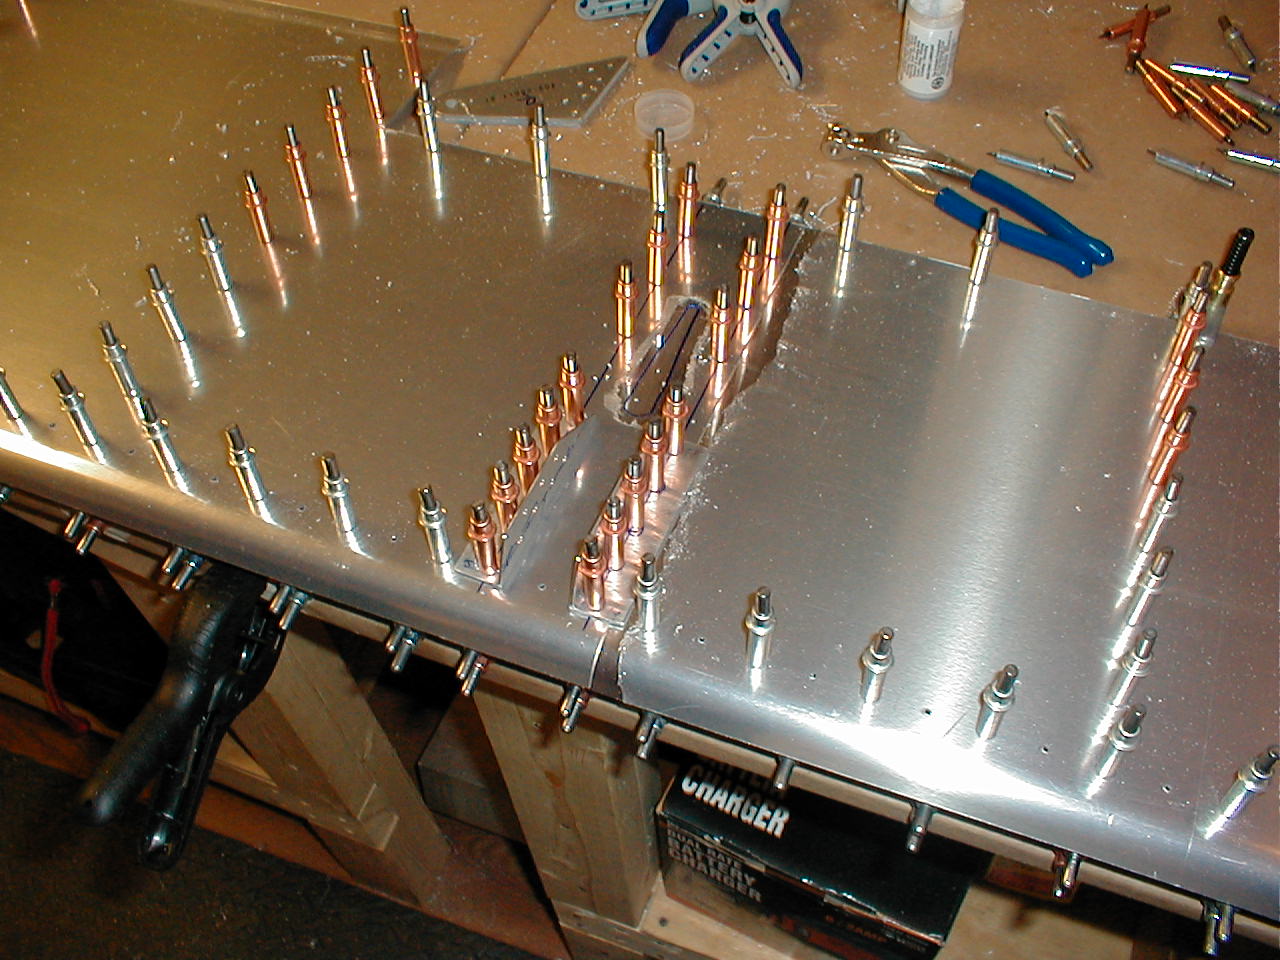
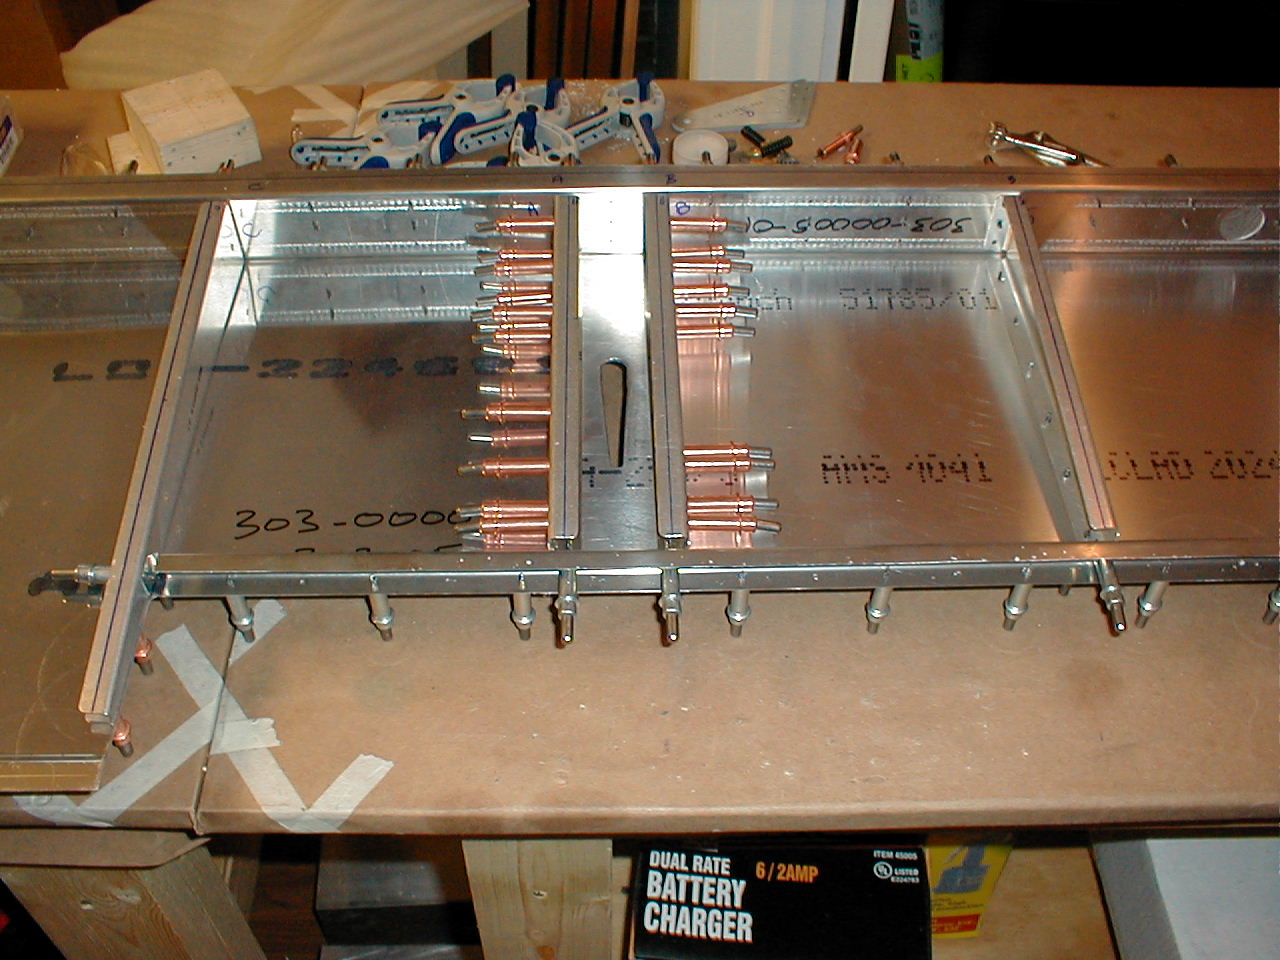
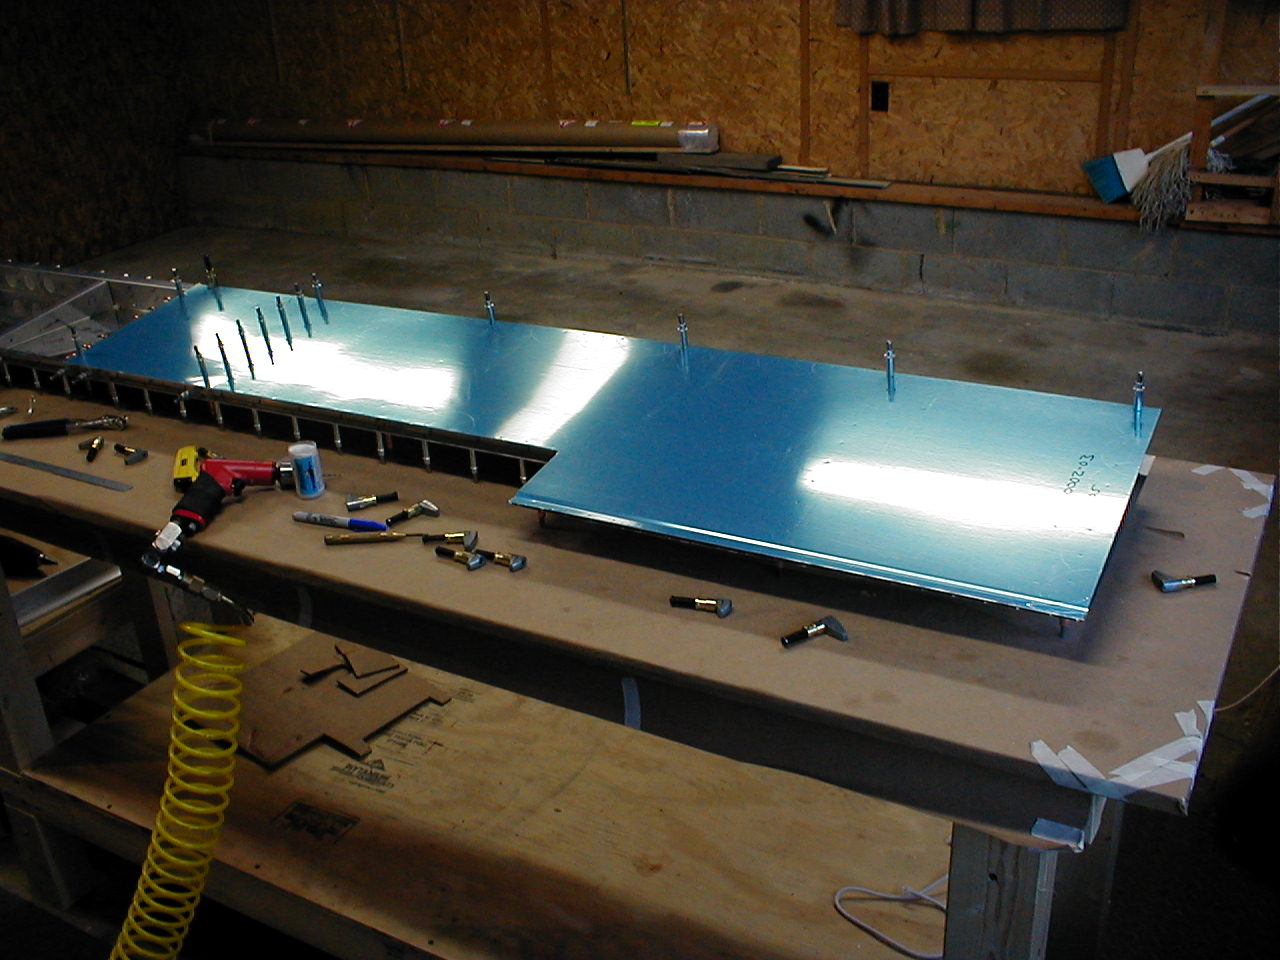
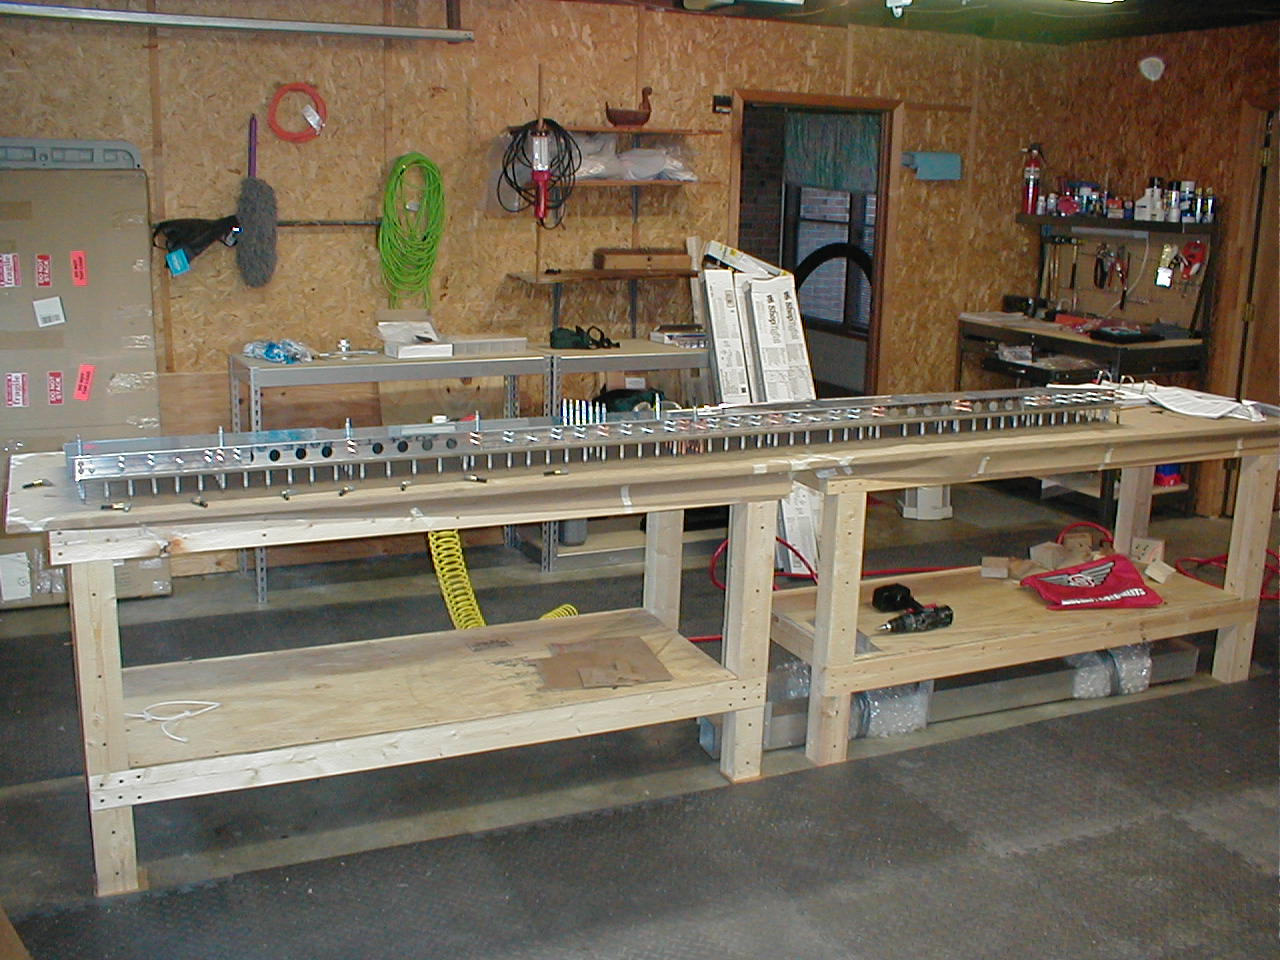
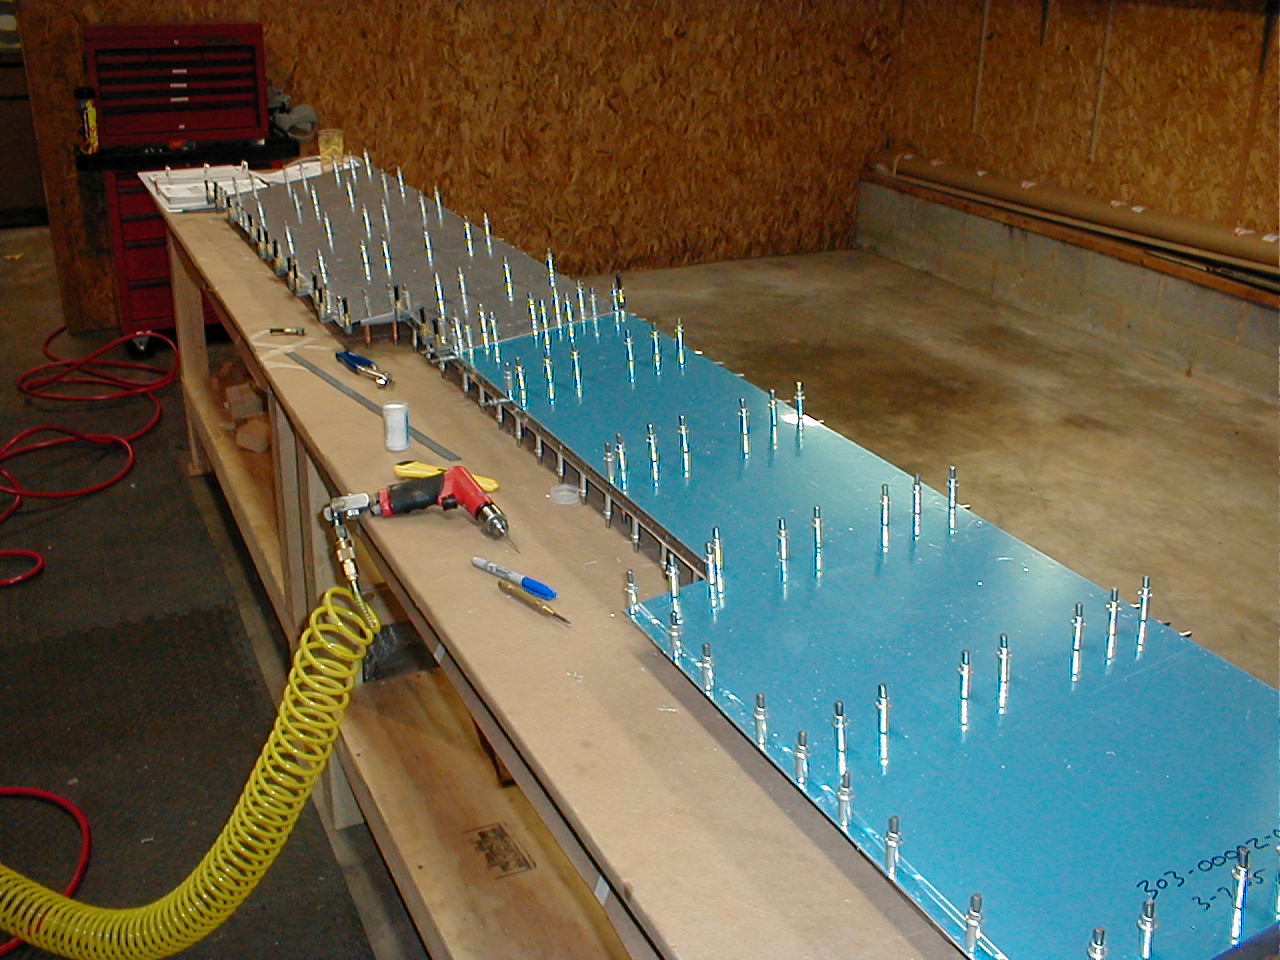
Clean, deburr, dimple, prime, assemble elevator framework and upper skins.
I had already started installing the manual trim system, and made the cutouts in the bottom skins for the cables. Since the cut-out for the electric trim system is different (smaller), I decided to make a small plate to cover up the excess. You can see it in the first picture here.